Super Hero Spider Tie Dye Shirts: Who’s Your Favorite?
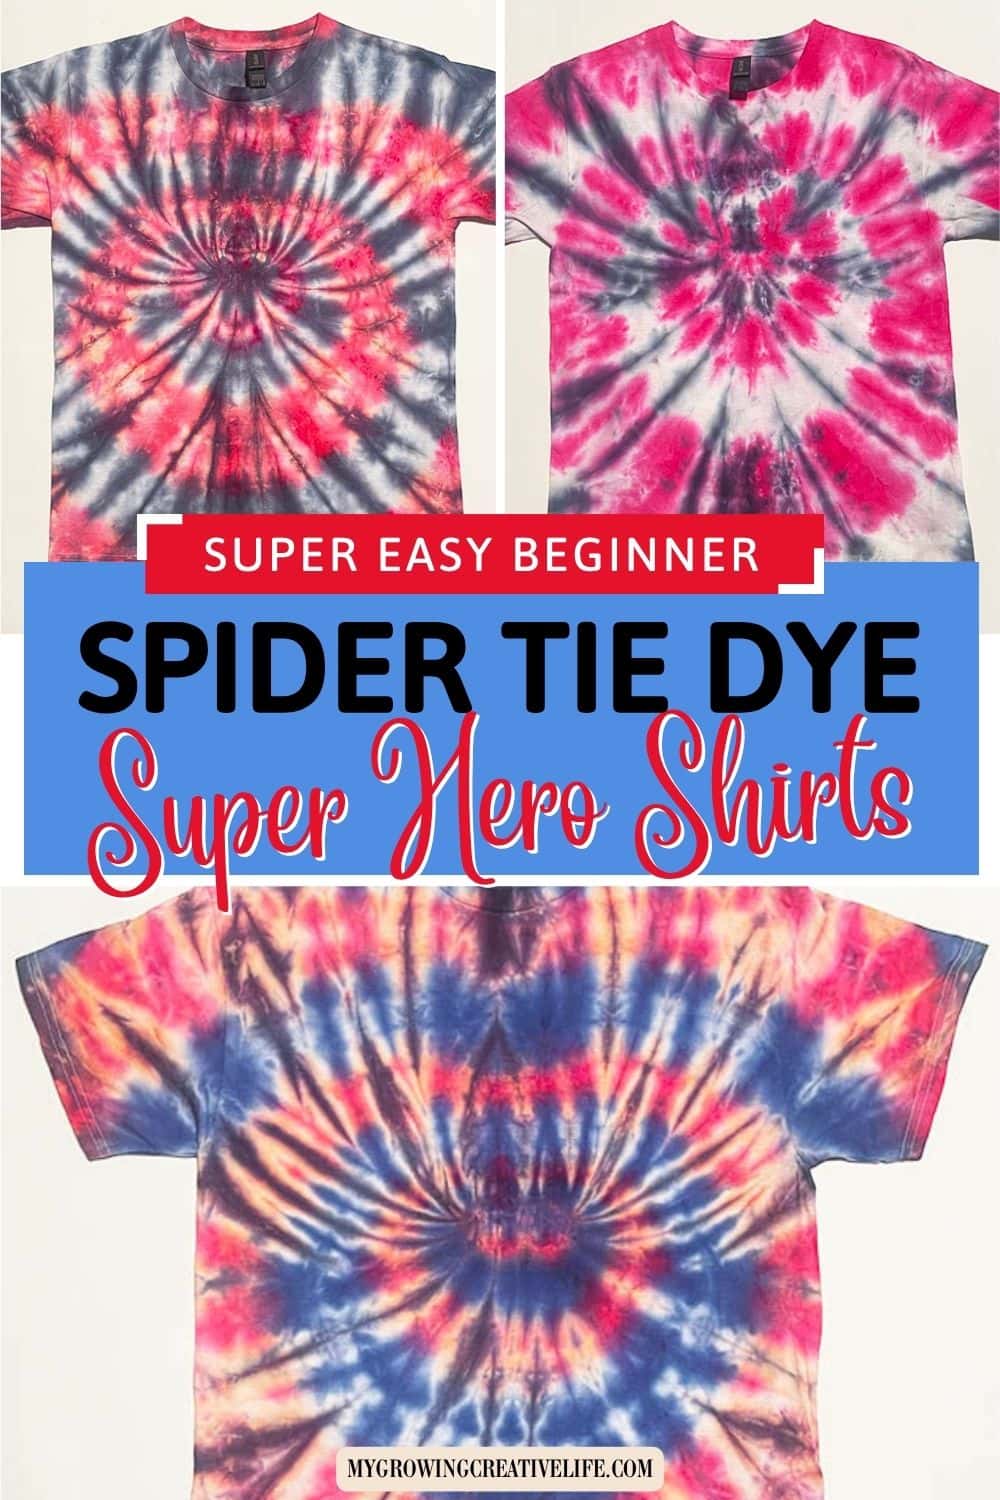
Ok, this project has been on the To-Do list for WAY TOO LONG! We love our super heroes and all of the movies that come with them! Without getting in trademark trouble with anyone (sorry about not naming specific names), I think it’s fairly easy to see that these Super Hero Spider Tie Dye shirts are inspired by the 3 web-slinging neighborly heroes we all know and love. The spider tie dye pattern itself uses a bit of the spiral technique along with black dye to create a pattern that looks a bit like a spider, hence the name (and perfect for our heroes). It does look a bit complex, but is really quite easy for beginners!
For each hero shirt I chose a different shirt size. I just want to call that out, since I am usually very consistent. We did not have 3 Adult Medium shirts, however, and I was not about to hold off on this project any longer, so for your reference:
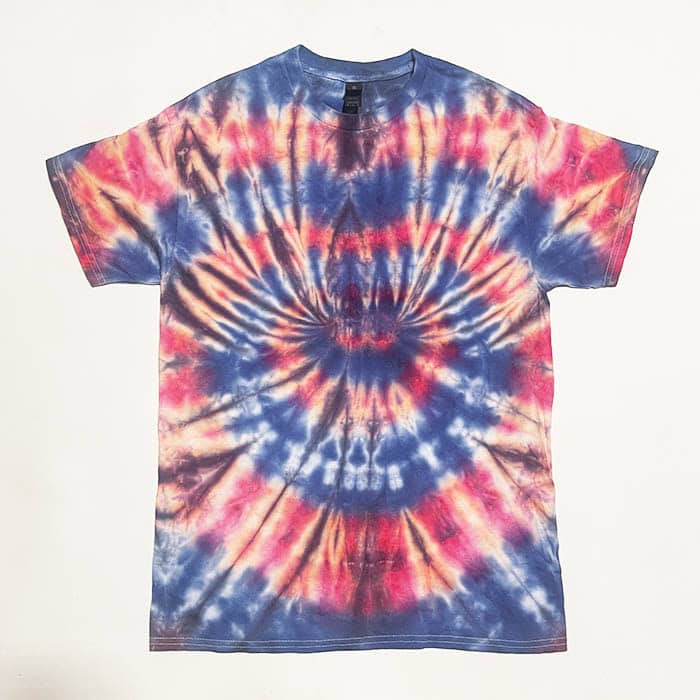
- Classic Web Hero – Adult Medium
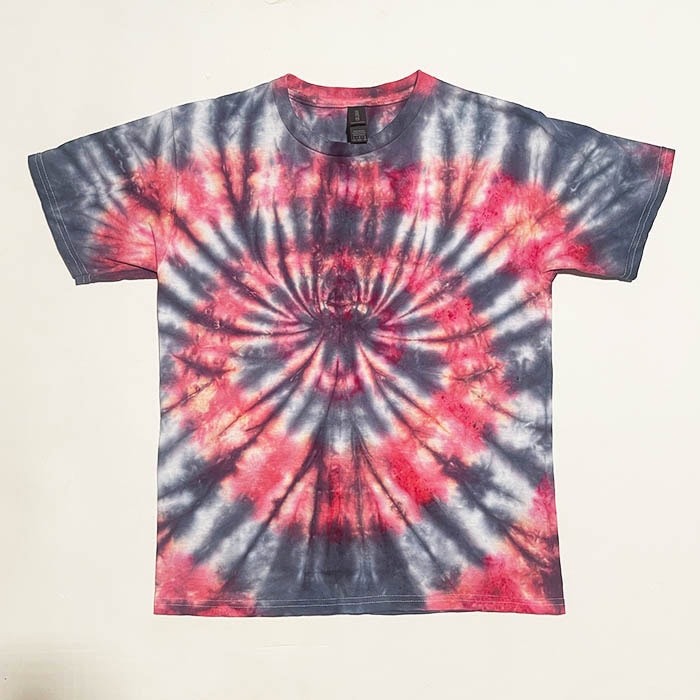
- Shadow Web Hero – Youth XL
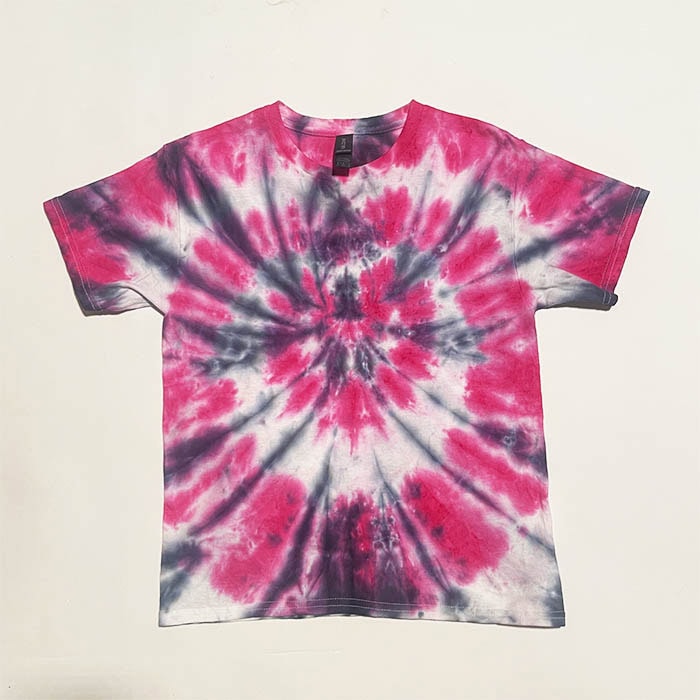
- Female Web Hero – Youth Medium
I also took this opportunity to try out and document my thoughts on Tulip’s 2 minute tie dye kit that cuts curing time dramatically. If you would like to cure the shirts faster, check out Tulip 2 Minute Tie Dye Kit: Pros And Cons for more details.
Ready to rock a super hero tie dye shirt? Let’s go!
RELATED POST: How To Spider Tie Dye
FOR MORE TIE DYE 101 BASICS: HOW TO TIE DYE: THE ULTIMATE GUIDE
SUPER HERO SPIDER TIE DYE SHIRTS
What you’ll need:
- White Shirt
- Rubber Bands
- Dye Kit (Which Includes Rubber Bands, Gloves, And A Plastic Sheet)
- Plastic/Rubber Gloves
- Plastic Covering For Work Surface
- Painter’s Tape (optional)
- Baking Tray With Rack (optional)
- Paper Towels/Rags
- Gallon Plastic Bag or Plastic Wrap
DYE COLOR TIPS – The colors for each shirt will vary depending on which super hero you are creating (as well as Black for every super hero).
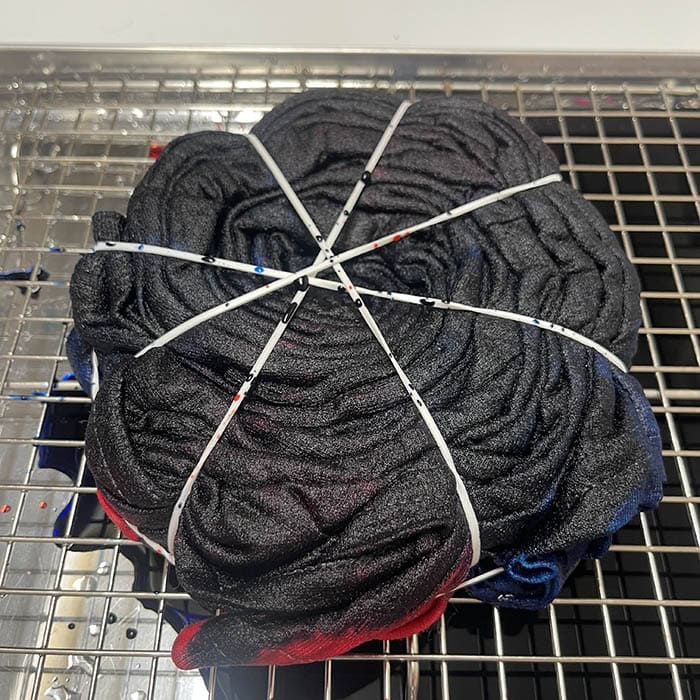
- For our Classic Web Hero – use Red and Blue
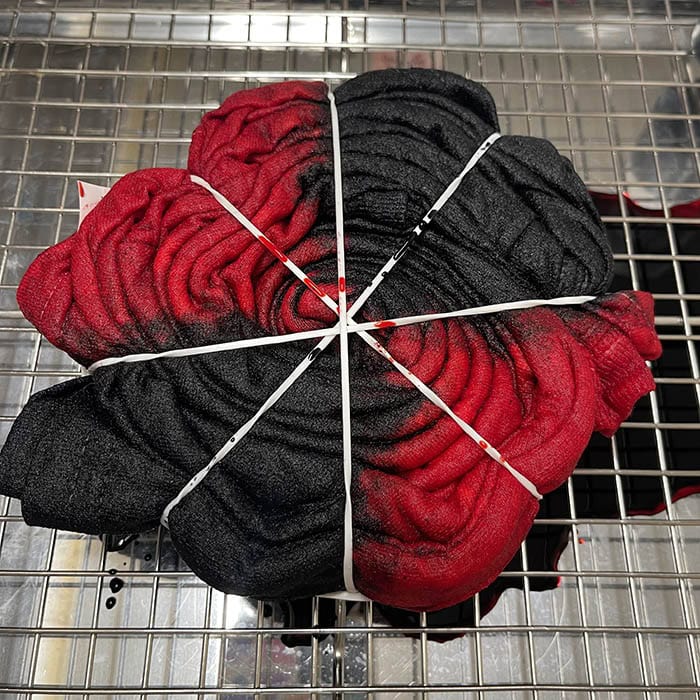
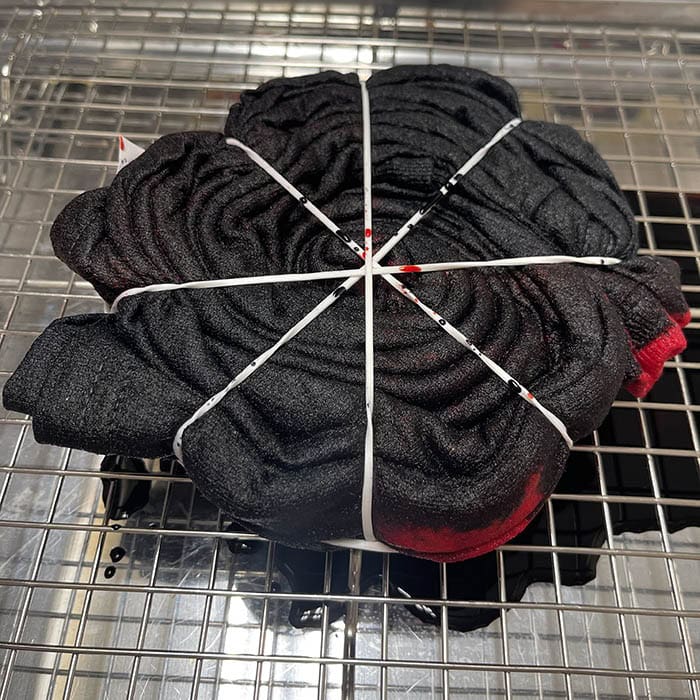
- For our Shadow Web Hero – use Black and Red
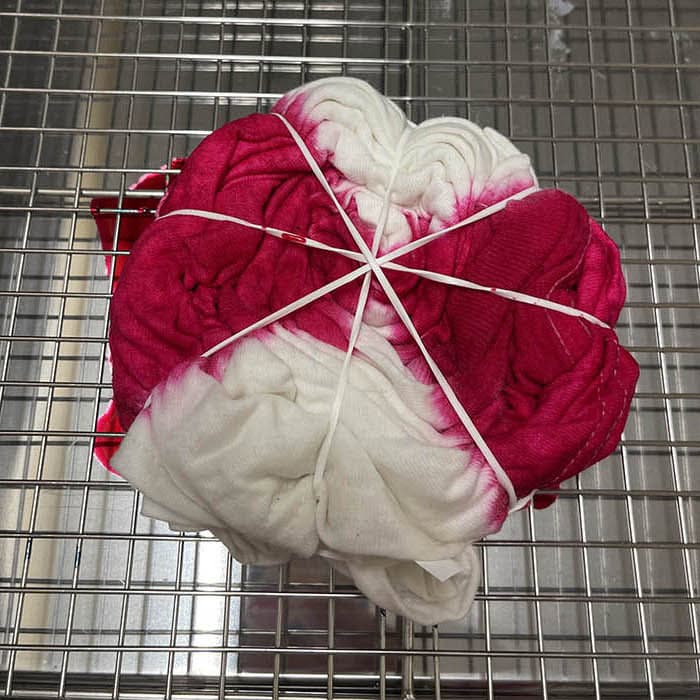
- For our Female Web Hero – use Fuchsia
Baking sheet/rack versus just a workspace covered in plastic: I have dyed MANY shirts on just a covered workspace. As long as you have a ton of paper towels and are careful, you will be fine. It is, however, MUCH easier and more environmentally friendly (i.e. paper towel usage) if you use a baking sheet and rack because any excess dye goes directly onto the pan, away from your shirt, and you barely need to use any paper towels. If you plan on tie dyeing a number of items now or in the future I strongly suggest the investment.
Creating The Pattern
1. Start with a damp, but not wet, shirt for this design. The shirt could be fresh out of the washing machine. If you washed it a different day, like I usually do, then just dunk the shirt in a bucket of water or sink and wring it out before starting. (NOTE: If you are using Tulip’s 2 Minute Tie Dye Kit that microwaves the shirt to cure it (like I did for several), be sure to get all of the fabric damp or risk burn marks)
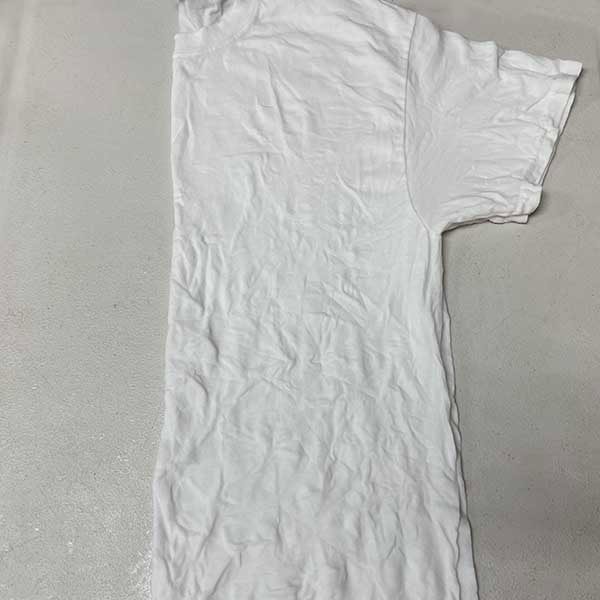
2. Fold the shirt in half length-wise and lay it down on the work surface.
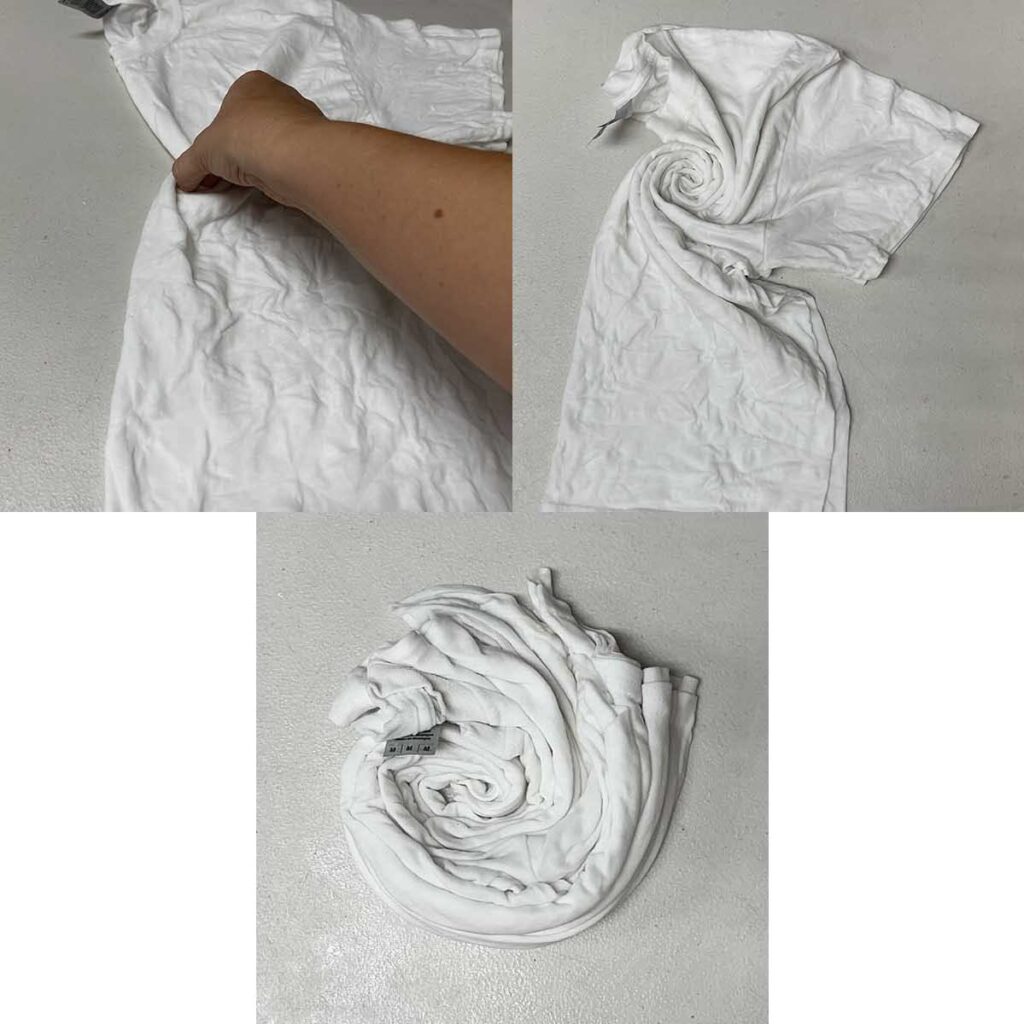
3. Using your fingers, pinch where the center of the spiral should be and start twisting. Keep twisting while the shirt winds up around the center.
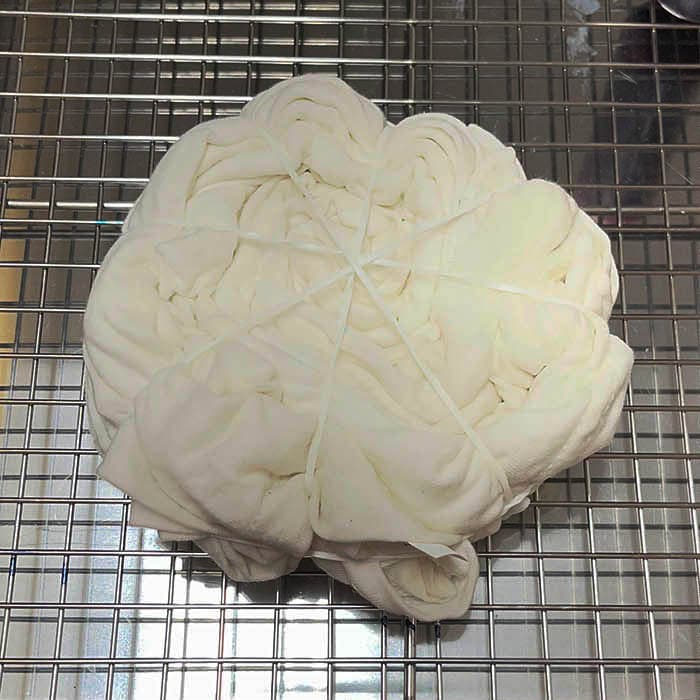
4. Once the shirt is completely twisted up, you’re ready to secure the shirt with rubber bands. Place the first rubber band around the spiral by carefully sliding it under/over the shirt and across the center of the spiral. Add 3 more rubber bands, so it resembles a 8 slice pizza. Don’t worry if it looks a bit messy. Once the rubber bands are on, wrap another rubber band around the circle and tuck loose ends in.
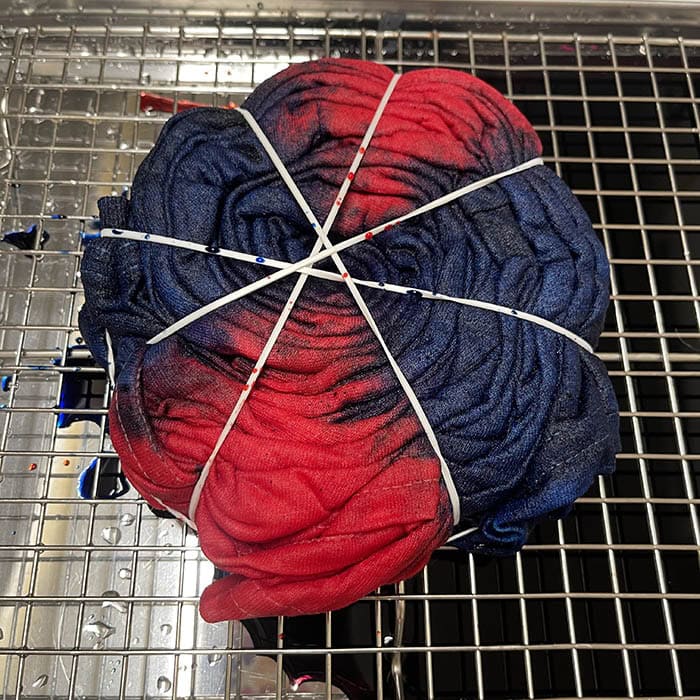
5. Set your shirt on the baking sheet/cooling rack or covered workspace and put on your gloves. Start with your lightest or weakest color which is yellow or light pink and fill in a wedge of the shirt. Make sure to add extra dye and let it soak in, so it can get to the center of the shirt. Continue to add the rest of the colors, working your way around the shirt. TIP: If you are using the baking sheet, you can turn the sheet and not have to touch the shirt while dyeing.
Dyeing The Shirts
6. Since we are only using two colors for each hero, I decided to do large bands of color, so they don’t blend too much and the white, for our female hero, will hopefully stay white. Fill in 2 wedges of the shirt and the 2 wedges across from that. Make sure to add extra dye and let it soak in, so it can get to the center of the shirt. When you have finished dyeing the first side of the shirt, carefully turn it over. You will want to wipe up any access dye on the rack or workspace before laying the shirt down. Repeat the dyeing process. TIP: If you are using the baking sheet, you can turn the sheet and not have to touch the shirt while dyeing.
Classic Web Hero
Shadow Web Hero
Female Web Hero
7. Once both sides of the shirt have been dyed, add black dye to the top of the second side of the shirt (no need to flip over again). Be sure to cover the entire side in black, but no need to add extra dye to soak in (JUST COVER IT).
Classic Web Hero
Shadow Web Hero
Female Web Hero
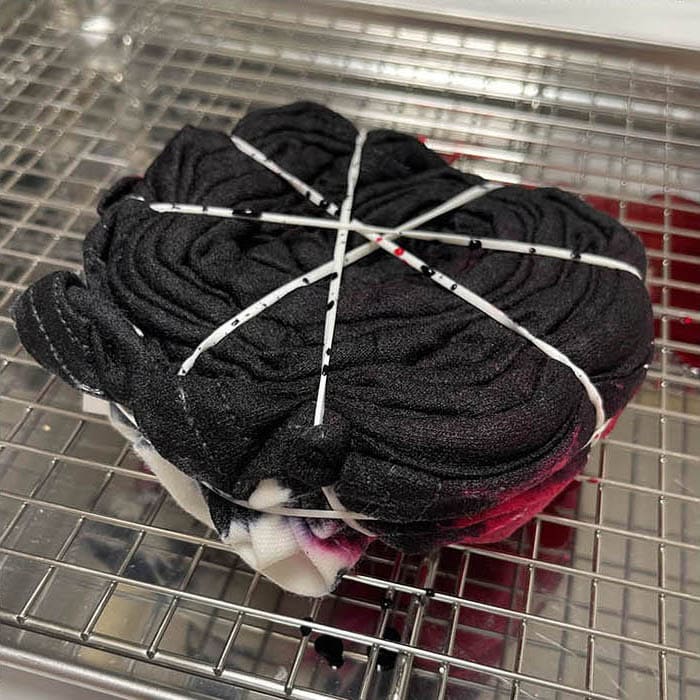
8. Once both sides of the shirt have been dyed, carefully place it in the gallon plastic bag or wrap it in plastic wrap with the black dye side down. Personally I prefer the plastic bag as you can easily seal it, label it (if you are dyeing more than one item) and move it if needed without worrying about dye leaking out.
NOTE: If you want a much quicker option for curing the shirt, check out Tulip 2 Minute Tie Dye Kit: Pros And Cons.
9. Let the shirt sit for minimally 6-8 hours and up to 24 hours max, so the dye can cure. This will help produce the brightest colors.
Rinsing And Washing
Once the dye has cured, it’s time to rinse and wash the shirt. This is an important step as, if done in the wrong order or rushed, it can muddy up the nice colors and pattern you created.
10. Take the shirt out of the plastic bag and put it in a sink or bucket (something that can get dirty and won’t stain). We have a stainless steel kitchen sink, so I use that. You can cut/take off the rubber bands and then rinse the shirt in COLD water. The cold part is critical because it allows excess dye to wash out slowly while not dyeing the remaining white parts of the shirt.
11. Repeat this rinse process several times until the water is fairly clear.
12. Once the water is fairly clear, repeat the rinse process once more, but with luke warm water (not HOT). This should get the last bit of excess dye out before putting it in a washing machine.
13. Once the shirt is thoroughly rinsed, you can wash it in the washing machine either by itself or with several other rinsed tie dye items. If I’m tie dyeing a bunch of shirts, I will put up to 6 in one load. Wash on warm or cold with a bit of detergent.
14. Dry the shirt(s) in dryer or let air dry. Personally I prefer air drying as it extends the life of the dye color (as they will eventually fade a bit with washing and wear).
NOTE: Wash the shirt by itself or with other tie dye items for the next few washings before adding it in with your other clothes.
And here are the fun, colorful super hero spider tie dye shirts! Which character is your favorite?