DIY Air Dry Clay Leaf Bowls for Cozy Fall Decor
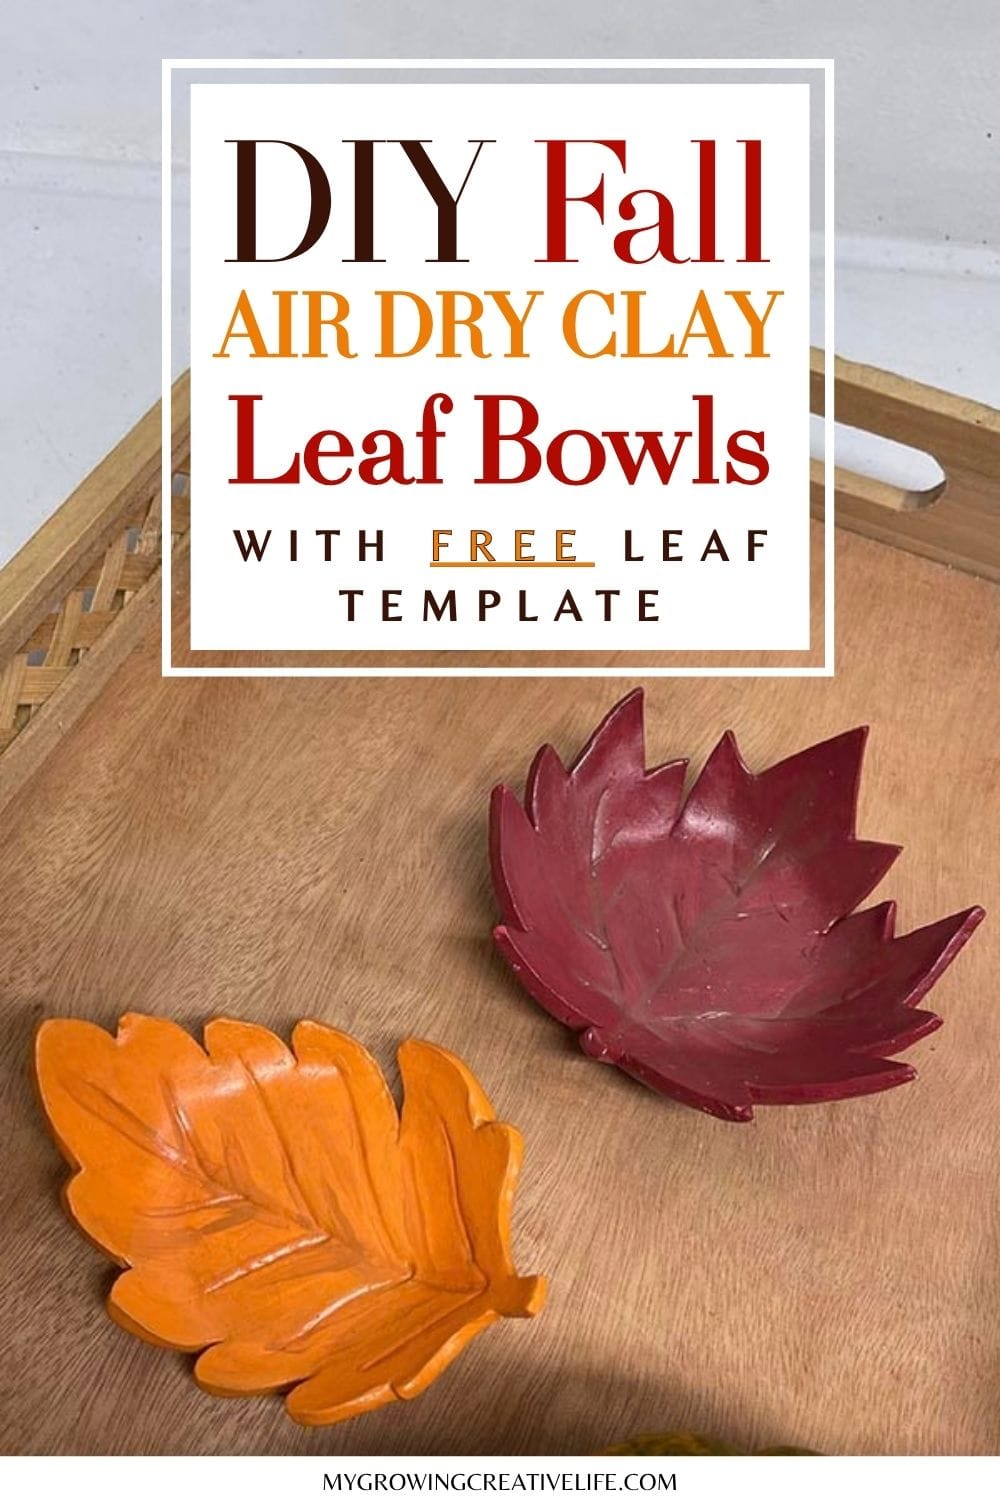
I’m a big fan of fall…apple picking, autumn leaves, cool fresh air. But here in NYC in September, we’ve had rain every weekend (and a Nor’easter as I made these cuties), so none of those fun fall things could happen. I’m also a bit early for the leaves I guess, so I’m going to show you how to make your own, in bowl form of course! These air dry clay leaf bowls require nothing from the outdoors thankfully! No need to hunt for the perfect leaves for this project! I created a printable leaf template so you can easily cut out two pretty leaf shapes (maple and oak) from air dry clay. Let them dry and paint them up in whatever fall colors you choose. Easy, easy, and super pretty with or without nice weather!
GIFTING NOTE: If you are thinking about gifting these beauties to someone, I would strongly recommend trading your air dry clay in for some oven bake clay. The same steps apply, aside from the baking, though you will need a bit more strength when you roll the clay out. Oven dry clay dries harder and is a bit more dense, making it more durable and less susceptible to cracking/flaking.
Ready to bring some fall beauty indoors?
FOR MORE FALL CRAFTING:
- Fall Pom Pom Wreath: Easy, Colorful, and Festive
- Thankful Painted Canvas Bag: An Easy & Colorful Fall Craft
- Thankful Tree: 2 Trees Every Kid Can Make This Thanksgiving
Air Dry Clay Leaf Bowls With Free Printable Template
What you’ll need:
- Air Dry Clay
- Plastic Wrap
- Rolling Pin
- Cutting Mat
- X-acto Knife
- Small Bowl (I used some of my kids’ bowls)
- Acrylic Paints (I used reds, oranges and yellows)
- Brush
- Leaf Shapes Template (click for download)
- Printer & Scissors
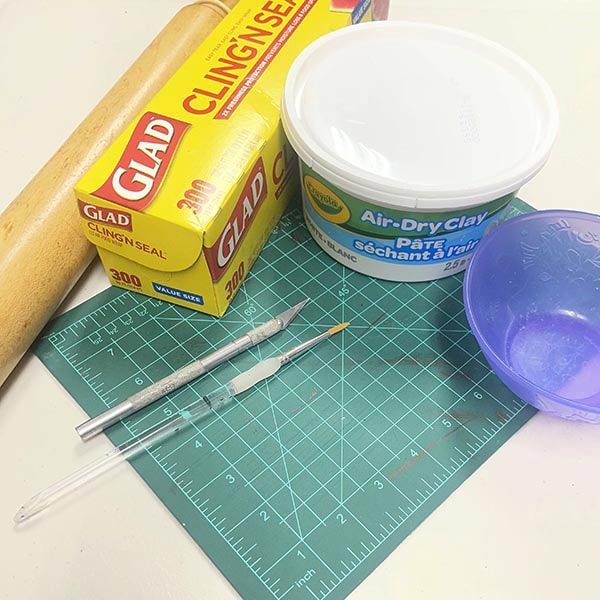
MATERIAL TIPS:
- Air Dry Clay – We use Crayola Air Dry Clay in our house because its super easy to use, easy to find, and reasonable. Any air dry clay should work though.
- Rolling Pin – I used our rolling pin from the kitchen since the clay was in between the plastic wrap, however, any hard round bottle, like a wine bottle, could be used to flatten out the clay.
- Acrylic Paints – I love the Mondo Llama Acrylic Paints from Target because they come in so many colors and are very reasonable for crafting projects. Any acrylic paints will work for this project though. See NOTES ON PAINTING for more color ideas, details.
CREATING LEAF BOWl SHAPEs FROM TEMPLATE
1. Print and cut out the leaves in the leaf template. Set them aside.
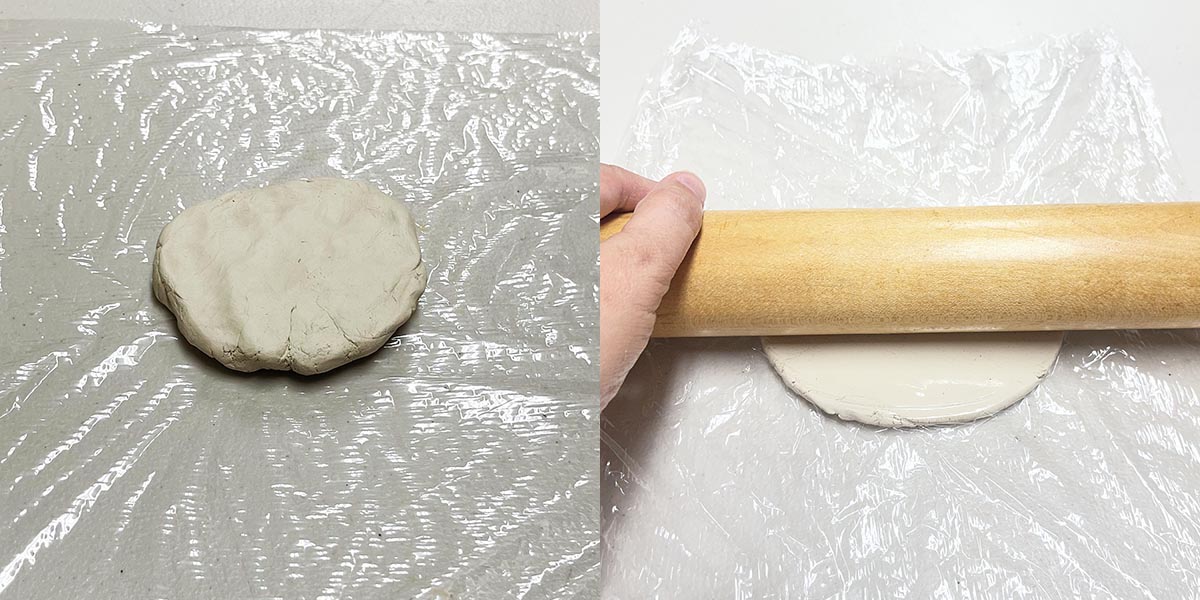
2. Cut 2 pieces of plastic wrap about 18″ each in length. Lay one down on your workspace and set the other aside. Grab a little bigger than golf ball size of clay, roll it into a ball and place it in the center of the plastic wrap. Press it down, so it looks like a thick pancake. Place the second piece of plastic wrap over the clay to keep the clay from sticking to the roller and roll the clay out to about 3/8″ thick. TIP: I used a sewing gauge to measure it, but a basic ruler will do.
Maple Leaf
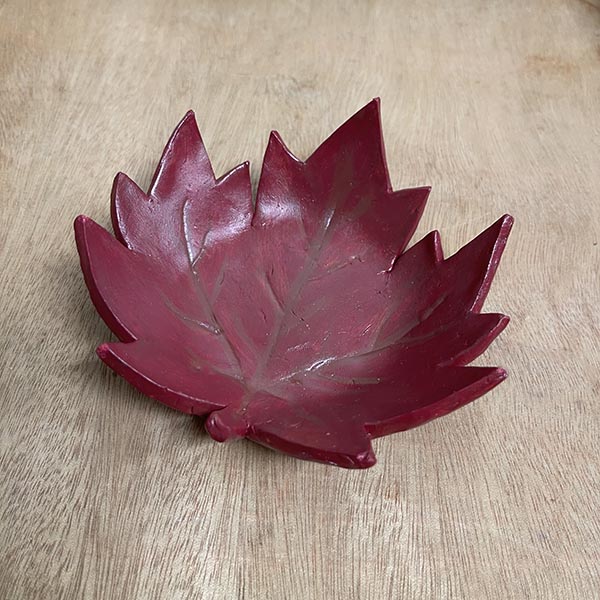
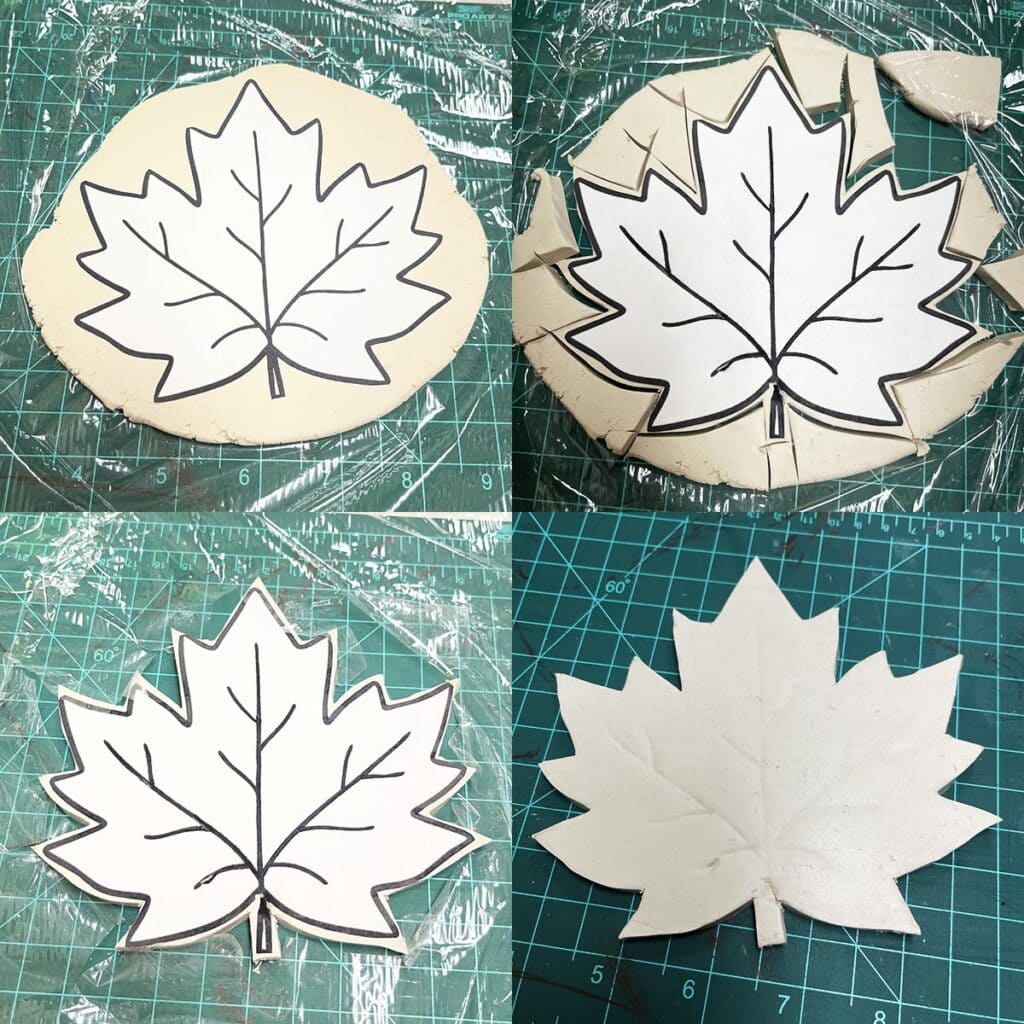
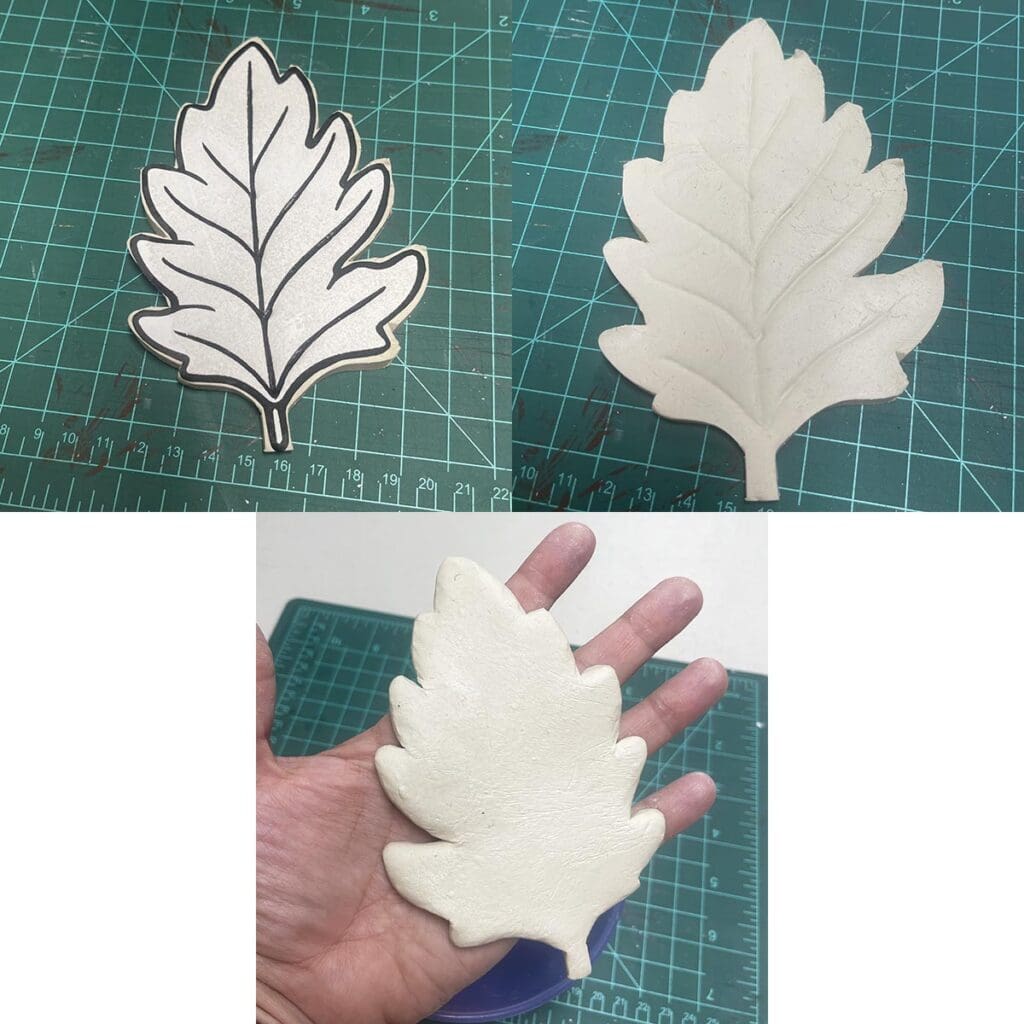
3. Remove the top piece of plastic wrap and slide the cutting mat under the clay. Place the maple leaf shape in the center of the clay and cut the shape out with your X-acto knife. Remove the extra clay pieces. Using a pencil or other pointy object, trace the lines of the veins on the leaf, so they are indented enough stand out. Remove the paper template and discard.
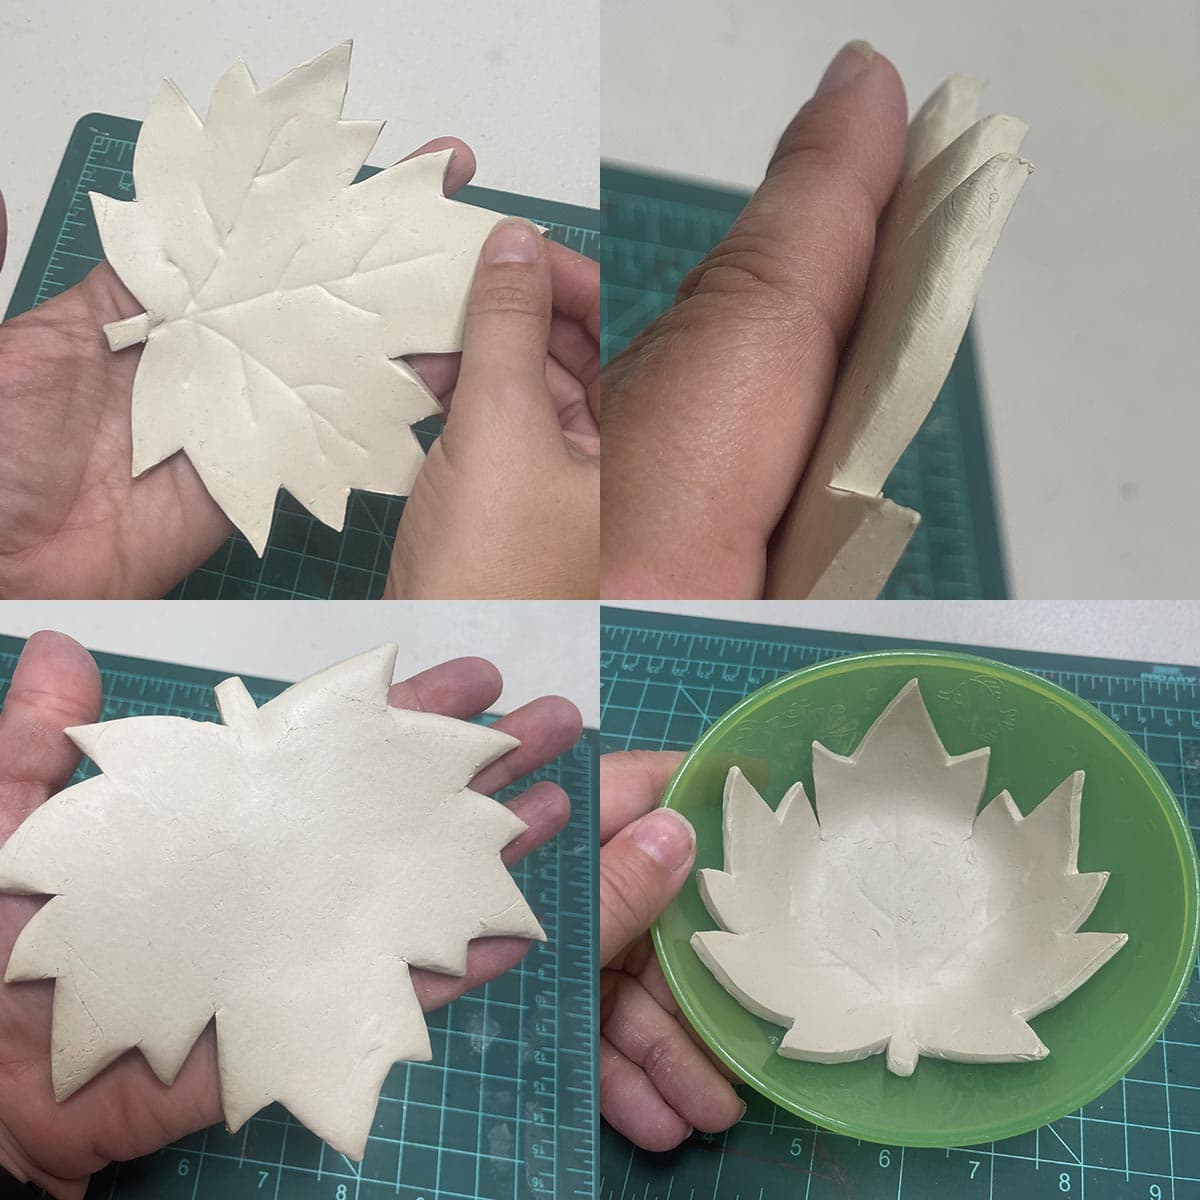
4. Pick up the clay leaf and remove the bottom layer of plastic wrap. Using your fingers, smooth out the back edge of the piece slightly, so its a bit rounded. Slightly soften the top edge of the leaf with your finger as well (we don’t want anything too sharp once dry). Work your way around the entire shape. Gently place the leaf in the bowl and slowly press it down, so it takes on the shape of the bowl. Be careful to not flatten out the vein details.
Oak Leaf
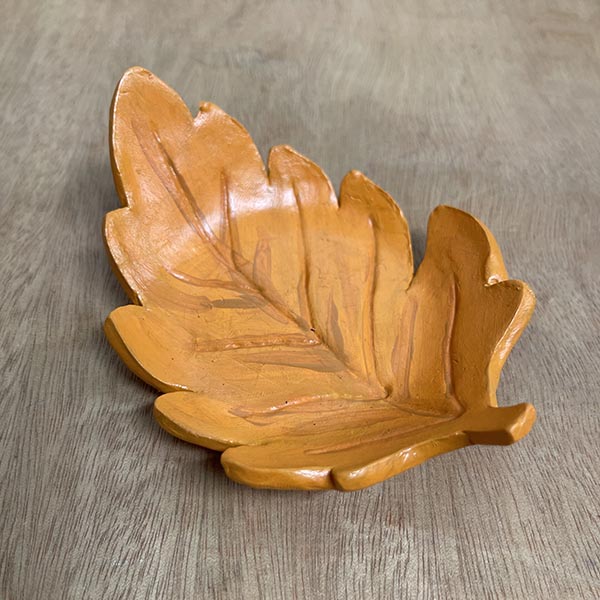
5. Repeat steps 1-4 with the oak leaf template to create the oak leaf bowl.
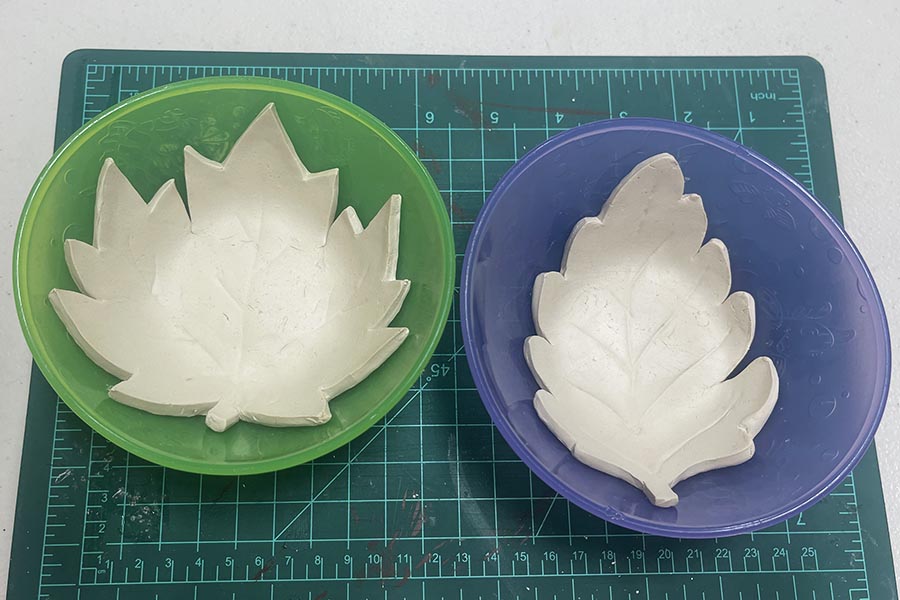
6. Repeat steps 1-4 to create as many leaf bowls as you like. Leave them in a dry place or close to a dehumidifier, if you have one, to dry for at least 12 hours. At that point, the top side of the leaf bowls should be pretty dry (enough to easily release from the bowl they are in and flip over).
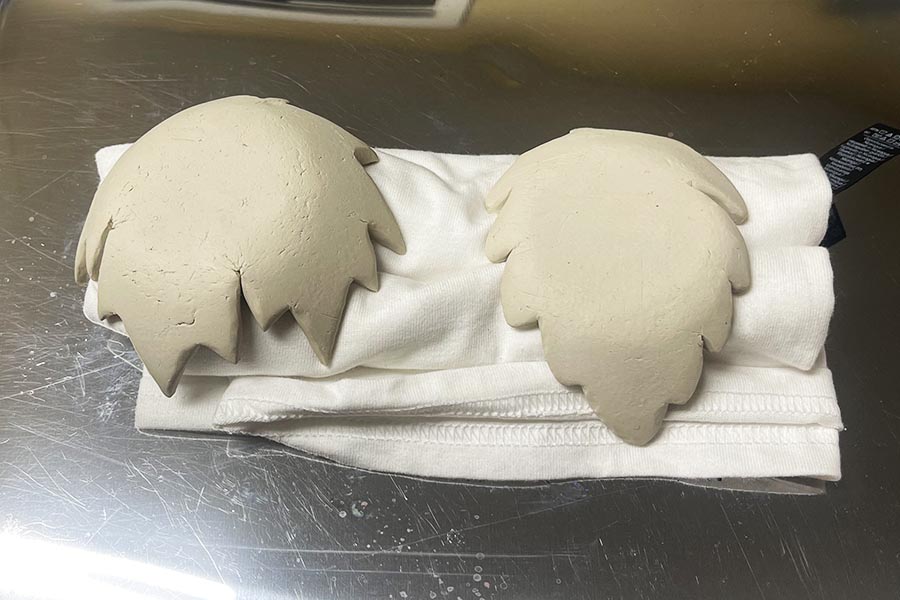
7. Flip the bowls over and place them on top of something soft, a rolled up towel or shirt in my case. This will allow them to dry without the edges of the leaf needing to hold up the heavy weight of the bowl. Allow them to dry at least another 12 hours. NOTE: Everyone’s location is different, so there is no set time for drying/hardening. Just be sure that they are fully dry before you start painting.
Painting Leaf BOWLS
NOTE ABOUT PAINTING (sorry about the length): Acrylic paint typically takes at least 2 coats to cover air dry clay. For this project we are going to use that to our advantage to create a richer, more interesting color. Each leaf will have only 2 colors. The first will be the main color and the brightest of the two. The second will be a darker version of the first with more brown or shadowy tones. I do not have specific colors for you (which is very unlike me). I just pulled out fall colors from my paint collection like reds, oranges, yellows, browns and started mixing. There are no right or wrong colors: super bright, very natural. Just mix and play a bit OR go to the store with fall leaf colors in mind. TIP: If you do mix colors, it is better to have too much paint rather than not enough and run out.
Maple Leaf
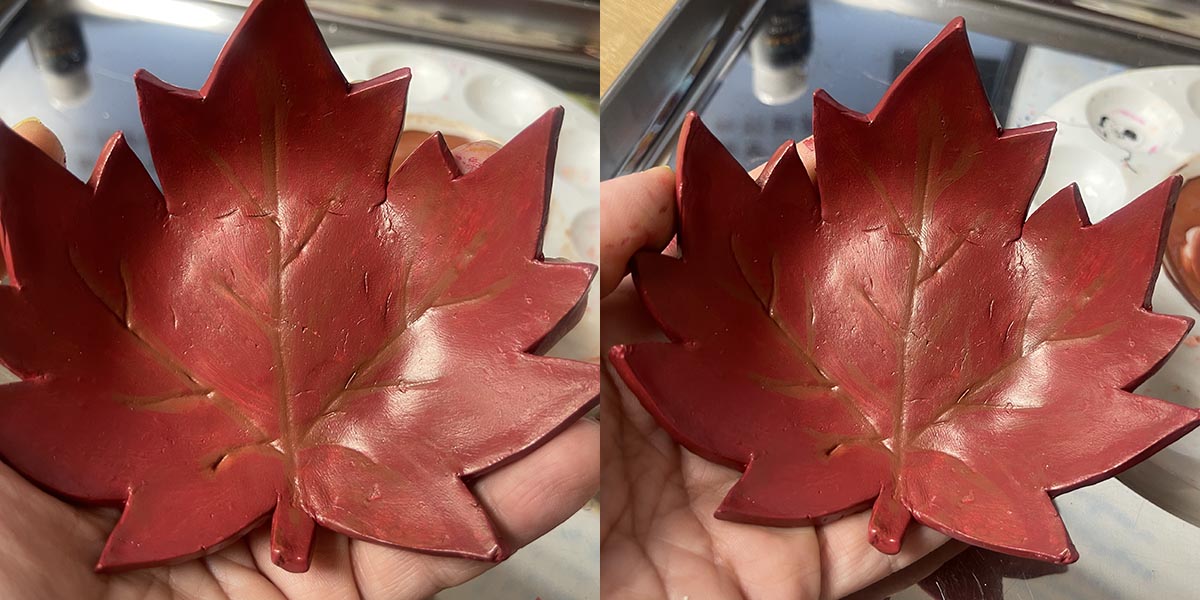
8. As I mentioned above, I put some fall colors on my palette (a paper plate will work too) and started mixing. I wanted the maple leaf to be red, so I made the second color a brownish red to compliment it.
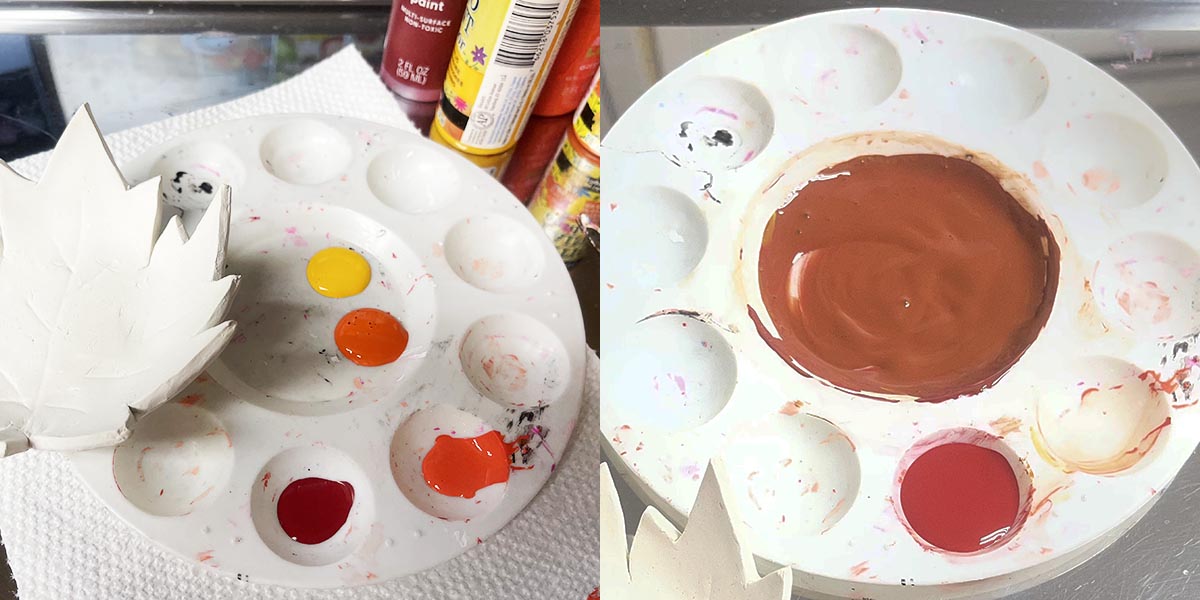
9. Once both colors are mixed, paint the inside and sides of the bowl with the first color. Let it dry for a few minutes.
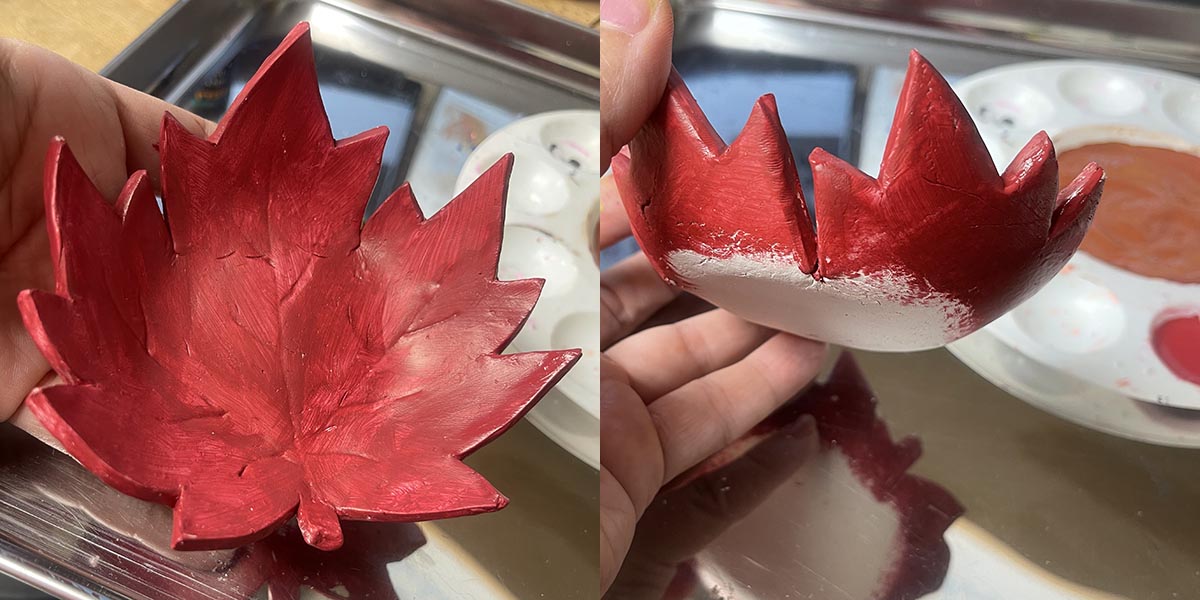
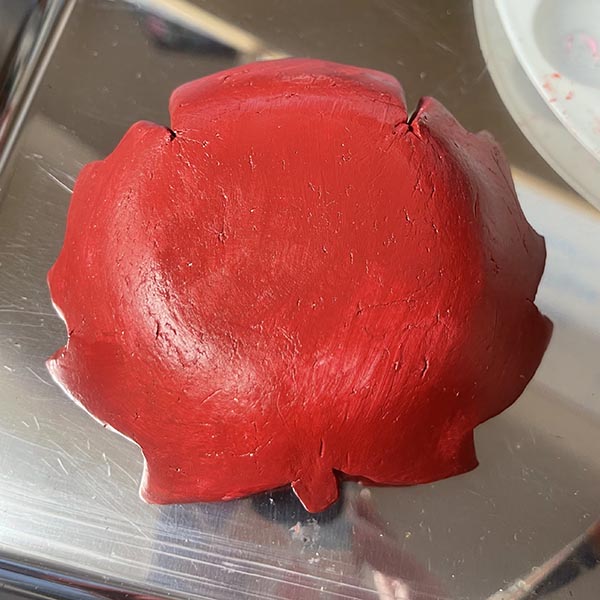
10. Turn the bowl over and paint the bottom of the bowl with the first color. Let it dry for a few minutes.
11. Turn the bowl back over and paint the inside and sides with the second (darker) color. Keep the layer nice and thin. We want some of the first color to pop through. Let that dry for a few minutes.
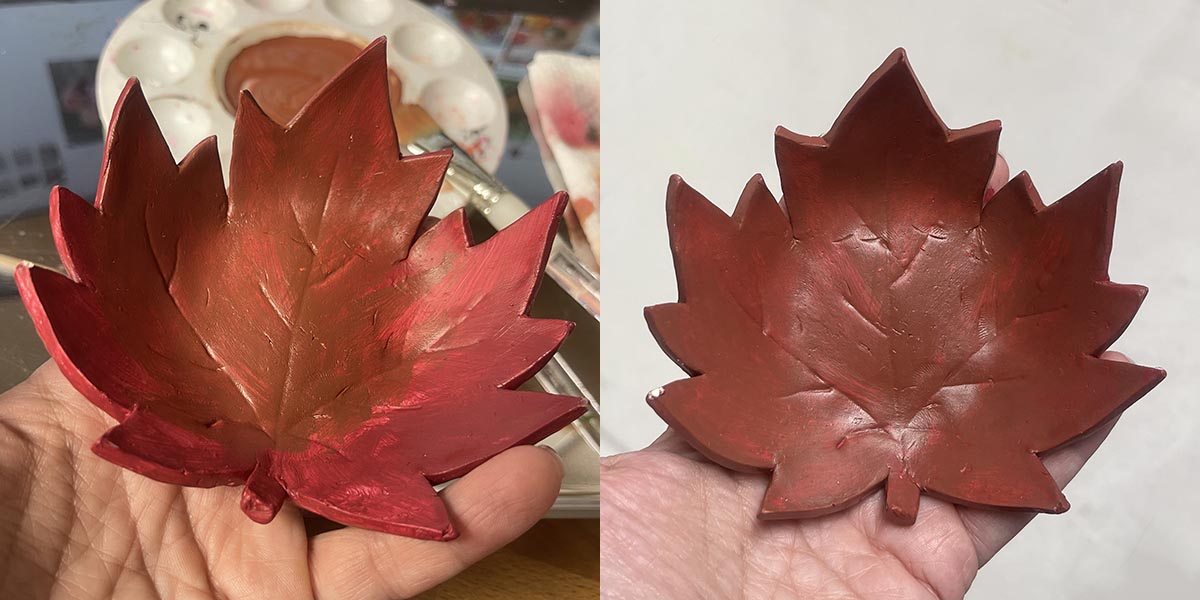
12. Flip it over once again and paint the bottom of the bowl with the second color. Let it dry for a few minutes.
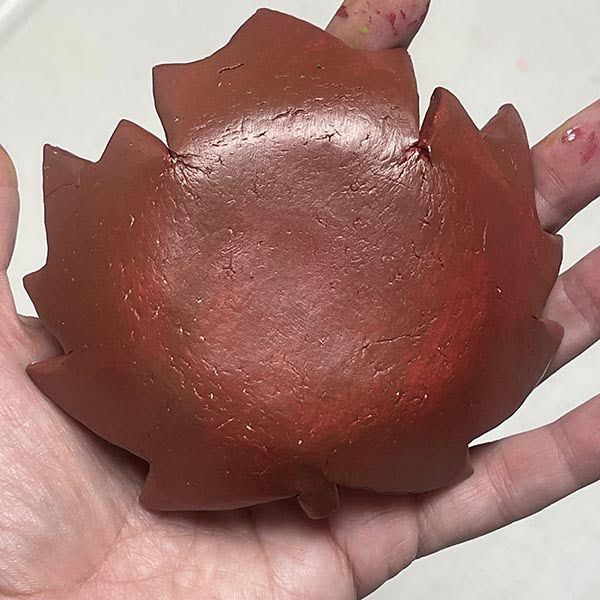
NOTE: As you are painting the air dry clay you may notice that a point or two may crumble off. Unfortunately, it is a downside to air dry versus oven baked, but you can just put a bit of paint on it for this project and it adds a bit of character to your bowl.
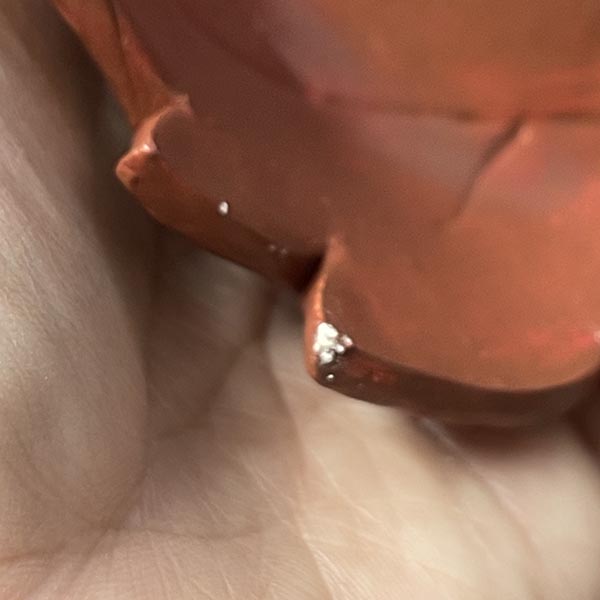
13. For the final steps of the bowl, paint a final layer of the first color on both sides of the bowl (working around the veins which are the darker color). When the last layer is dry, go over the vein lines again with the second darker color and even add additional little veins if you like. The point is not to be precise, just darker the indents a bit…a little messy is more “natural”.
Oak Leaf
14. For the oak leaf, I mixed an orange-ish yellow and darker version of it (which both dried orange). Paint the first layer, steps 9-10.
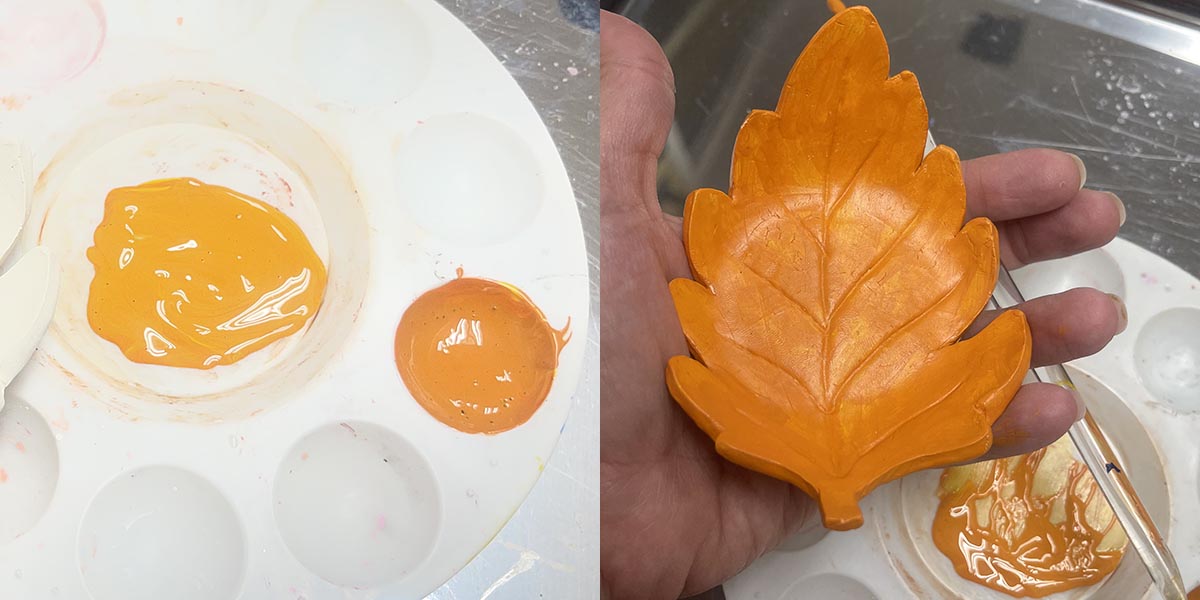
15. After the paint dries, add the darker second color, steps 11-12.
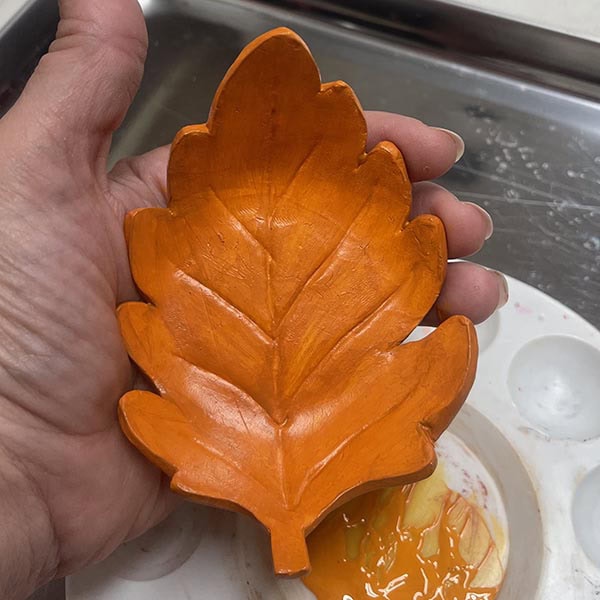
16. Once dry, paint the final layer on, step 13.
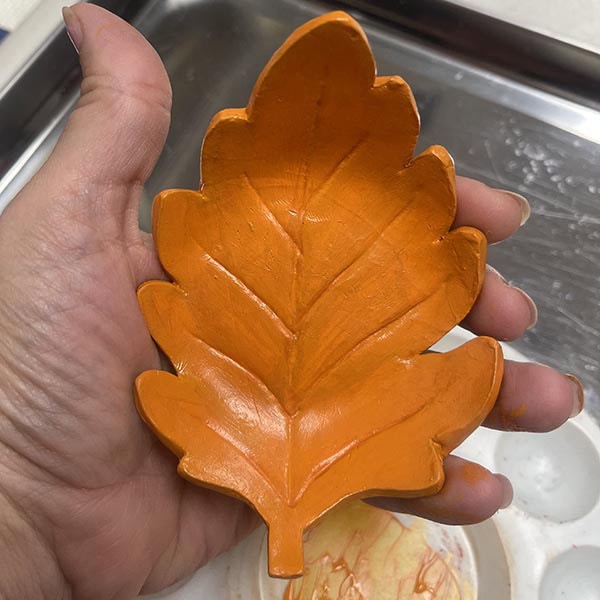
17. Add the darker second color to the veins as well as adding a few more vein lines to finish.
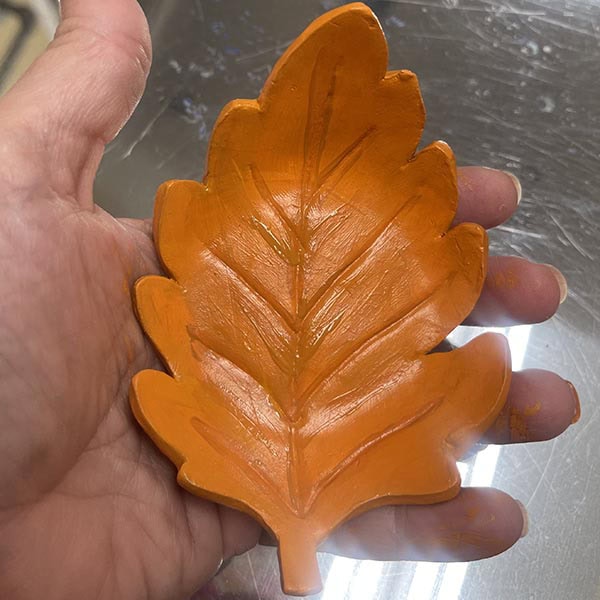
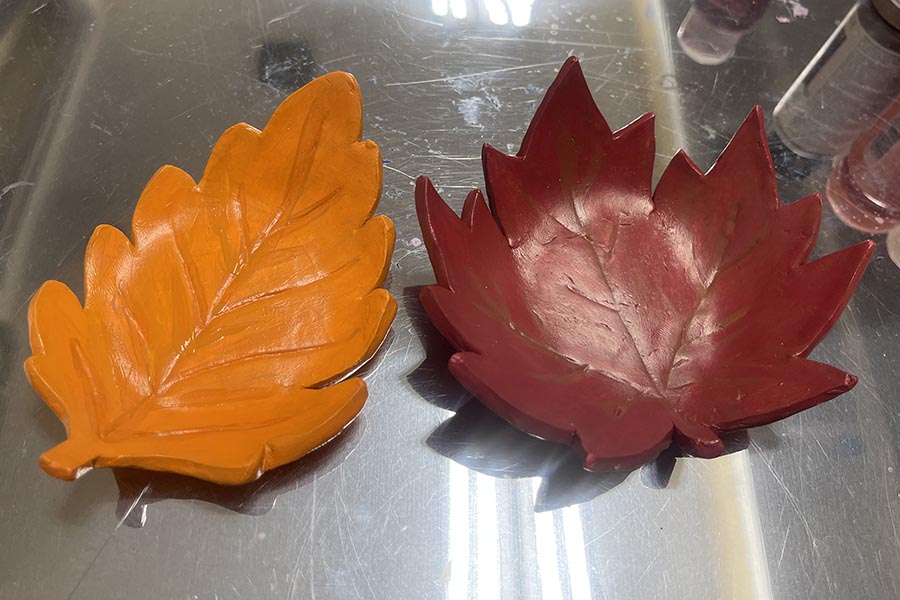
Here are the beautiful air dry clay leaf bowls that work great for both fall and Thanksgiving…so festive and gift-worthy! Which leaf do you want to make?