How To Tie Dye Colored Shirts From Your Closet And Give Them New Life!
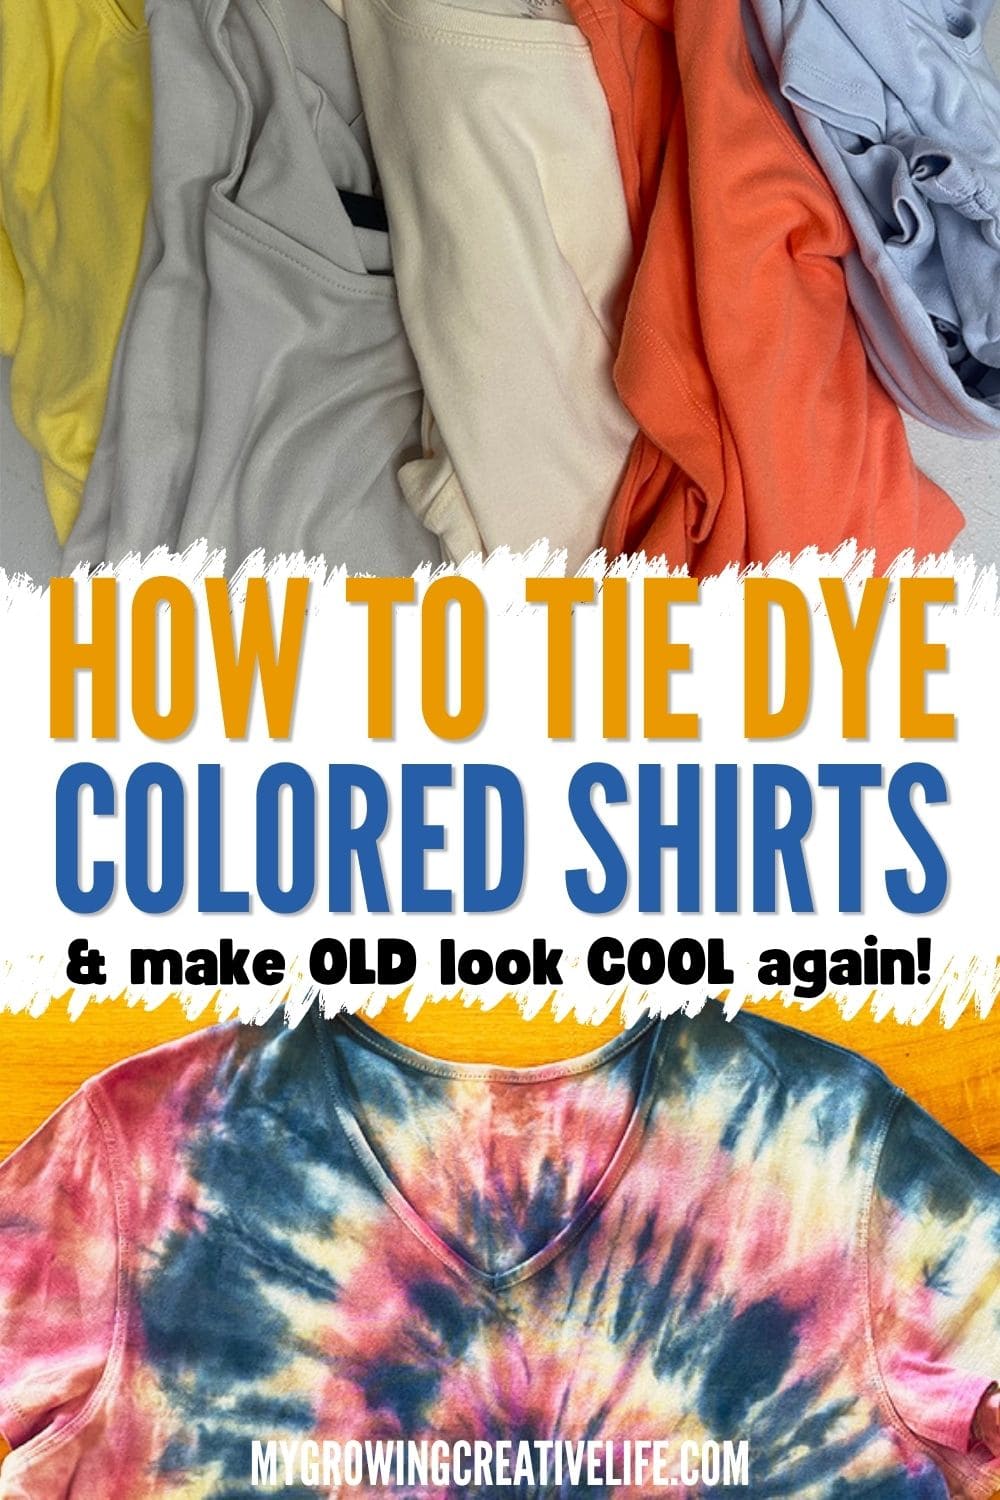
I am always up for a good challenge, so when my aunt told me that she had some shirts she wanted me to tie dye, I said sure. The challenge? These were colored shirts (not white) and ones she had for a while, so they’ve seen the washer and dryer many times. Could I tie dye colored shirts that were well worn and give them new life? We were about to find out!
NOTE #1: These shirts were 100% cotton. If your shirts are a blend or synthetic, this may not work. Please only use 100% cotton for the best results.
NOTE #2: For those of you that already understand reverse and bleach tie dyeing, I apologize in advance for the wordiness. Feel free to run to the end to see the after bleach tie dyeing and after reverse tie dyeing of each shirt.
Related Posts:
How To Tie Dye Colored Shirts
Now, the typical process of tie dyeing any non-white shirt is known as reverse tie dye. I have a very thorough post on it here: How To Reverse Tie Dye: 3 Different Ways, but these are the basics:
- Take a dark shirt or item and create a tie dye pattern.
- Add bleach to remove the existing dye.
- Once the dye is removed, add new dye colors to those areas to create new, interesting patterns.
The first part of this process is known as Bleach Tie Dye (see How To Bleach Tie Dye for great example pics). If you have a dark and NEW shirt you could even leave it after bleaching because the pattern is so pronounced. With my aunt’s shirts, however, they were softer colors to begin with and then the washing process has pulled some of that dye out over time, so who knows how they would react to bleach. (NOTE: I did give her the disclaimer that I had no idea if this would work, but I sure would give it a try.)
What fabric colors are typically used for bleach tie dye?
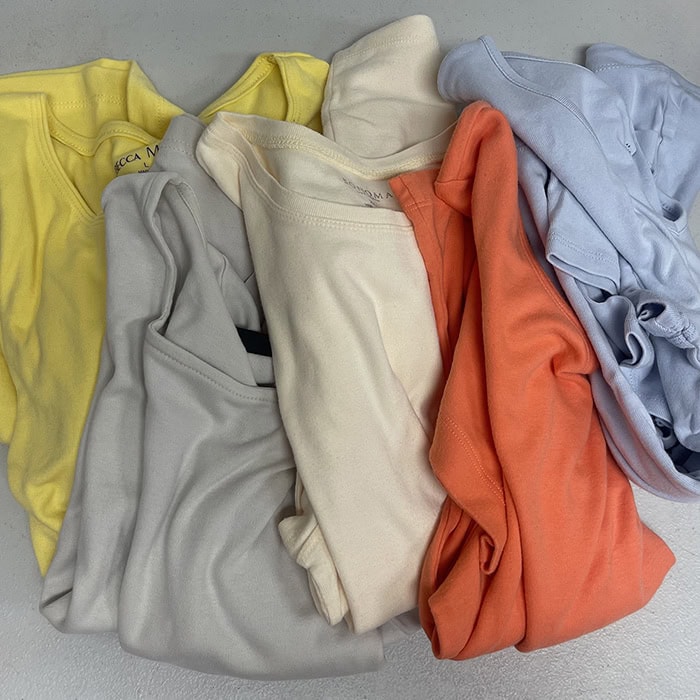
Black items are most typically used for bleach tie dye, however, you can use any pre-dyed (preferably dark colored) shirt or item. The bleach will react to each color differently, so that is something to think about when deciding what color fabric to use. In How To Bleach Tie Dye I used a black shirt (which turned orange when bleached), a red shirt (which turned orange), and a turquoise shirt (which turned grey). My aunt’s shirts varied from medium orange to light blue and pale yellow, so much softer than typically used.
What patterns work best for bleach and reverse tie dye?
For bleach and reverse tie dye I found that patterns starting with the shirt laying flat work best, like spiral or crumple. Any tie dye pattern that folds the shirt, like a heart or spider, can be problematic as the bleach might not be able to penetrate all of the layers evenly, so the pattern is hard to make out. For these shirts, I focused on the spiral, double spiral and crumple patterns.
Can you tie dye old shirts?
The short answer is yes. If the shirt is 100% cotton and white, there is no problem tie dyeing it. There is no dye that may or may not have been washed out, so its basically still a blank canvas. IF, however, the shirt is non-white then you will have to use bleach to remove dye and hopefully the fabric will take in the new dye. (NOTE: I suggest using shirts that are you aren’t attached to, so you are ok if one does not turn out)
How to prep for bleach tie dyeing
When you tie dye, it is very helpful to wear old, ‘can get stained’ clothes. The same goes for bleach tie dyeing. In addition, however, it is EXTREMELY important to have good ventilation. Bleach gives off fumes that are strong and can be harmful if inhaled. Ideally, outdoors or in an open garage would be best. Since I didn’t have the luxury of either option I did the bleach tie dyeing in my kitchen with an open window and a fan in the window blowing the fumes outside. That worked fine.
BLEACH TIE DYEING COLORED SHIRTS
Now that we’ve walked through how tie dyeing colored shirts ideally works (with new, dark/bright colored shirts), let’s see if we can bring new life to these older shirts. (For more details on these Materials and Tie Dyeing Techniques, see How To Bleach Tie Dye)
What you’ll need:
- Colored Shirt(s)
- Rubber Bands
- Bleach and Water
- Spray Bottle
- Plastic/Rubber Gloves
- Baking Tray With Rack (optional)
- Gallon Plastic Bags or Plastic Wrap
- Hydrogen Peroxide (optional–if you are not going to wash the shirt right away)
1. For the bleach tie dyeing part, start out with a dry shirt (which is different then when you typically tie dye). There will be enough liquid from the bleach/water solution to absorb into the shirt, so no additional water is needed to create a nice pattern.
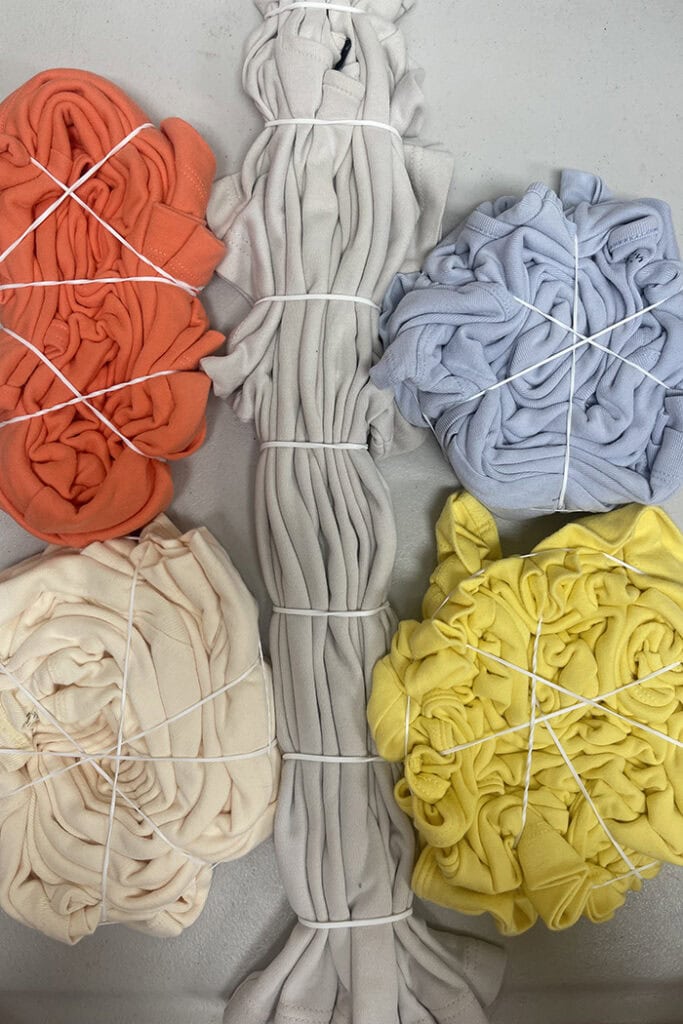
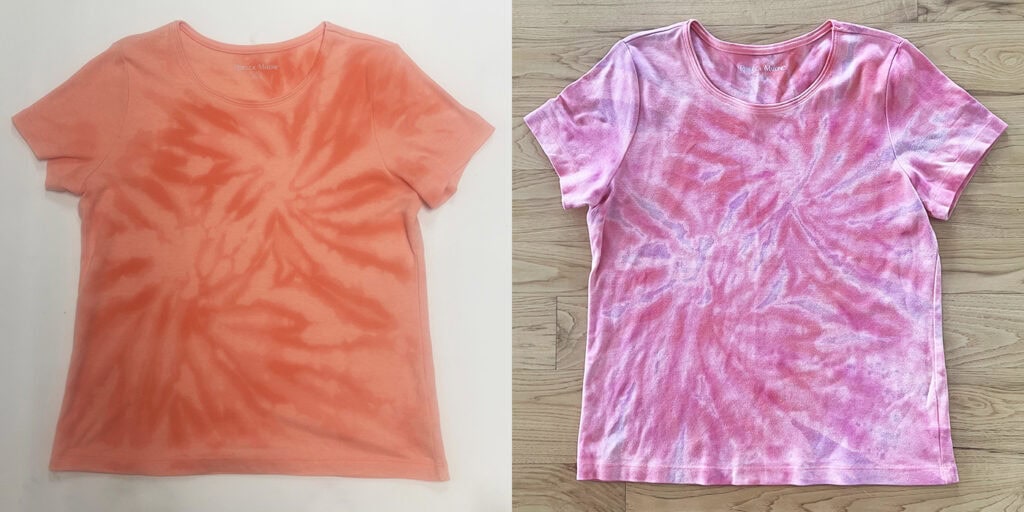
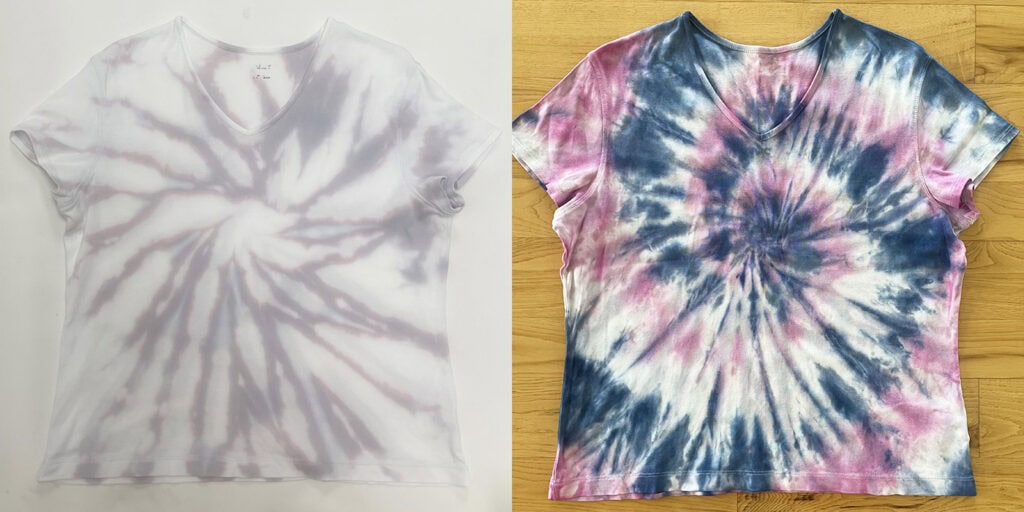
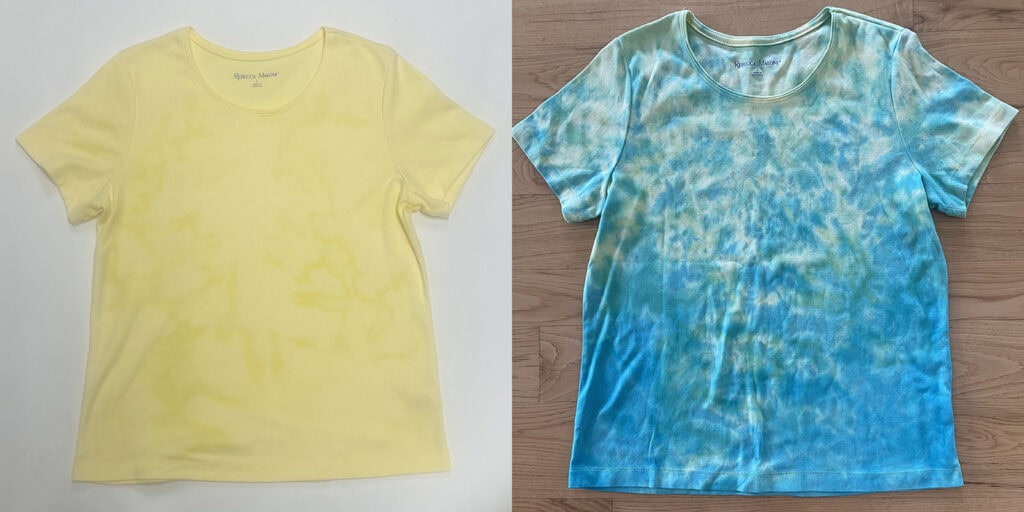
2. Tie up your shirt(s) and secure with rubber bands. I chose Double Spiral Tie Dye for the orange shirt, Spiral Tie Dye for the pale yellow and light blue shirts, Crumple Tie Dye for the yellow shirt, and Chevron Tie Dye for the light grey shirt (which I did not get to finish yet as I ran out of dye).
3. Fill a spray bottle with 50% bleach/50% water and gently shake to mix.
4. Set each shirt on the baking tray and rack or in/on another protected surface like a stainless steel sink. Liberally spray the top and sides of the shirt, allowing the mixture to soak in.
5. Turn the shirt over and repeat, so both sides are covered.
6. When both sides of the shirt are saturated, put it in a plastic bag.
How Long Should I Let The Bleach Tie Dye Sit?
It will take about 15-20 minutes for the dye to be removed (and the color of the shirt to change). For these shirt, being lighter and older fabric, I went for 15min. Once the bleach solution has removed enough dye, it’s time to rinse and wash the shirt. This is an important step as, if done in the wrong order or rushed, it can muddy up the nice pattern you created or leave bleach in the fabric.
RINSING OUT BLEACH
7. Take the shirt out of the plastic bag and put it in a sink or bucket (something that can get dirty and won’t stain). We have a stainless steel kitchen sink, so I use that. You can cut/take off the rubber bands and then rinse the shirt in COLD water. The cold part is critical because it allows excess solution to wash out slowly while not bleaching the remaining dark parts of the shirt.
8. Repeat this rinse process several times.
9. Once the shirt is thoroughly rinsed, you can wash it in the washing machine either by itself or with several other rinsed bleached items. Wash on warm or cold with a bit of detergent.
How To Neutralize Bleach In Fabric?
If you are not going to wash the shirt in the washing machine right away after rinsing, any remaining bleach in the fabric should be neutralized to stop any further color change/corrosion.
10a. To do this, add 1 part 3% hydrogen peroxide to 10 parts water (example: 1 cup of hydrogen peroxide with 10 cups water).
10b. Dunk the shirt in the solution and swish around a bit.
10c. Let it sit for 10-15min before taking it out.
10d. Rinse in some cool water and squeeze out the excess water.
11. Dry the shirt(s) in the dryer or let air dry (which is my preference as they last longer)
TIE DYEING COLORED SHIRTs
For these shirts, I used the same steps of traditional tie dyeing. I started with damp, but not wet, shirts which helps get the dye to absorb into the fabric easier.
NOTE ON DYE COLOR CHOICES: Pick dye colors that will compliment the colors left in the shirt after bleaching. As you will see at the end of the post, the orange and yellow shirts just became lighter versions of those colors. I added reds and pinks to the orange shirt as they were powerful enough to stand up to orange and blend well together. I did something similar for the yellow one.
Be sure to prep (cover) your work surface before starting to dye. For more details on prepping your work surface, please see HOW TO TIE DYE: THE ULTIMATE GUIDE.
12. Re-tie each shirt in its original pattern, so the dye can reinforce the design that the bleach should have started to create. (NOTE: A lot of the patterns for these shirts were pretty faint because of the lighter, more worn fabric. Turned out fine though because the fabric still absorbed the new dye.)
13. Once each shirt is tied up, place it on a baking tray/rack or covered work surface and add the dye colors to the shirt. I start with the weakest (yellow) first. READ: Spiral Tie Dye, Double Spiral Tie Dye, or Crumple Tie Dye for tips on adding dye for each pattern.
14. Once the first side is dyed, flip the shirt over and repeat. Put the shirt in a plastic bag or cover in plastic wrap.
15. Let the shirt sit for minimally 6-8 hours and up to 24 hours max, so the dye can cure. This will help produce the brightest colors.
Rinsing AND WASHING (AGAIN)
Once the dye has cured, it’s time to rinse and wash the shirt again. I will SAY IT AGAIN as this is an important step in tie dyeing. If you rinse/wash your item in the wrong order or rush it, the nice colors and pattern you created can become muddy and lost.
16. Take the shirt out of the plastic bag and put it in a sink or bucket (something that can get dirty and won’t stain). Again, we use our stainless steel kitchen sink for this. Cut/take off the rubber bands and then rinse the shirt in COLD water. The cold part is critical because it allows excess dye to wash out slowly while not bleeding into other parts of the shirt.
17. Repeat this rinse process several times until the water is fairly clear.
18. Once the water is fairly clear, repeat the rinse process once more, but with luke warm water (not HOT). This should get the last bit of excess dye out before putting it in a washing machine.
19. Once the shirt is thoroughly rinsed, you can wash it in the washing machine either by itself or with several other rinsed tie dye items. If I’m tie dyeing a bunch of shirts, I will put up to 6 in one load. Wash on warm or cold with a bit of detergent.
20. Dry the shirt(s) in dryer or let air dry. Personally I prefer air drying as it extends the life of the dye color (as they will eventually fade a bit with washing and wear).
NOTE: Wash the shirt by itself or with other tie dye items for the next few washings before adding it in with your other clothes.
FINAL Tie dyed colored SHIRTS
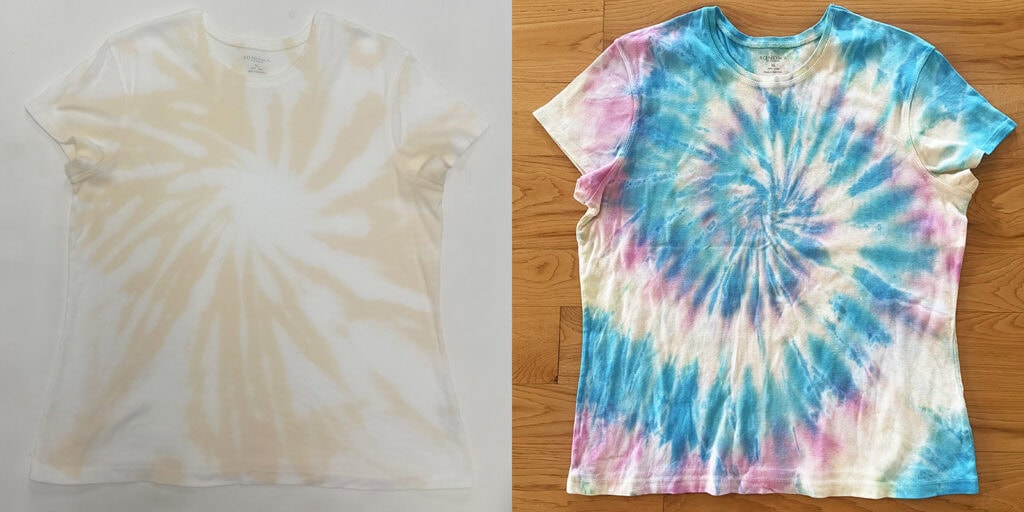
So, can you tie dye colored shirts, even older ones from your closet? YES, you can and they can get a new, colorful and fun life! There is some additional unpredictability given the colors and wearing of the fabric. A good example of this is the light blue shirt below that changed to a white and greyish purple after bleaching. Not what I expected, but still really interesting. And the yellow shirt below that I carefully layered blue, turquoise and greens to mimic the ocean (my aunt lives in Florida) and soften the yellow.
I hope these tips will inspire you to take a look in your closet for items that need some new life.