Easy Tissue Paper Halloween Mason Jars – 4 Spooky-Cute Designs
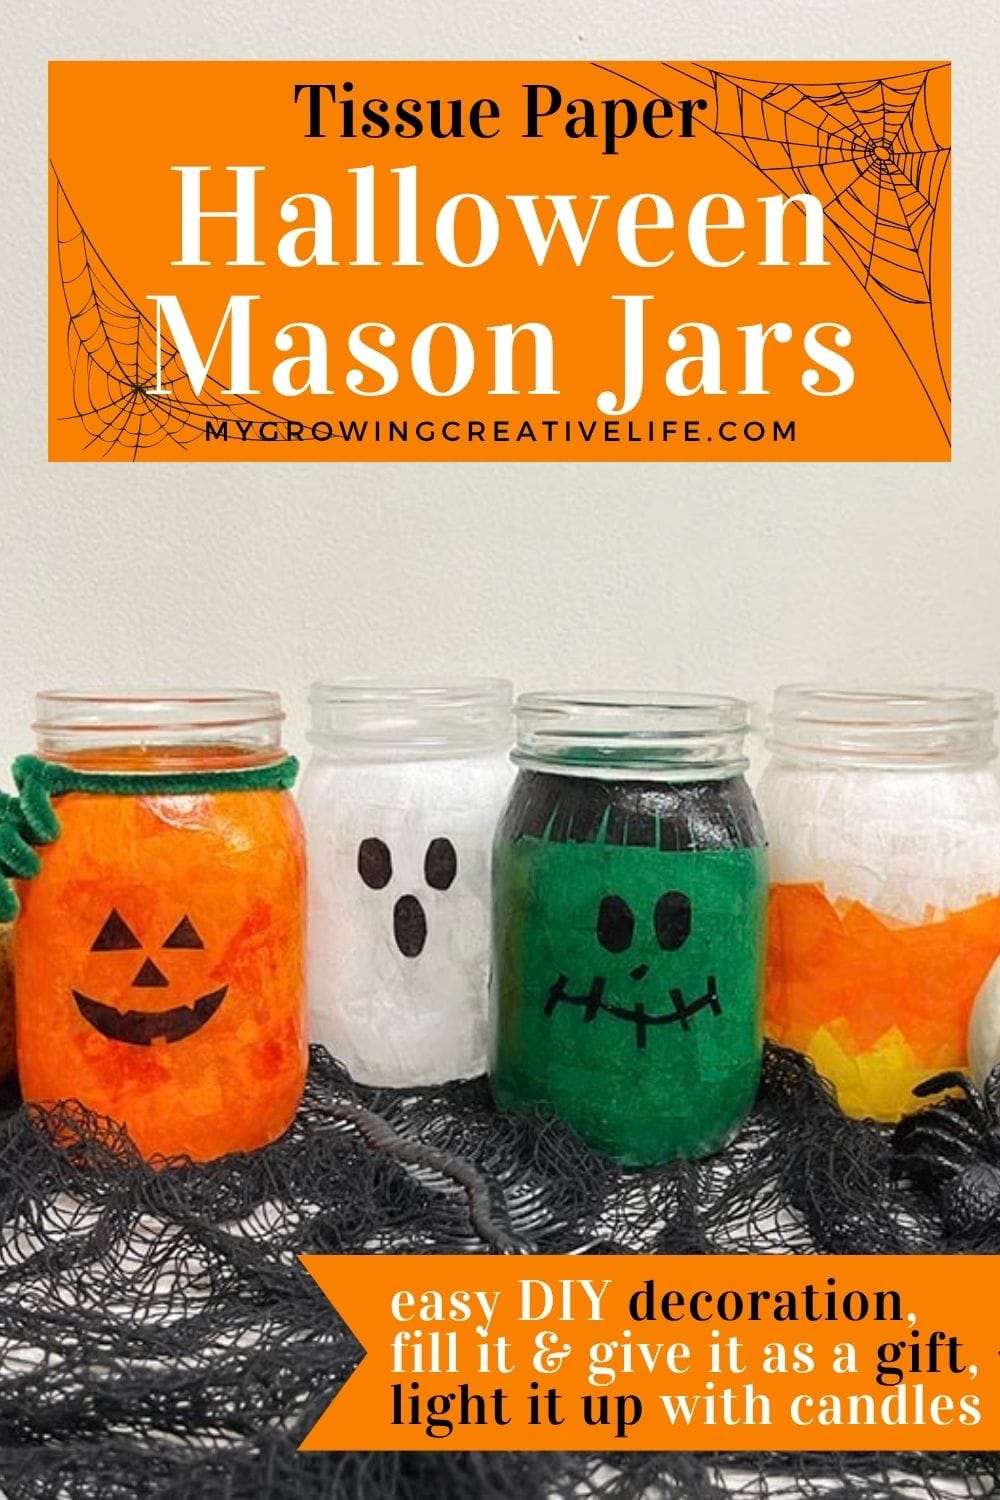
This Halloween I wanted to create something fun, inexpensive and colorful that was super versatile. You could decorate with it, fill it and give it as a gift, or even light it up with candles. These tissue paper Halloween mason jars are all that and inspired by the Tissue Paper Mason Jar Lanterns For Kids that my daughters and I made so many years ago.
Since there are SO many wonderful characters during Halloween, I chose some of the most well known: Pumpkin/Jack O’ Lantern, Ghost, Frankenstein and Candy Corn. But you can really create any character with the right colors of tissue paper and a bit of creativity. Also, please feel free to add raffia, ribbon, pipe cleaners, etc. to the top to change up the look and feel of them.
Ready to make these spooky and cute creations?
FOR MORE HALLOWEEN CRAFTING:
TISSUE PAPER HALLOWEEN MASON JARS
What you’ll need:
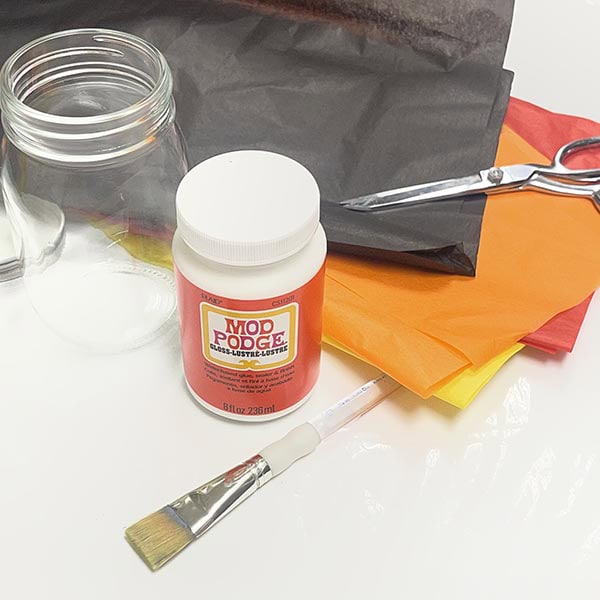
MATERIAL TIPS:
- Mason Jar Size – I used pint jars for these designs, but quart size will work too. Same steps, just more tissue paper and mod podge needed
- Type of Mod Podge – I used gloss (the original) for this project, but matte could work too. Just keep in mind it will look less shiny.
PUMPKIN MASON JAR
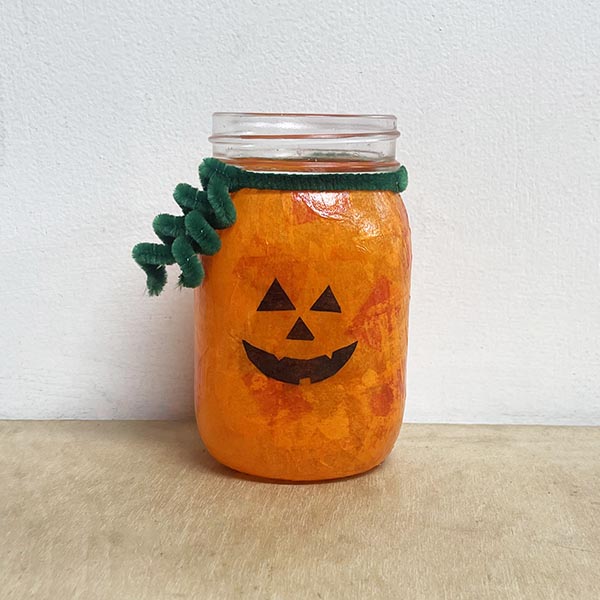
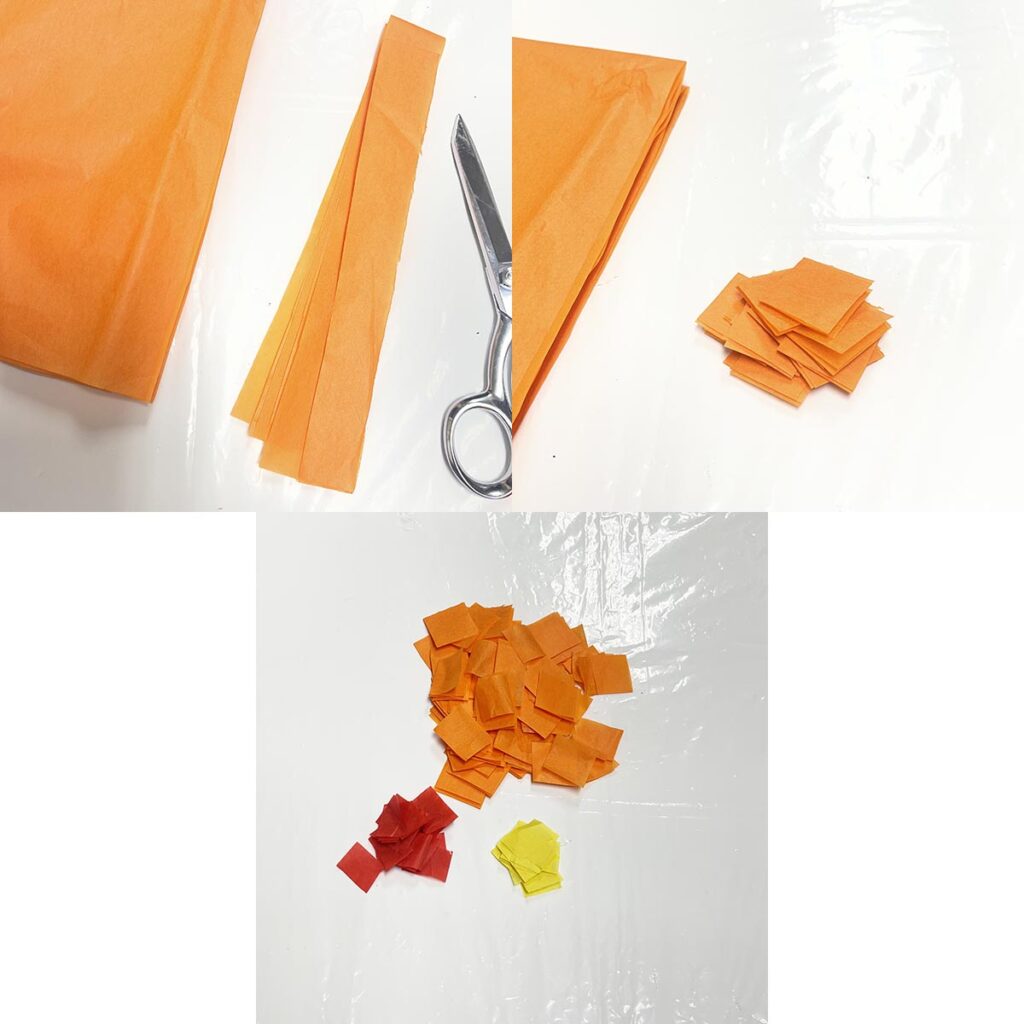
1. For each design, we’ll need a bunch of tissue paper pieces. For the pumpkin, start by folding the orange tissue paper over several times and then cut a strip that’s about 1″ wide. It does NOT need to be exact, just approximate, so the squares will be easy to work with. Take that layered strip and cut 1″ squares from that. Repeat this step with a few strips until a small pile is created (NOTE: for the pumpkin I added some yellow and red to the first layer to create lighter and darker oranges. If you don’t have those colors or don’t feel like it, you can skip these colors and just use orange)
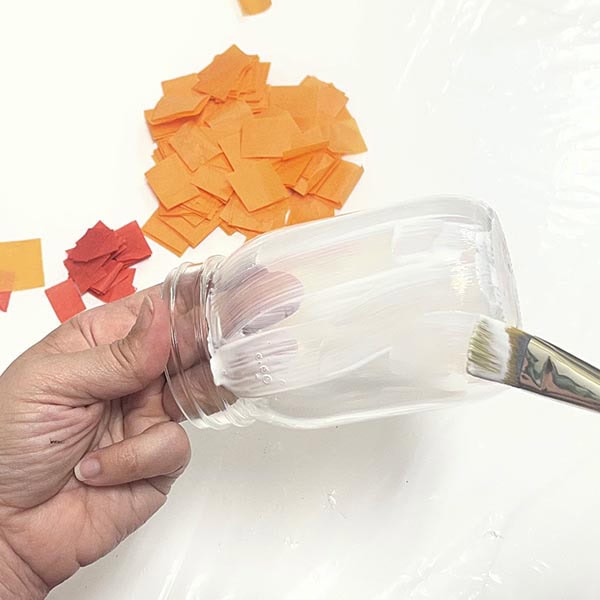
2. Once the tissue paper pieces are cut, set them aside. It’s time to brush the first layer of Mod Podge onto the mason jar. Use your brush and be liberal with it, covering everything under the “neck” of the jar (fancy word for where you screw the cap on) to the entire bottom of the jar.
3. Starting with the yellow and red pieces, if you are using them, stick them on the jar spacing them out. Gently tap down each piece so it completely sticks to the jar.
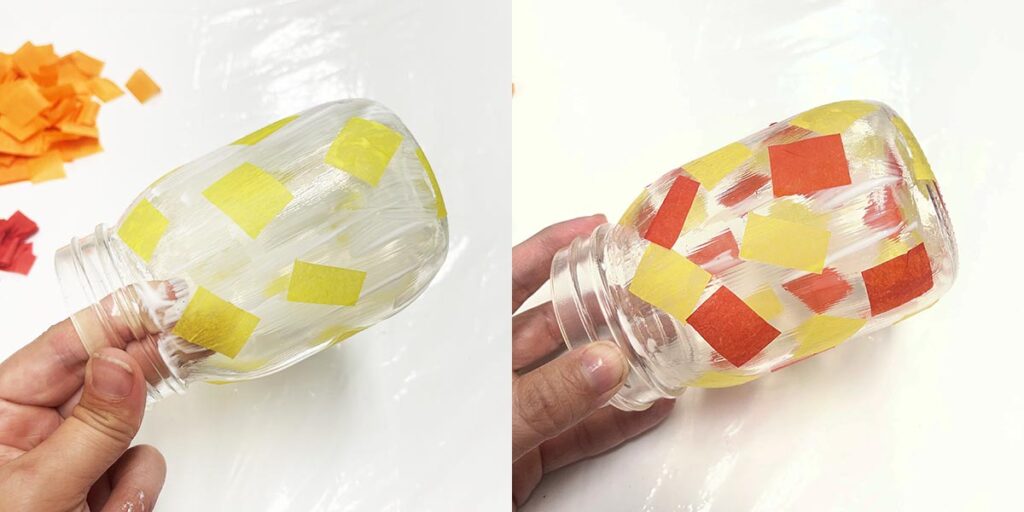
4. Once the yellow and red pieces are on, cover the entire jar below the neck with orange pieces, making them overlap to fully cover the glass (and the yellow/red pieces). This is the first of two layers of tissue paper. NOTE: As you move down the jar the Mod Podge will start to dry, so work fairly quickly. Some pieces, towards the end will barely be sticking on and that’s OK! We will address that in the next step.
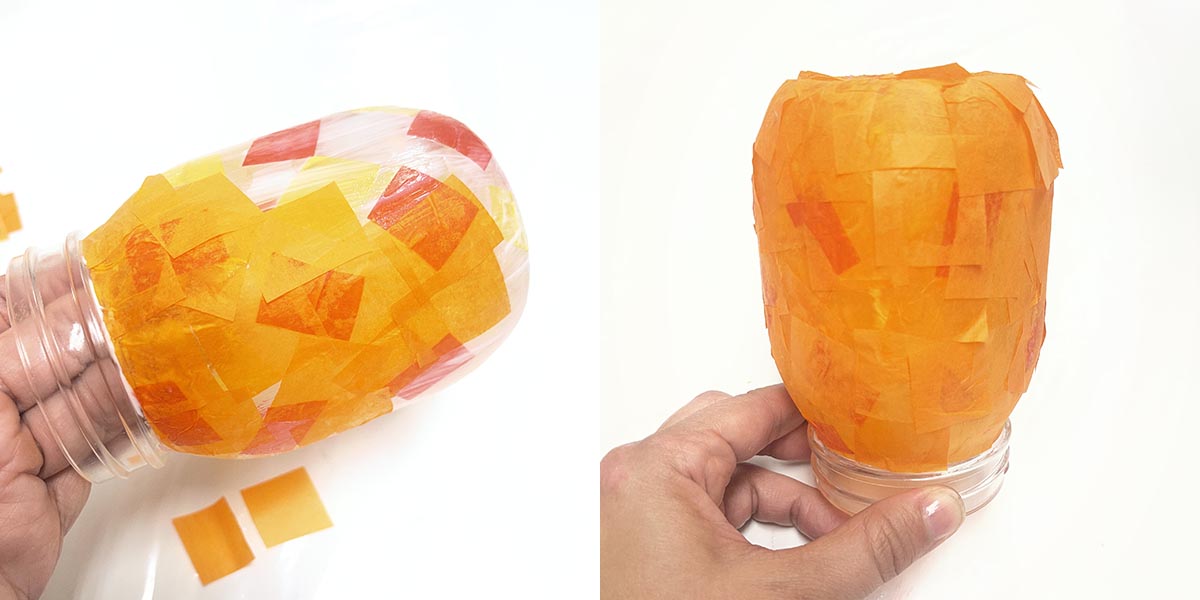
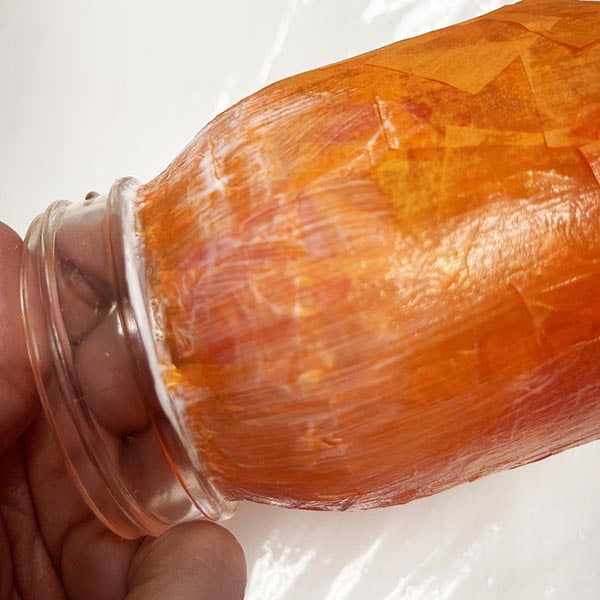
5. Now is the time to seal the first layer with Mod Podge. Liberally, but evenly, brush the Mod Podge over every part of where the tissue paper pieces are. Be particularly gentle with the edges that are not stuck down well and use the brush to encourage them to lay down smoothly. Make sure to also get the Mod Podge under the neck of the jar (see step #6 close up pic), so that edge is nicely sealed at the top.
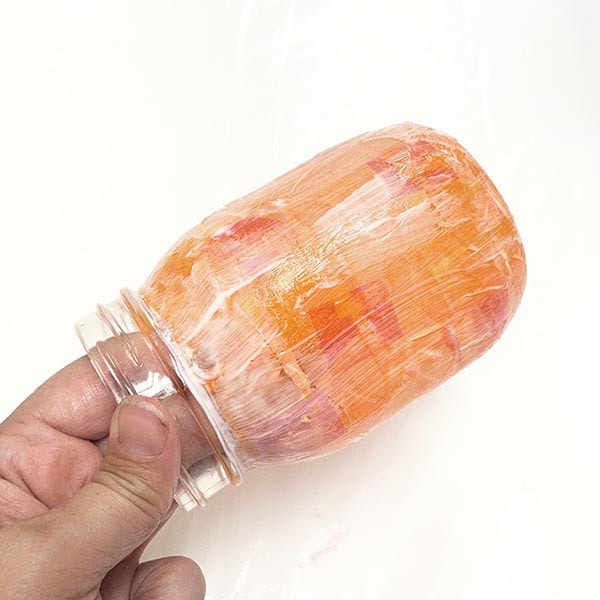
6. Before the Mod Podge dries you can add the second layer of orange tissue paper pieces, making sure to completely cover the jar again. Once fully covered, brush on another liberal layer of Mod Podge (remember, it will dry clear, so don’t skimp) to fully seal the design on. Now let it dry upside down. (NOTE: if you need a break after sealing the first layer, you can let it dry and then apply more Mod Podge again to continue this step. It will just take more Mod Podge and a bit more time)
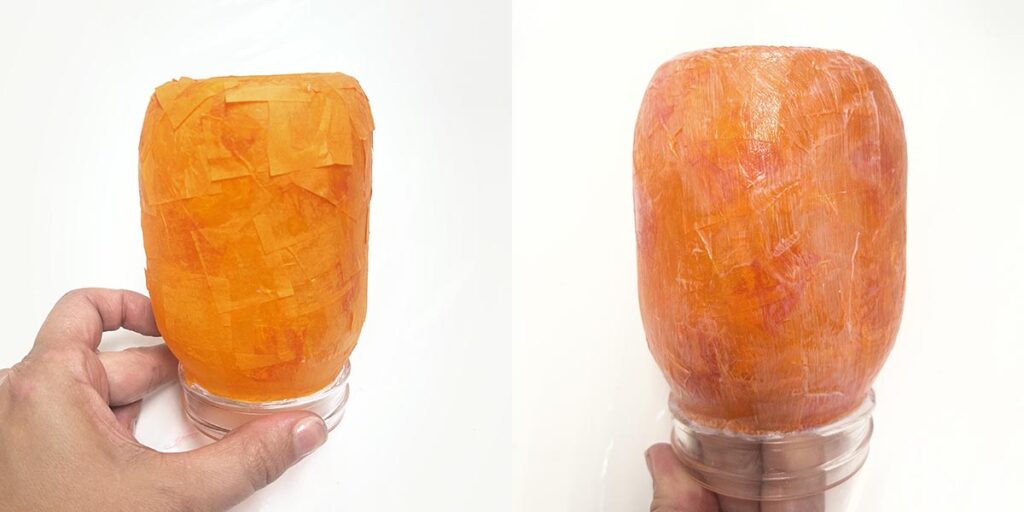
Here is a close up of under the neck of the jar. Be sure to get Mod Podge in there, so the edge of the paper is fully attached to the jar. Also, if any Mod Podge gets onto the neck of the jar, just wipe it off with your finger or some paper towel (no biggie).
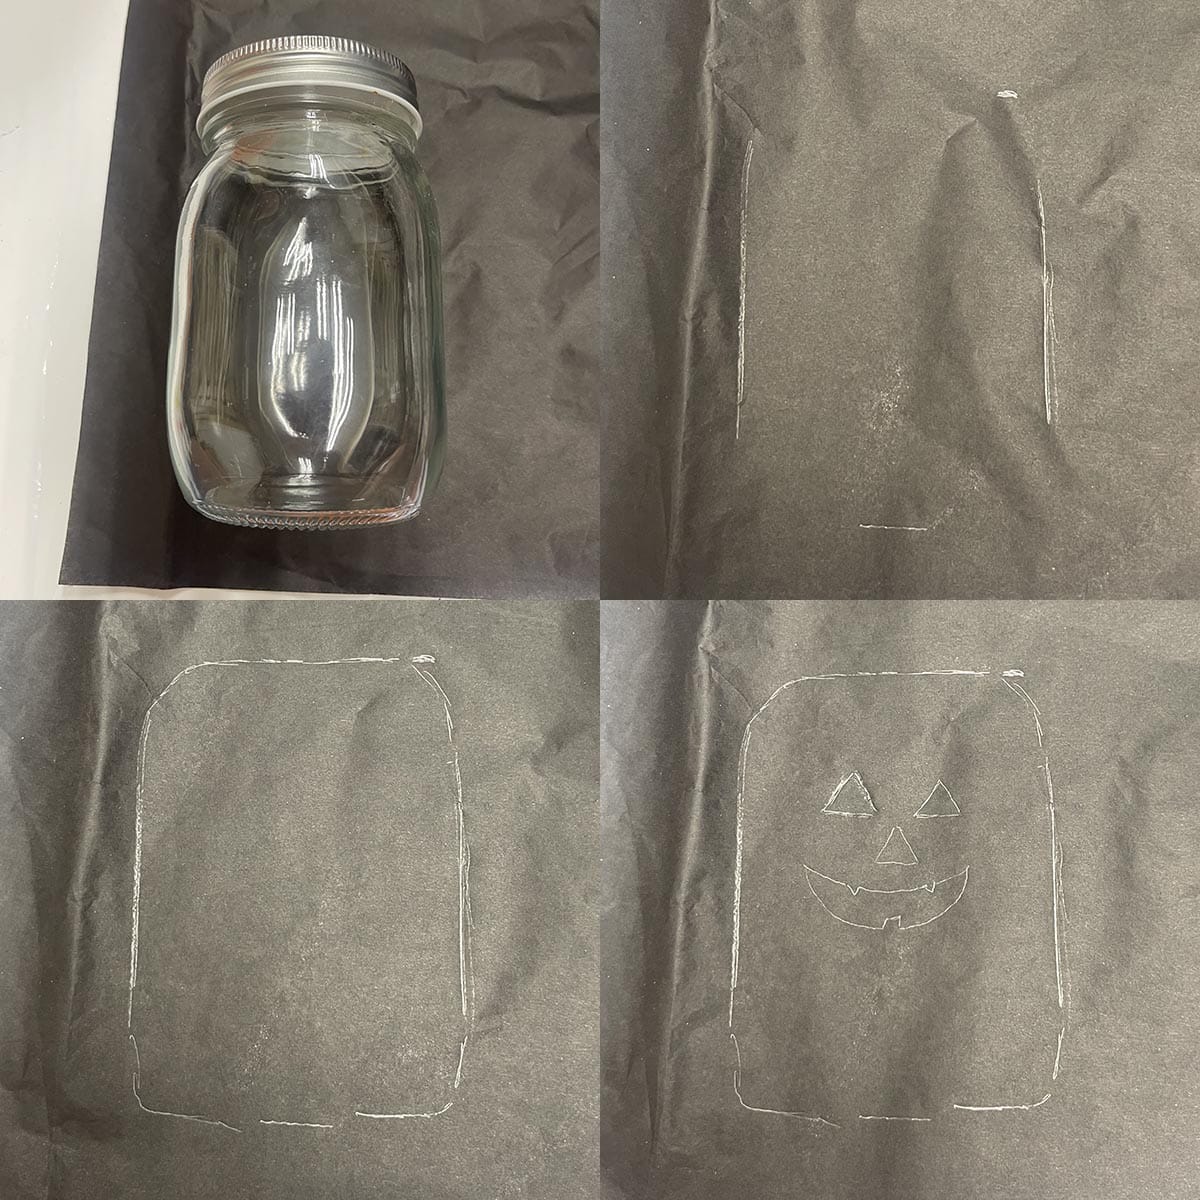
7. While the mason jar is drying, create the face of the jack o’ lantern on the black tissue paper. Take another mason jar (or wait until yours dries) and lay it down as a pattern for size. Make a few marks with pencil: top (under the neck/cap), bottom, and sides and remove the jar. I personally like to fill in the gaps, so I can see the entire front shape of the jar. Then draw a jack o’ lantern face on the paper and carefully cut the pieces out. TIP: If you need inspiration, like me, google ‘simple jack o lantern faces’ and there will be a ton of images that you can copy from. And remember, the simpler the better.
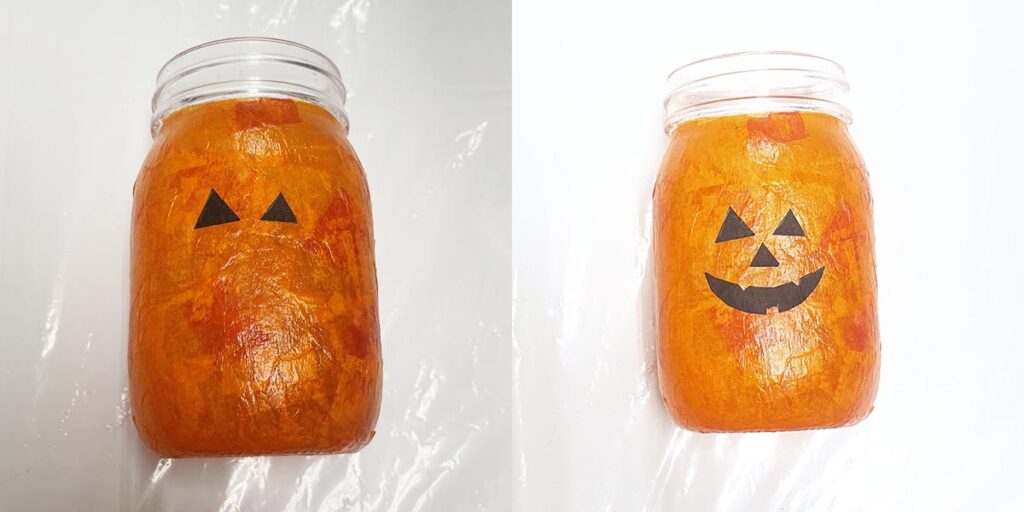
8. When the mason jar is dry, lay it down. Brush a light layer of Mod Podge on the front (just enough to get the pieces to stick) and carefully place each piece on. Brush another layer of Mod Podge over the face pieces to seal. Let it fully dry. NOTE: Black tissue paper bleeds dye and the more you brush the Mod Podge on, the more the color of the wet Mod Podge will turn black. I like to set a piece of paper towel next to me and wipe the brush after a few strokes to get the black color off (and before I dip it in the nice white Mod Podge bottle again).
Optional Pipe Cleaner Stem For Pumpkin
9. To add the pipe cleaner stem to the top of the pumpkin, twist the 2 pipe cleaners together at the ends to create one extra long pipe cleaner.
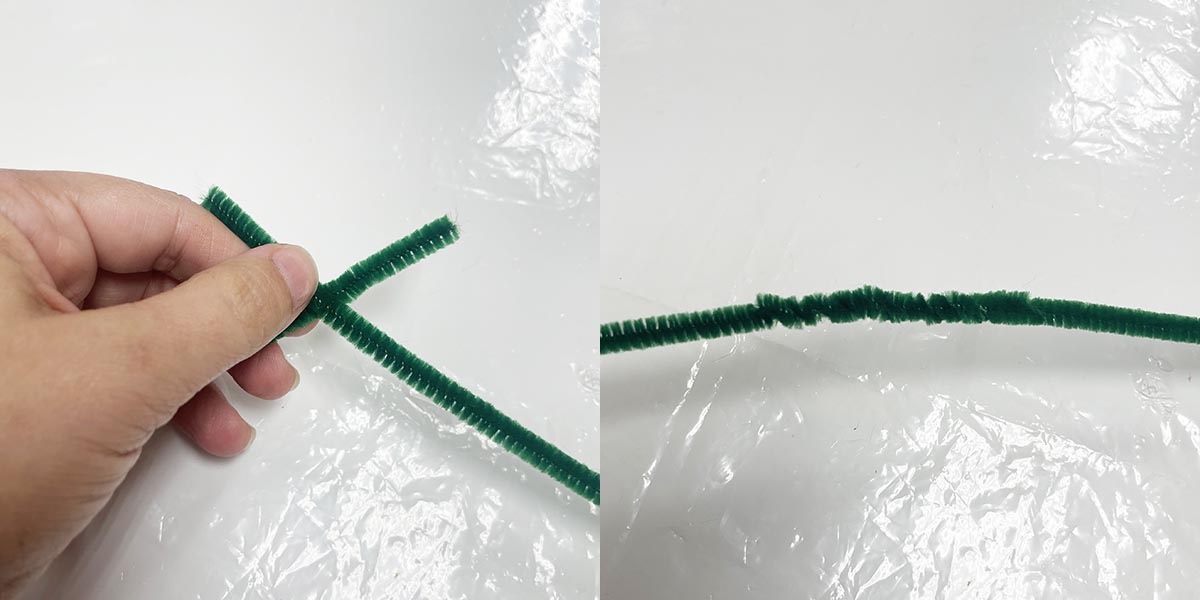
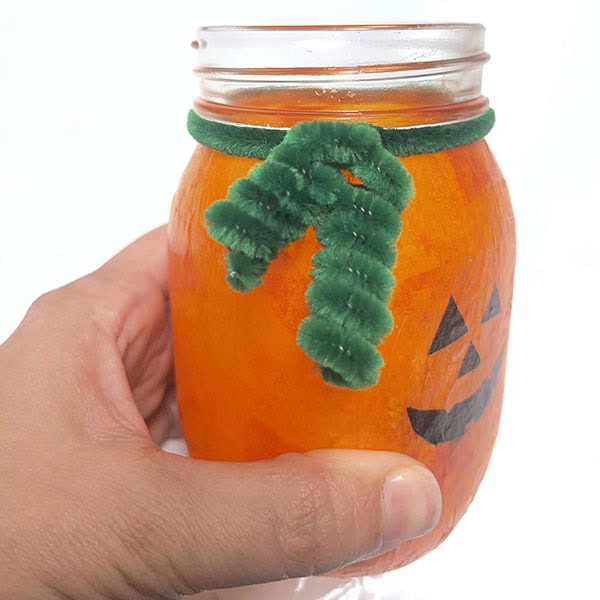
10. Wrap the pipe cleaner around the mason jar below the neck, so you can still screw a lid on it. Twist it into place wherever you want the curly stem vines to hang from (I prefer to one side of the face).
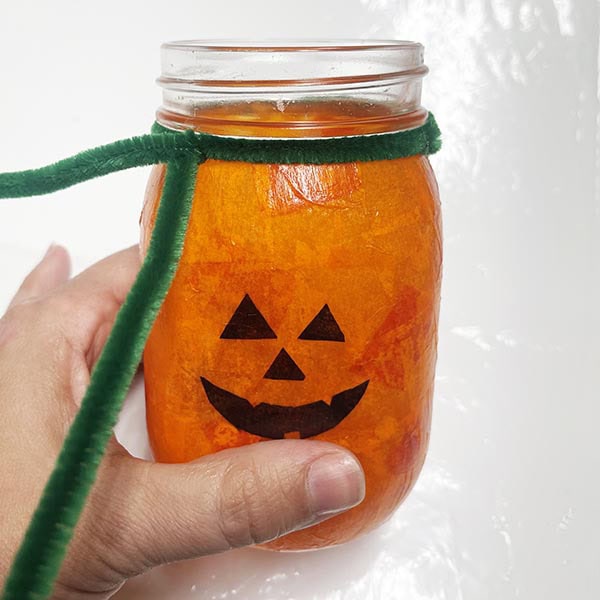
11. Wrap each end around a brush handle, pencil or marker and cut to whatever lengths you like.
GHOST MASON JAR
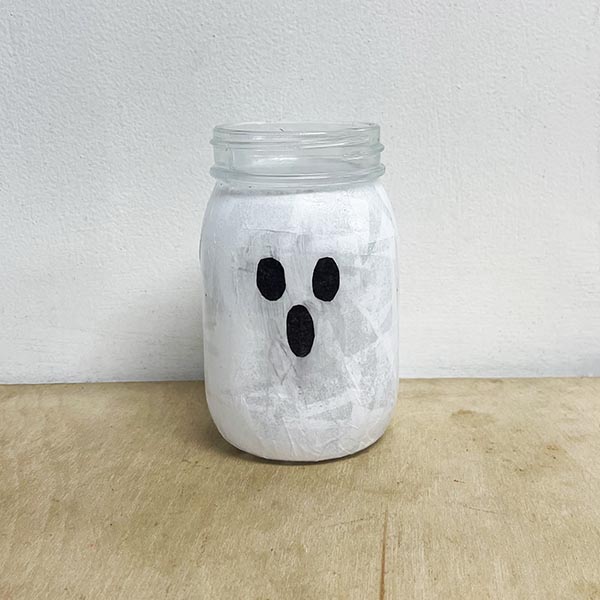
1. For the ghost mason jar, add 2 layers of white tissue paper using steps 1-6 above.
2. Create and attach a simple ghost face with black tissue paper using steps 7 and 8 above. NOTE: The black tissue paper dye will become VERY visible on the white tissue paper, so apply a little Mod Podge at a time and wipe your brush off often.
FRANKENSTEIN MASON JAR
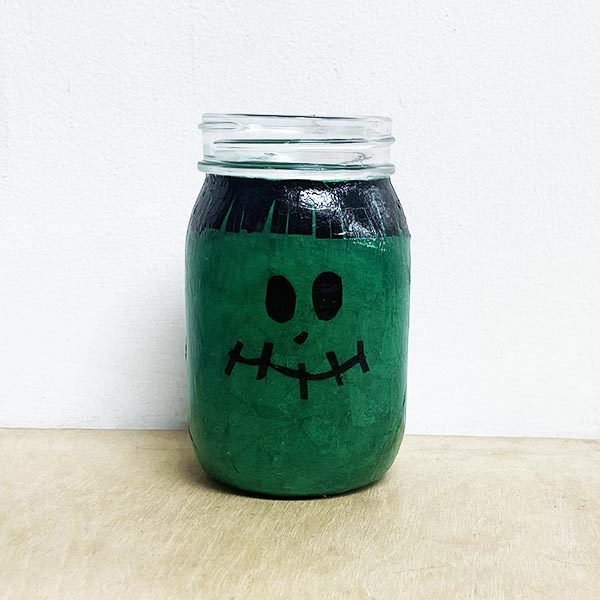
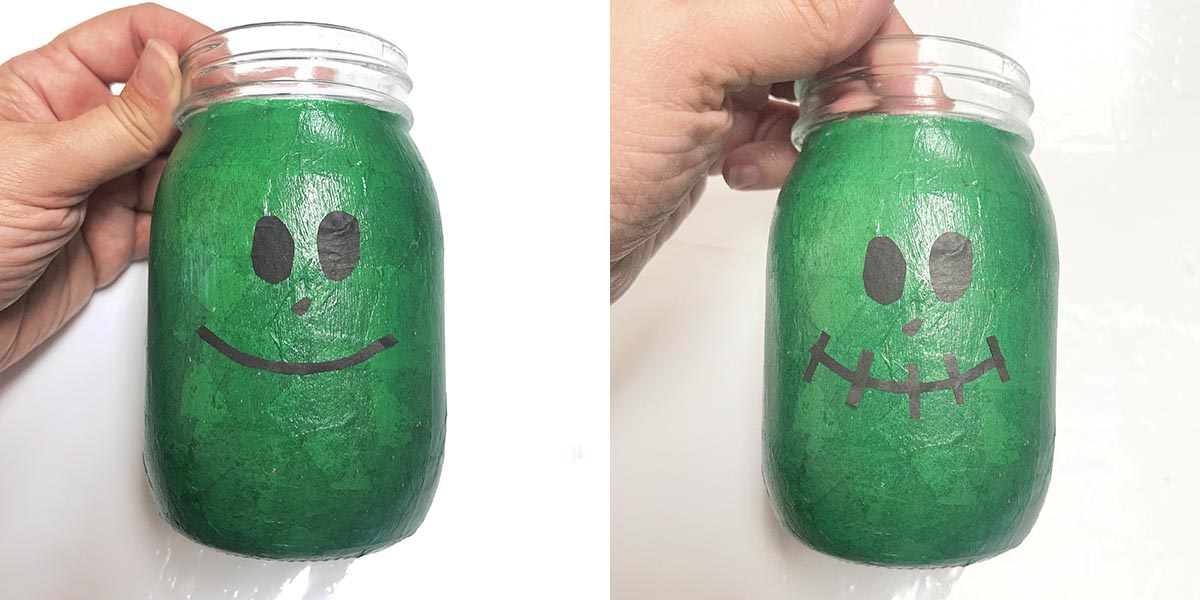
1. For the Frankenstein mason jar, add 2 layers of green tissue paper using steps 1-6 above.
2. Draw a simple Frankenstein face with black tissue paper using step 7 above and cut it out. NOTE: We will add stitches to the mouth in a separate step, so don’t worry about it now.
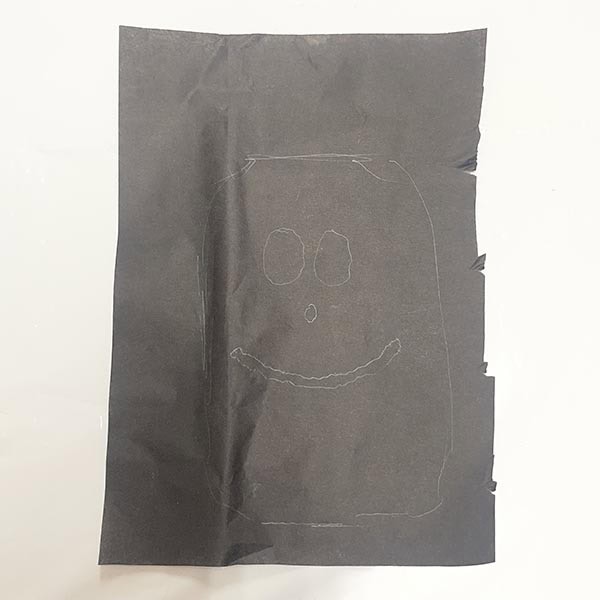
3. Brush a light layer of Mod Podge on the front (just enough to get the pieces to stick).
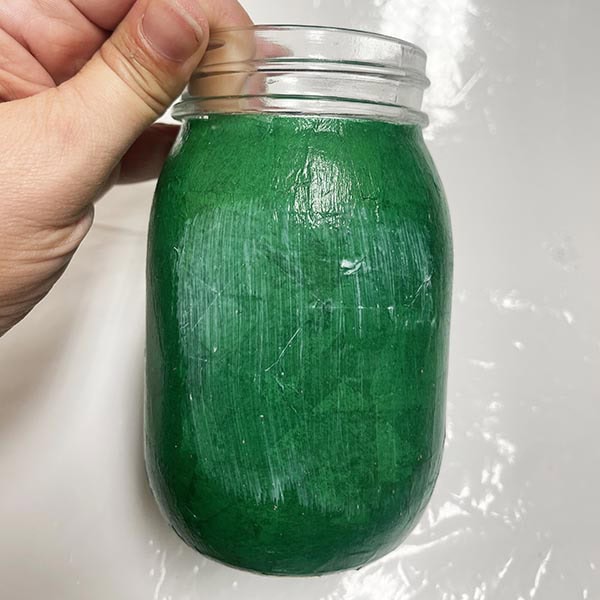
4. Carefully place each piece of the face on. Now cut a few small lines that can be added as the stitches and place them right over the existing mouth. Carefully, brush another layer of Mod Podge over the face pieces to seal (I was not so careful, so my mouth shape changed. Still cute, but… Let it fully dry. NOTE: The black tissue paper dye will become VERY visible on the green tissue paper as well, so apply a little Mod Podge at a time and wipe your brush off often.
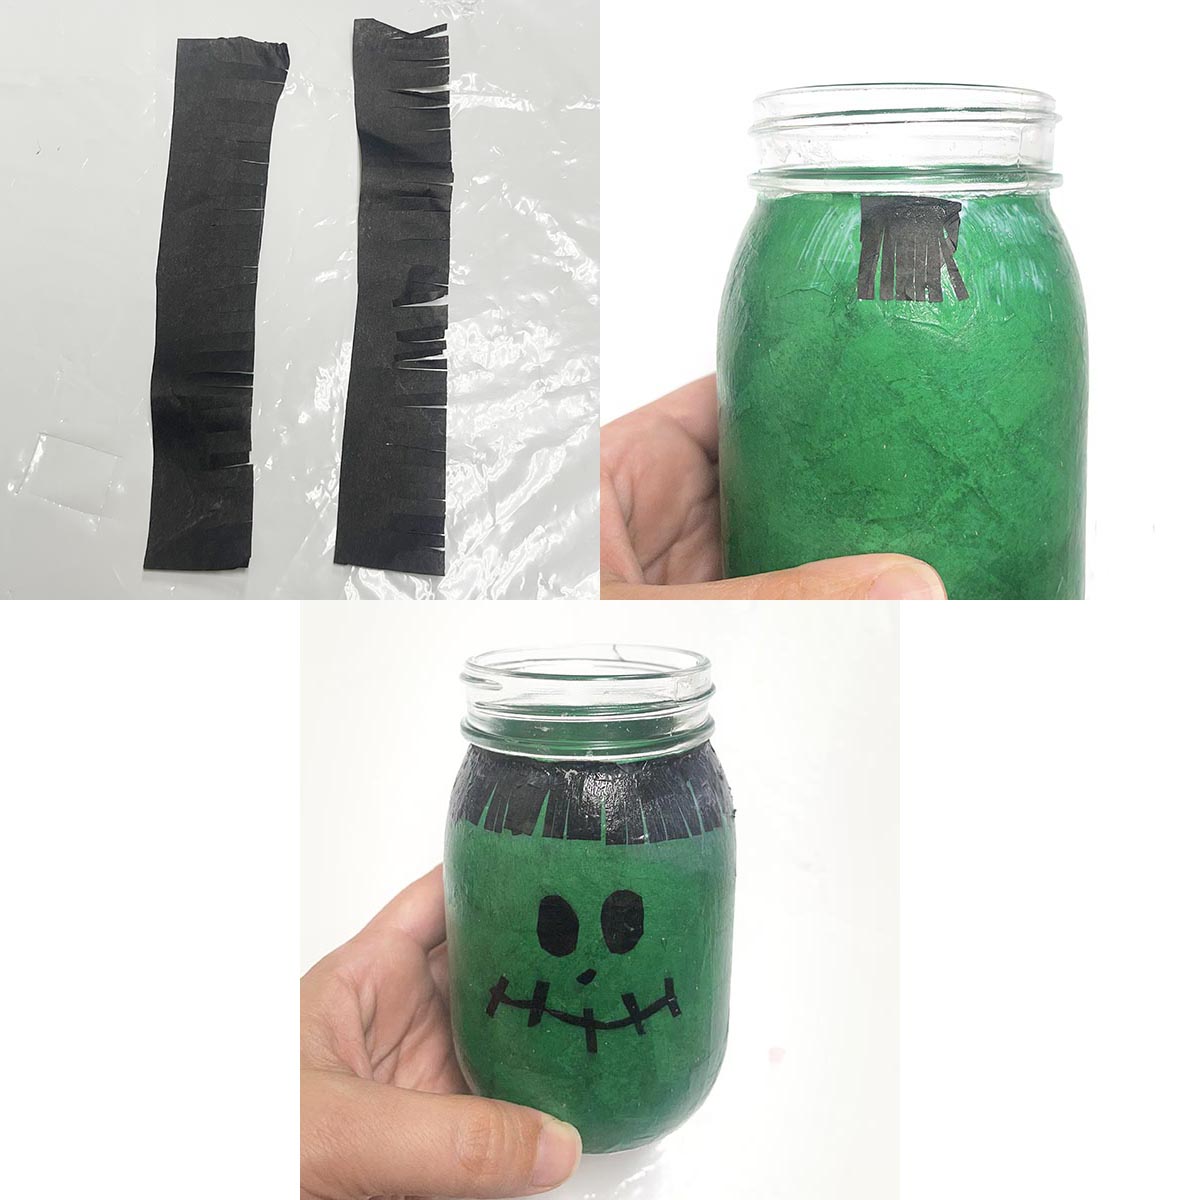
5. Last step for Frankenstein is his hair. Cut a strip or 2 of black tissue paper, enough to wrap around the jar. The thickness can vary depending on how much hair you want him to have—mine is about 3/4″. Cut fringe in the strip for hair, keeping in mind that the hair should be messy and not consistent. Apply Mod Podge to the top of the jar where the hair will sit and place small overlapping sections of hair around the jar until the hair goes completely around the jar. Give it a minute or two to start drying and then gently add the last layer of Mod Podge to seal the hair to the mason jar. Let it completely dry.
CANDY CORN MASON JAR
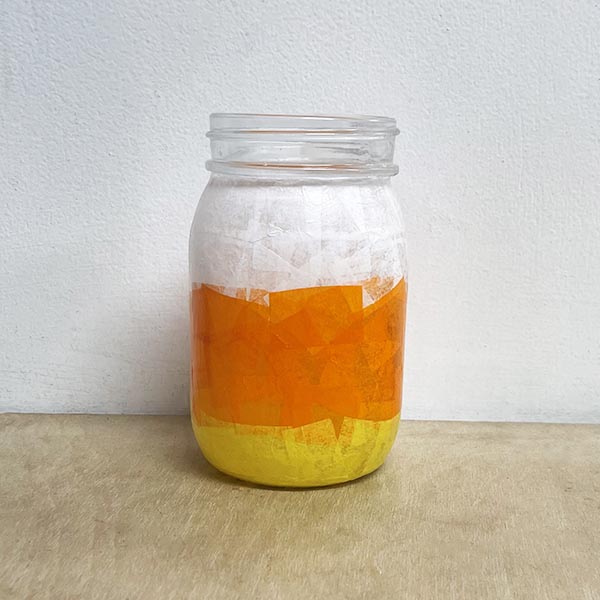
The candy corn mason jar is created in the same fashion as the other tissue paper Halloween mason jars, however, there is a pattern placement to the colors of tissue paper to make it look like candy cone. I will focus on that below, but any tips and tricks above still apply.
1. Cut white, orange, and yellow pieces of tissue paper and then brush the Mod Podge on the jar. Starting with the white at the neck of the jar, add about 2 slightly overlapping rows of pieces. Add 2 more rows with orange and then finish the rest of the jar, including the bottom, with yellow. Seal with Mod Podge.
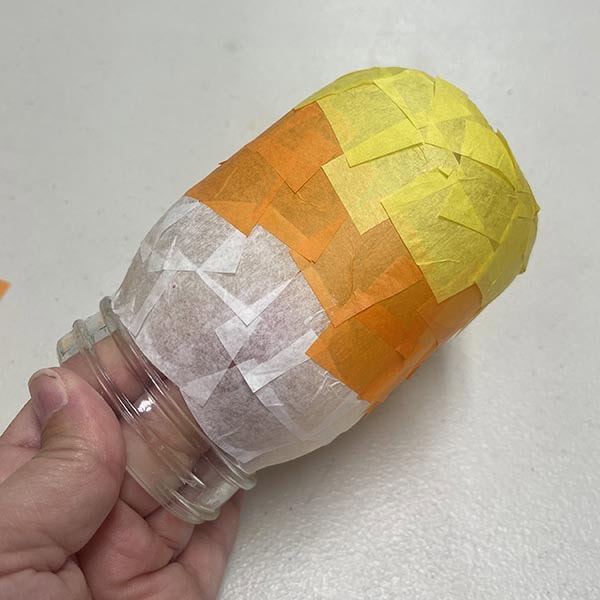
2. Add the second layer of tissue paper with a similar 2ish rows of each color. Don’t be afraid to adjust where the colors overlap (for example, there was a larger row of white in my first layer and more orange in my second layer). Add the final layer of the Mod Podge to completely seal.
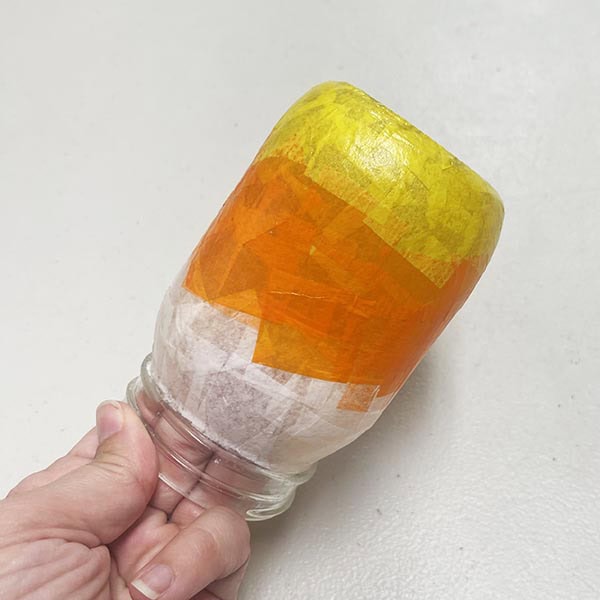
And here are the shiny and colorful tissue paper Halloween mason jars that can be used as decoration, filled and given as a gift, or lit up at night with a candle. So fun, festive, and easy! Which jar is your favorite?