Air Dry Clay Candy Corn Trinket Dish – Easy Halloween DIY
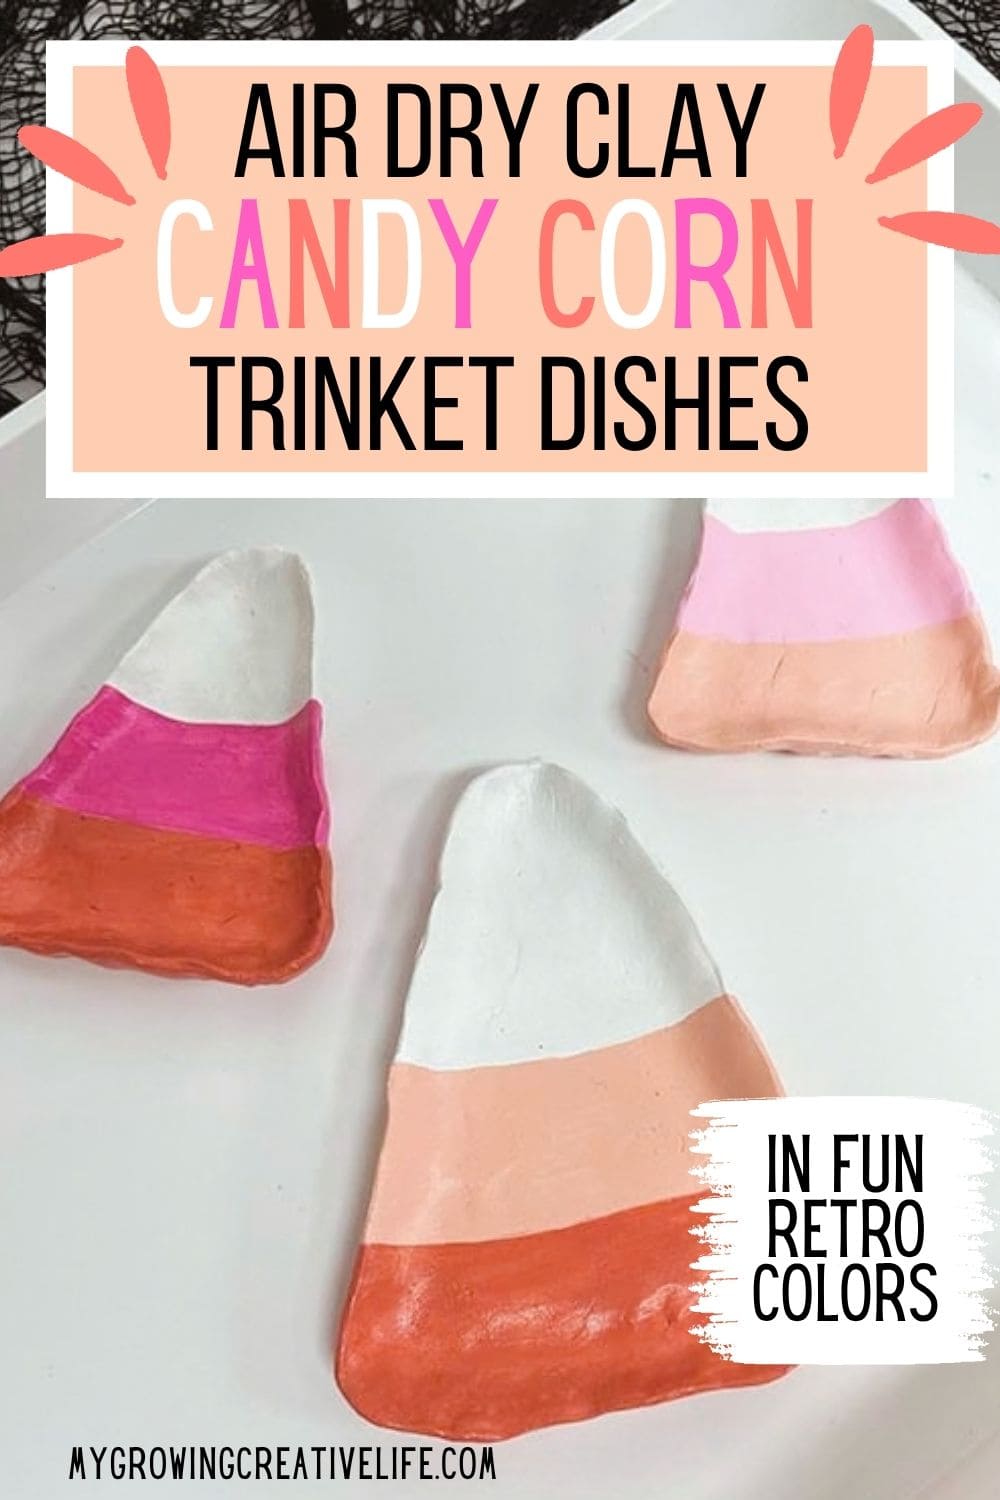
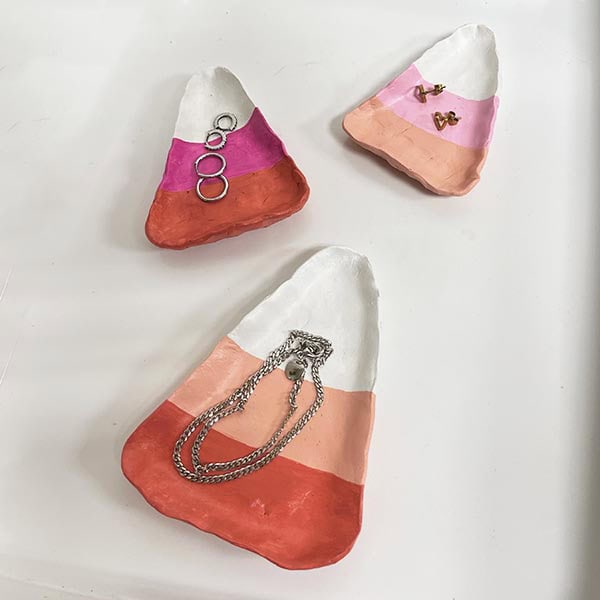
For the past few Halloweens, there has been this fun retro color trend (think peaches and pinks) that I am completely obsessed with! It’s a bit softer than the typical orange and black and equally playful. And, in keeping with trends (and my kids), I wanted to apply these colors to something made from air dry clay (Because every craft seems to be using it these days!). After several attempts for a project that’s both cute, easy, and unique, I landed on these air dry clay candy corn trinket dishes. They are inexpensive, super easy for beginners and festive Halloween fun you can display (I use mine for jewelry)…oh, and cute!
GIFTING NOTE: If you are thinking about gifting these beauties to someone, I would strongly recommend trading your air dry clay in for some oven bake clay. The same steps apply, aside from the baking, though you will need a bit more strength when you roll the clay out. Oven dry clay dries harder and is a bit more dense, making it more durable and less susceptible to cracking/flaking.
Ready to make something sweet, without the cavities?
FOR MORE HALLOWEEN CRAFTING:
AIR DRY CLAY CANDY CORN DISHES
What you’ll need:
- Air Dry Clay
- Plastic Wrap
- Rolling Pin
- Cutting Mat
- X-acto Knife
- Acrylic Paints (I used Mondo Llama from Target)
- Brush
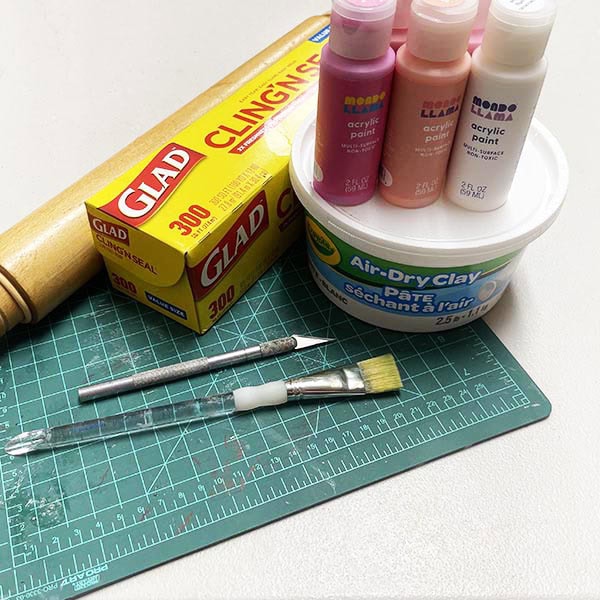
MATERIAL TIPS:
- Air Dry Clay – We use Crayola Air Dry Clay in our house because its super easy to use, easy to find, and reasonable. Any air dry clay should work though.
- Rolling Pin – I used our rolling pin from the kitchen since the clay was in between the plastic wrap, however, any hard round bottle, like a wine bottle, could be used to flatten out the clay.
- Acrylic Paints – I love the Mondo Llama Acrylic Paints from Target because they come in so many colors and are very reasonable for crafting projects. Any acrylic paints will work for this project though.
CREATING CANDY CORN SHAPED DISH
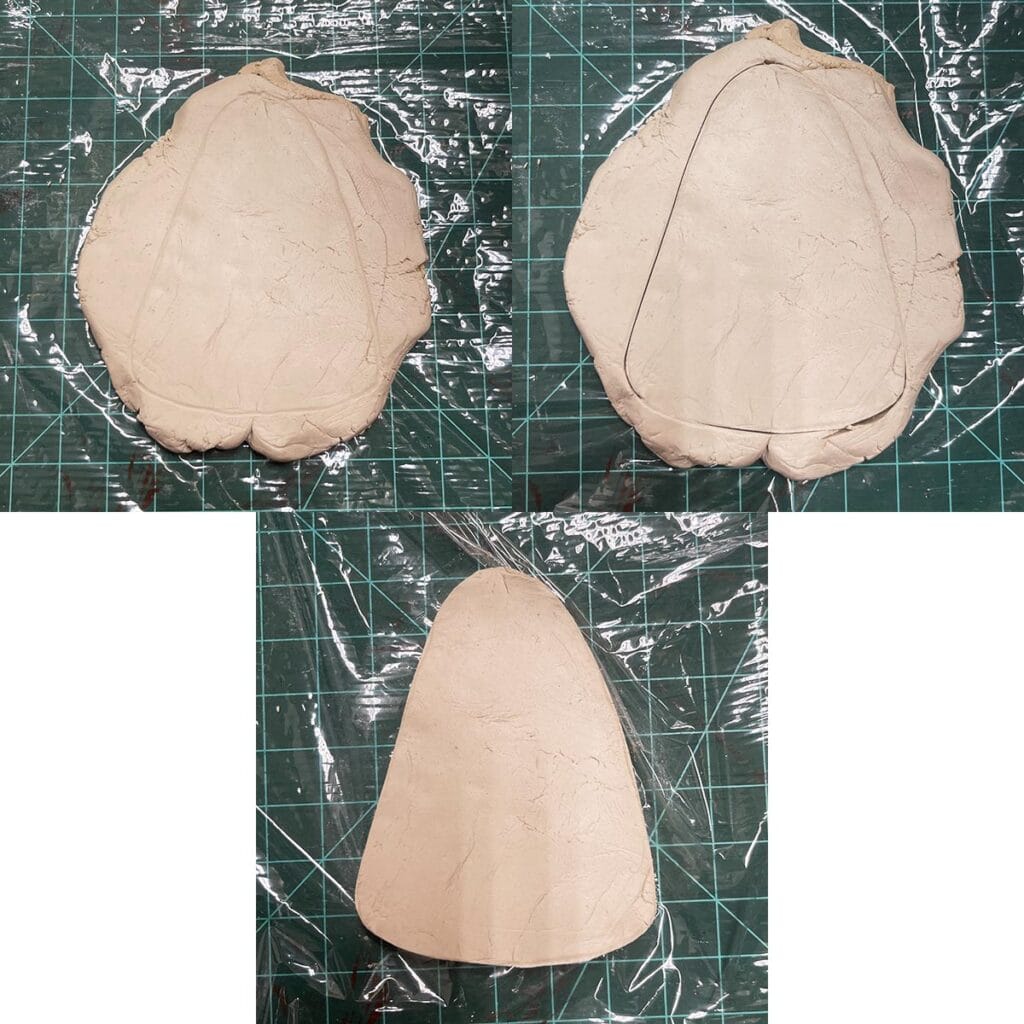
1. Cut 2 pieces of plastic wrap about 18″ each in length. Lay one down on your workspace and set the other aside. Grab a golf ball size of clay, roll it into a ball and place it in the center of the plastic wrap. Press it down, so it looks like a thick pancake.
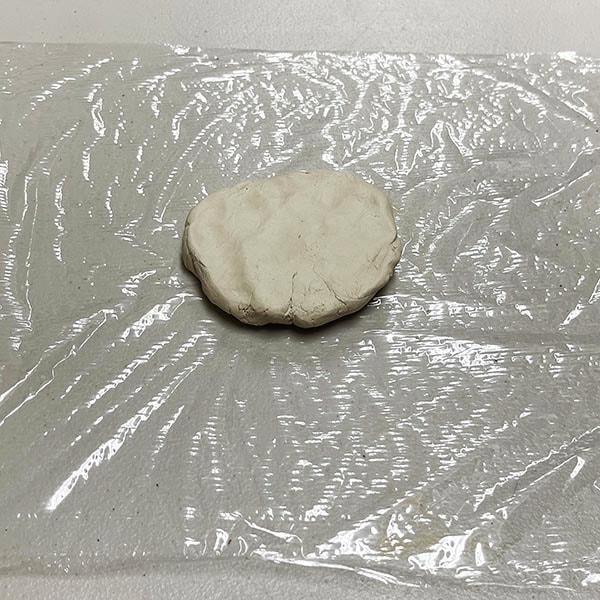
2. Place the second piece of plastic wrap over the clay. This keeps the clay from sticking to the roller and helps it roll out evenly.
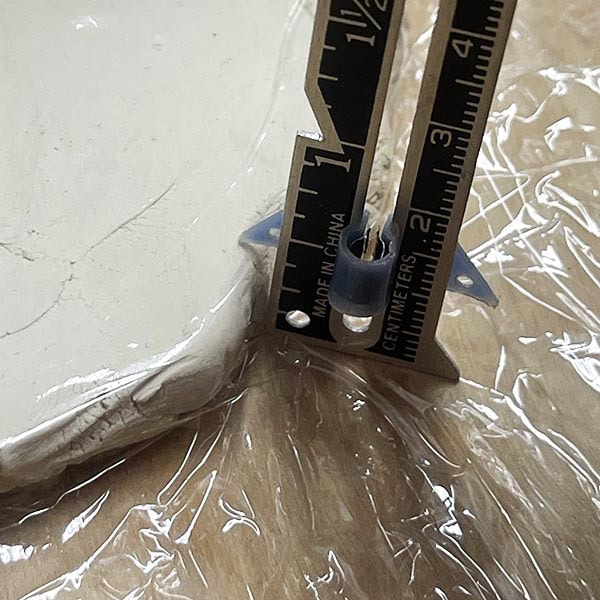
3. Use the rolling pin to roll out the clay to about 3/8″ thick. I used a sewing gauge to measure it (see below), but a basic ruler will do.
4. Remove the top piece of plastic wrap and slide the cutting mat under the clay. Use a pencil or other pointy object to trace the candy corn shape on the clay (I did NOT create a template for this because each one should look unique and you can create whatever sizes you want—get creative!). Cut the shape out with your X-acto knife and remove the extra clay.
Shaping Dish & Prepping for painting
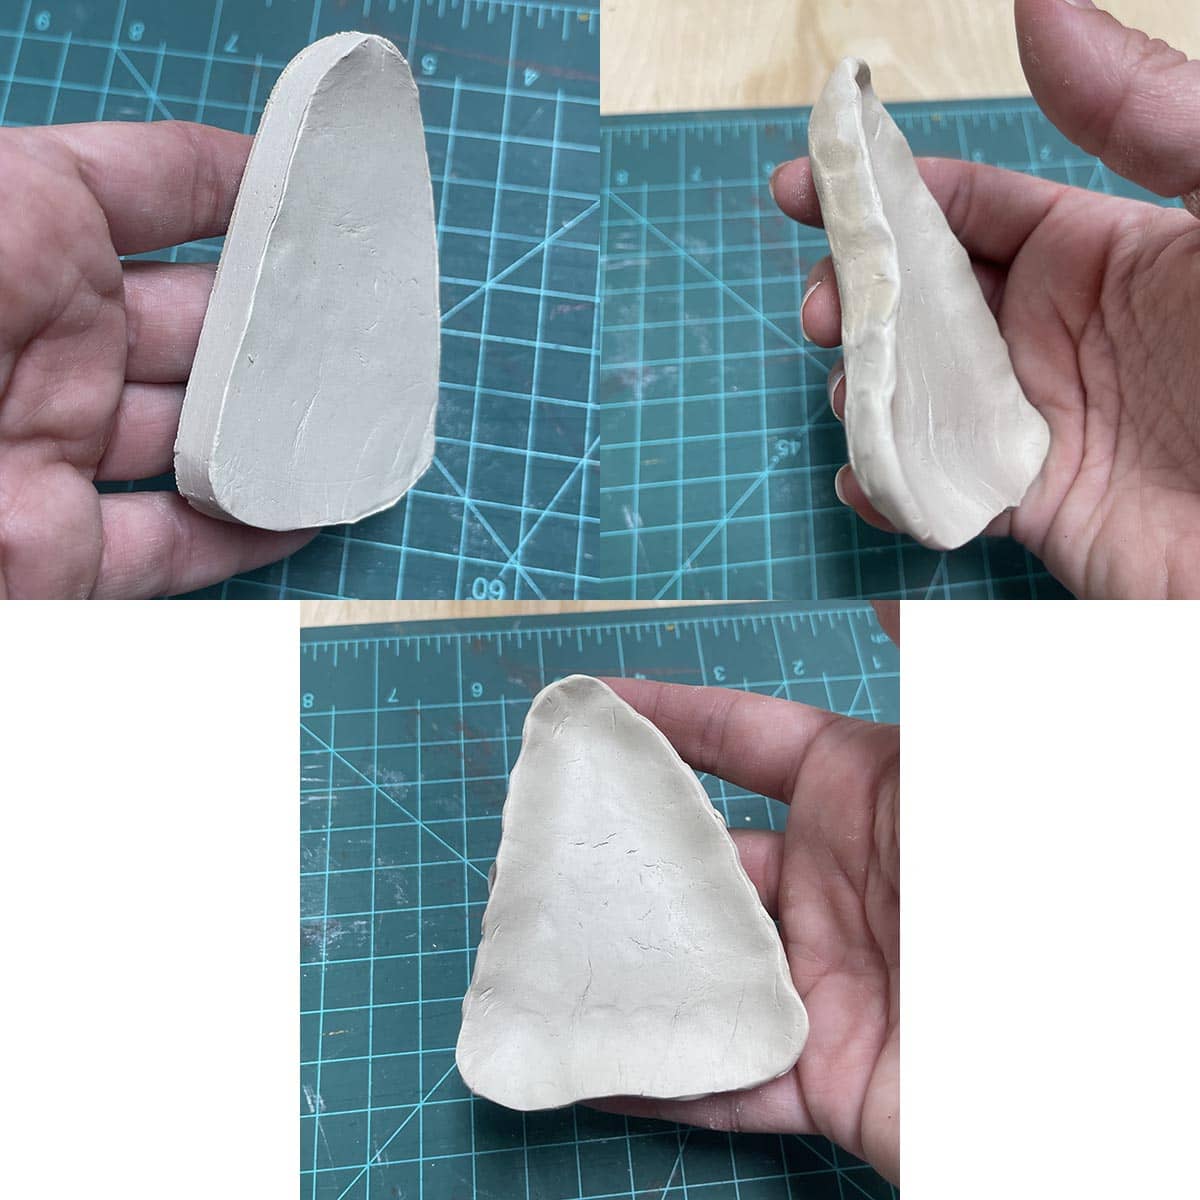
5. Pick up the clay piece and remove the bottom layer of plastic wrap. Using your fingers, smooth out the back edge of the piece while pulling the front edge up slightly to create the rim of your dish. Work your way around the entire shape until the dish has one continuous rim. Set it down on a tray or protected surface to dry (I used my trusty baking sheet).
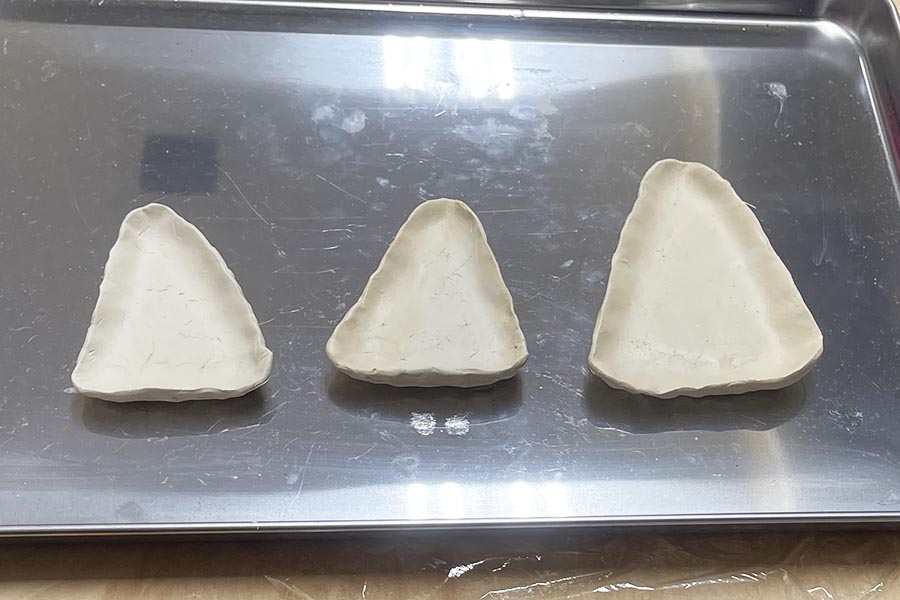
6. Repeat steps 1-5 to create as many trinket dishes as you like (I created 3). Leave they in a dry place or close to a dehumidifier, if you have one, to dry for at least 12 hours. At that point, the top side of the dishes should be pretty dry (enough to gently pick up and flip over). Flip the dishes over and allow them to dry at least another 12 hours. NOTE: Everyone’s location is different, so there is no set time for drying/hardening. Just be sure that they are fully dry before you start painting.
Painting candy corn dishes
NOTE ABOUT PAINTING: Some of the darker, brighter colors will require several coats of paint to cover (beyond the 2 coats that I do for everything). That is perfectly fine and normal. Keep each paint layer thin, like nail polish, and let it dry between coats. This will create much better results than a thick layer that may or may not fully dry/harden.
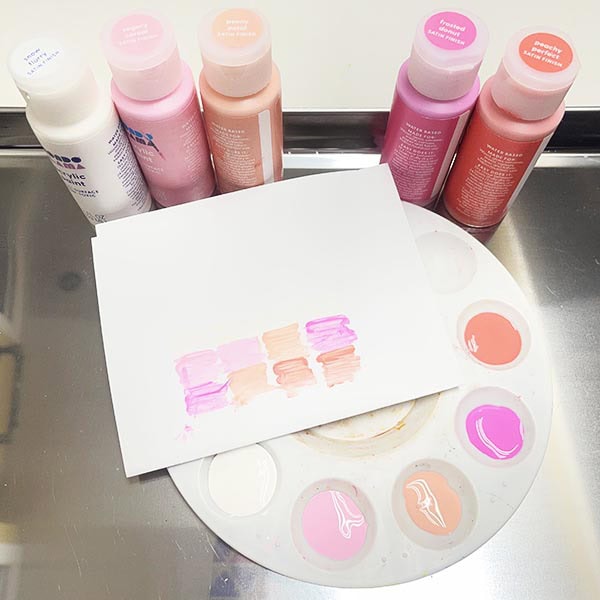
7. Before I started painting each candy corn dish I tested different color combinations to see what I liked best. Its hard to see the white in the photo, but it was visible in real life and helpful to see what each color actually looked like dry (which might be different than wet and the bottle color). This will also save you a ton of time and frustration later, confirming what works rather than repaint. NOTE: I have noticed with the air dry clay in particular, repainting in a different color does not work out well, so you may be starting over if you don’t like it. Test, test, test….just my opinion.
8. Once the clay is fully dry, start with the white top. Brush a line of white about a 1/3 of the way down the dish and paint it in. You can even paint the underside of the rim, where it won’t touch the tray when laid down to dry. Let that dry for a few minutes. Repeat with the other dishes.
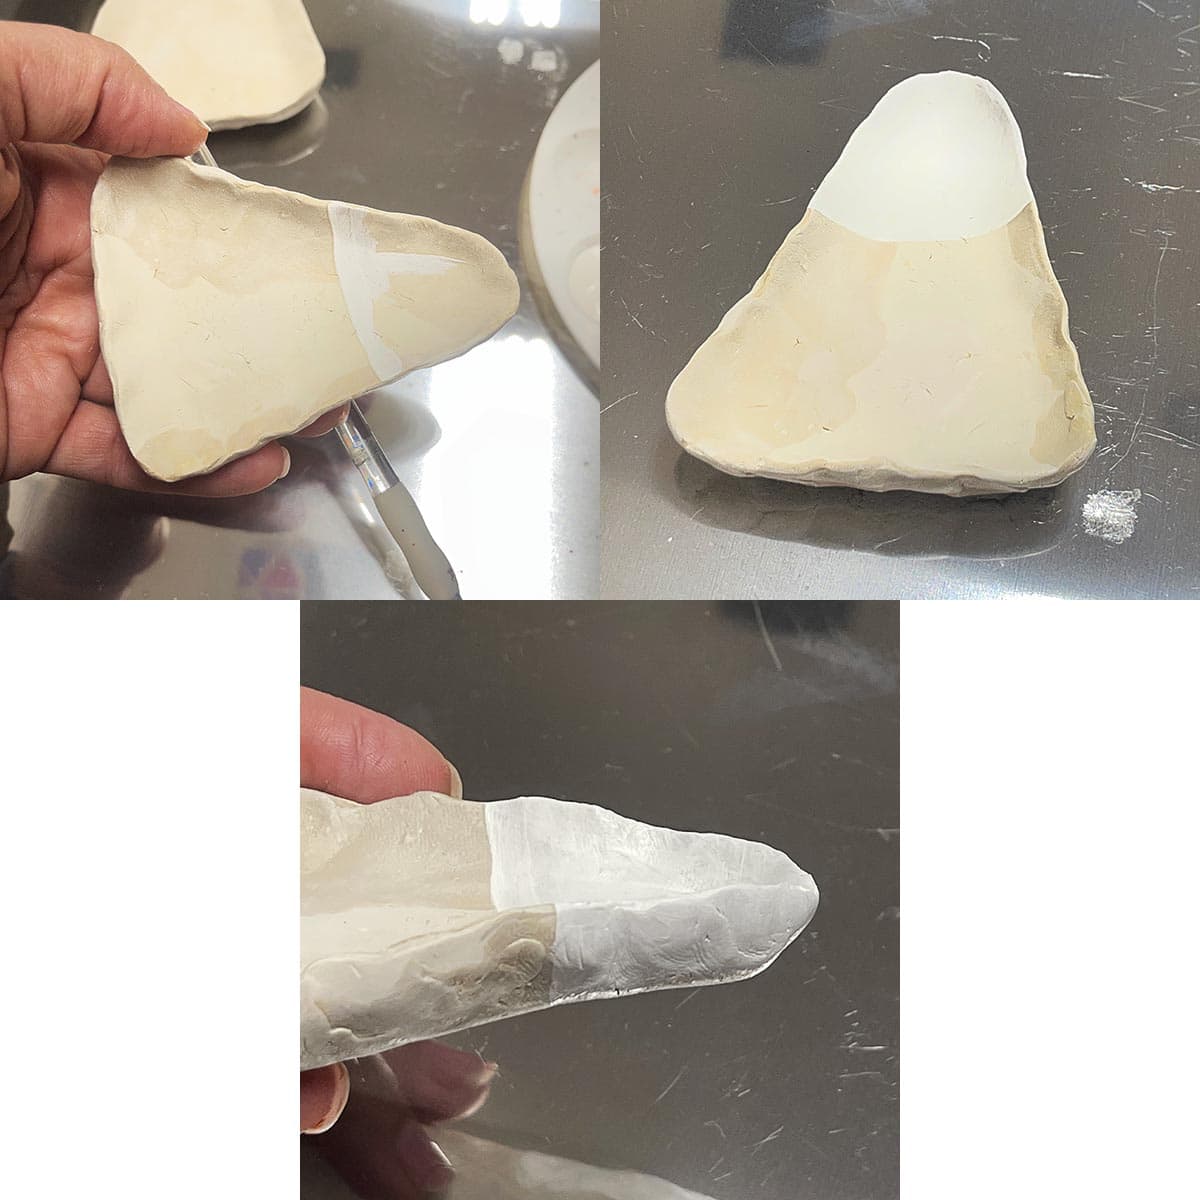
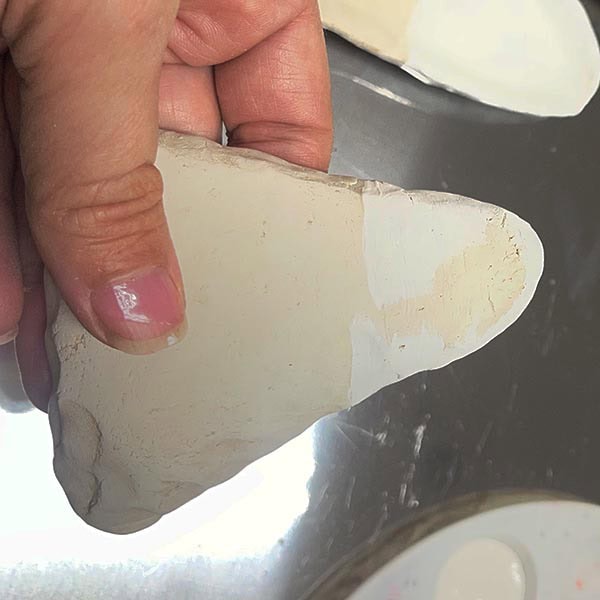
9. When the paint is dry, flip it over and gently start brushing the line from the rim to the back. NOTICE that the line from each side, if left going in a straight direction, doesn’t line up. This is where you as the artist get to connect the dots so to speak and make them match in one smooth line on the back. Brush the rest of the top in and let dry. Repeat with the other dishes. Before we move onto the second and third colors of each dish, add a second coat of white to the front and back of each (Steps 8 and 9).
10. Moving onto the second color for each dish, brush another line about a 1/3 of the way down and fill in. Paint some of the underside of the rim as well. Let dry. Repeat with all dishes.
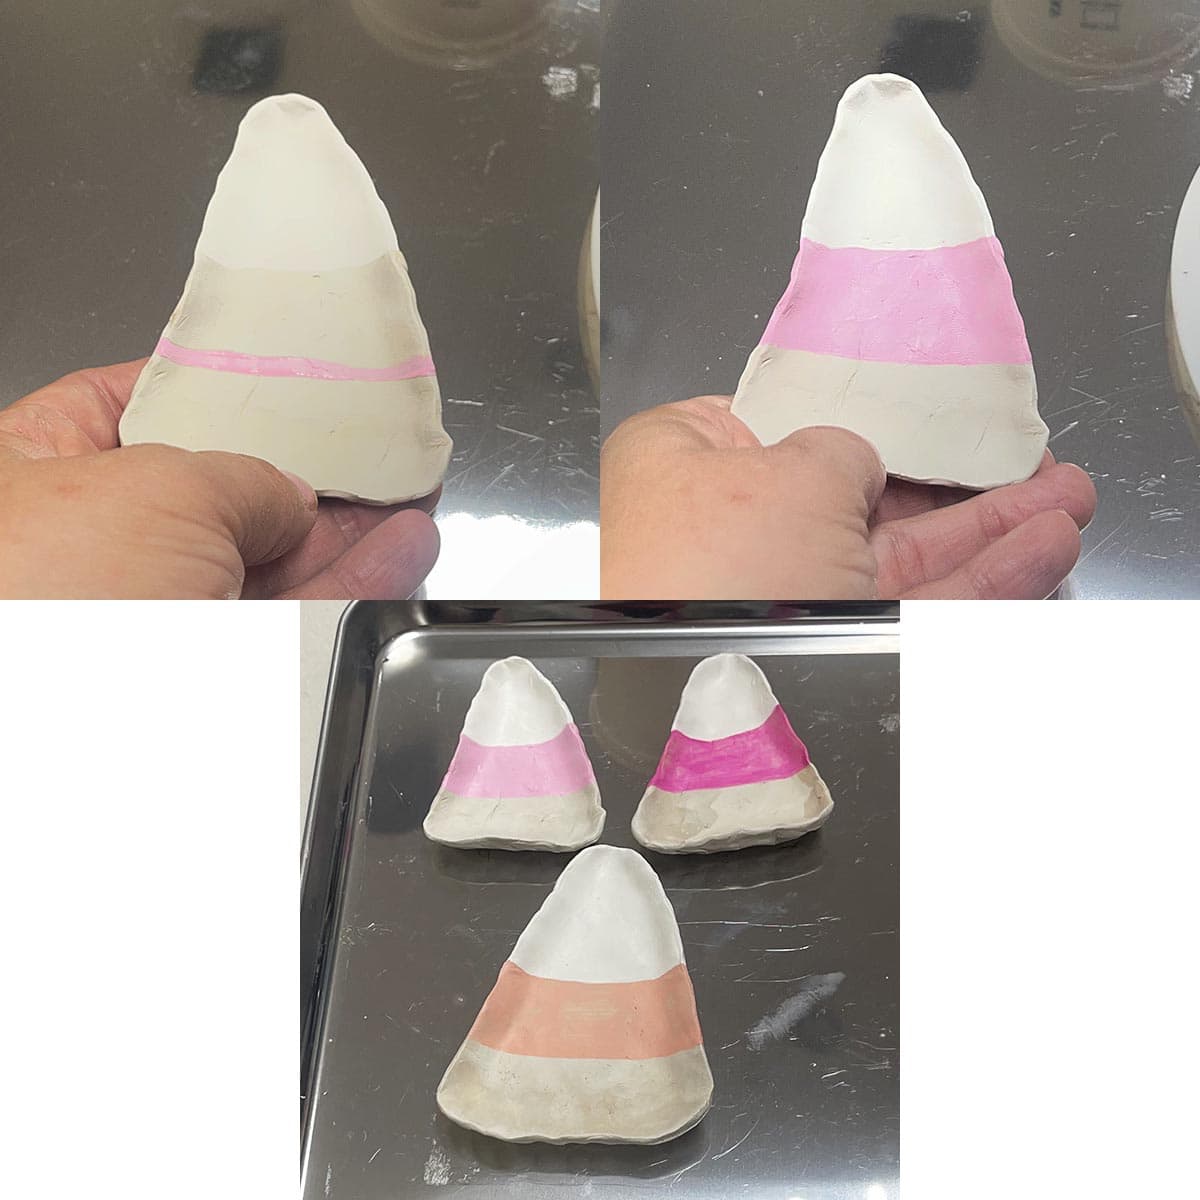
11. Once the paint is dry, paint the backs of the dishes with the second color in a similar fashion to white.
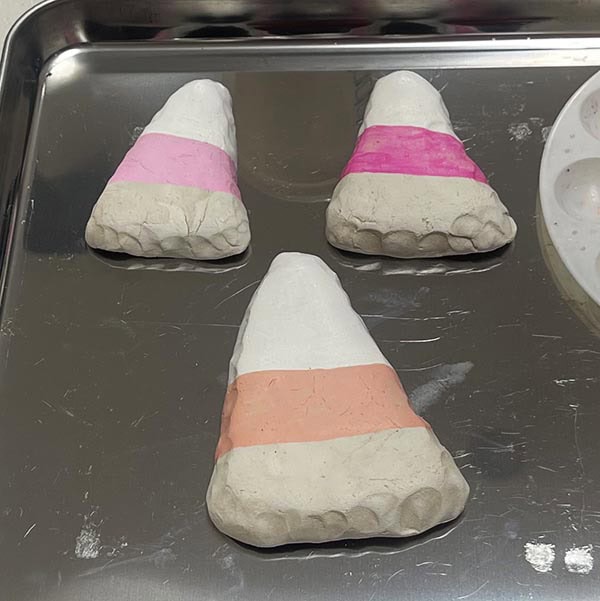
12. Finish the candy corn dishes by painting the third color onto each, letting dry before flipping sides.
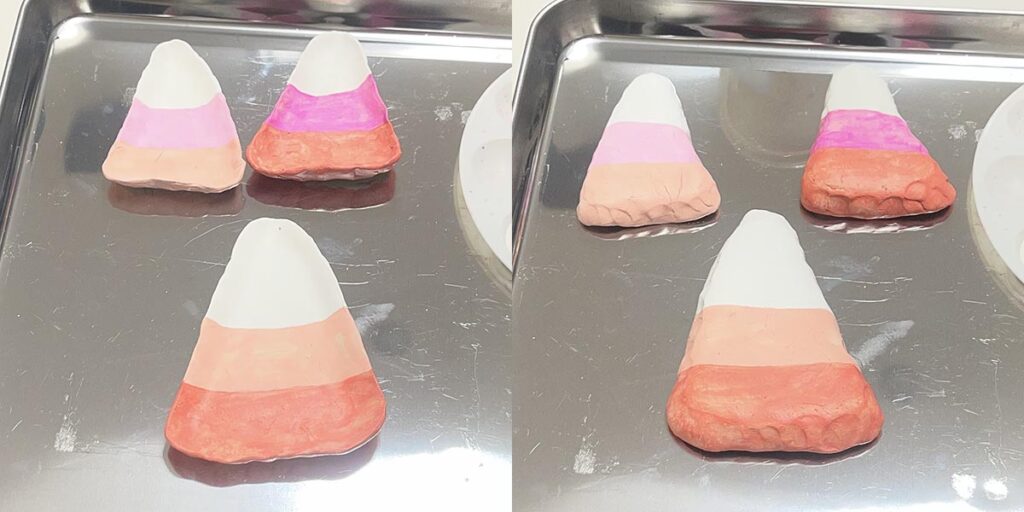
13. Add a second layer of paint to the second and third colors. Once dry, add an additional layer to anything that you don’t think is even or fully opaque.
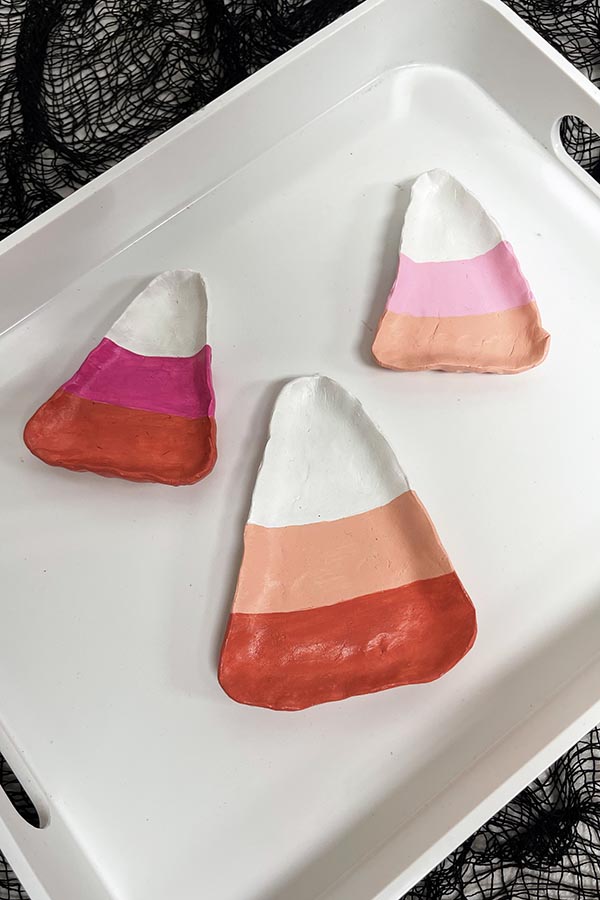
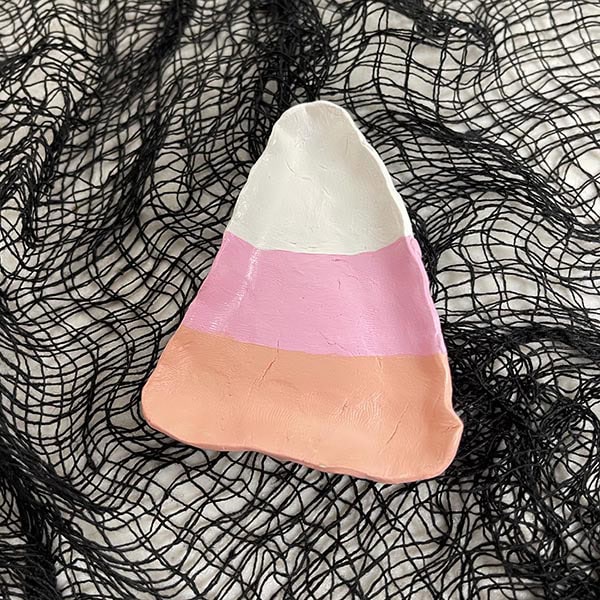
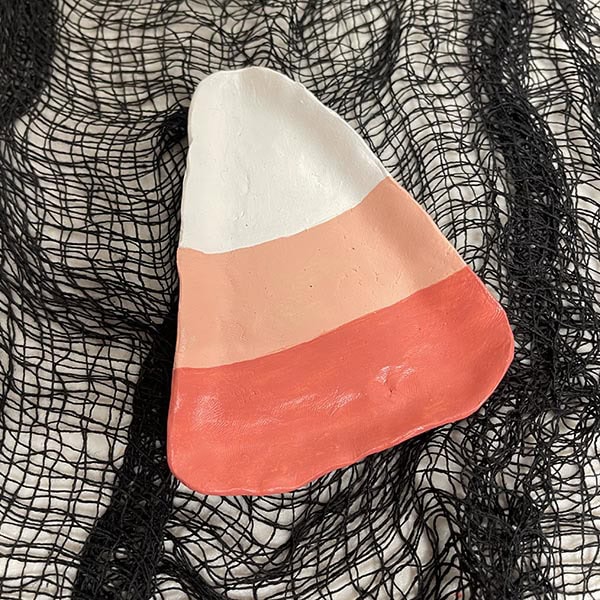
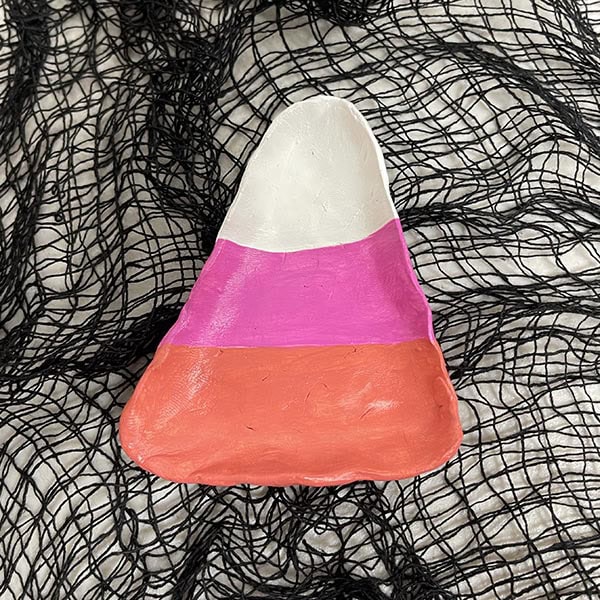
And here are the fun air dry clay candy corn dishes in Halloween retro colors that are so festive and gift-worthy! Truthfully, the photos don’t do them justice because the Peachy Perfect is more of a beautiful salmon. Anywhoo, which dish is your favorite?