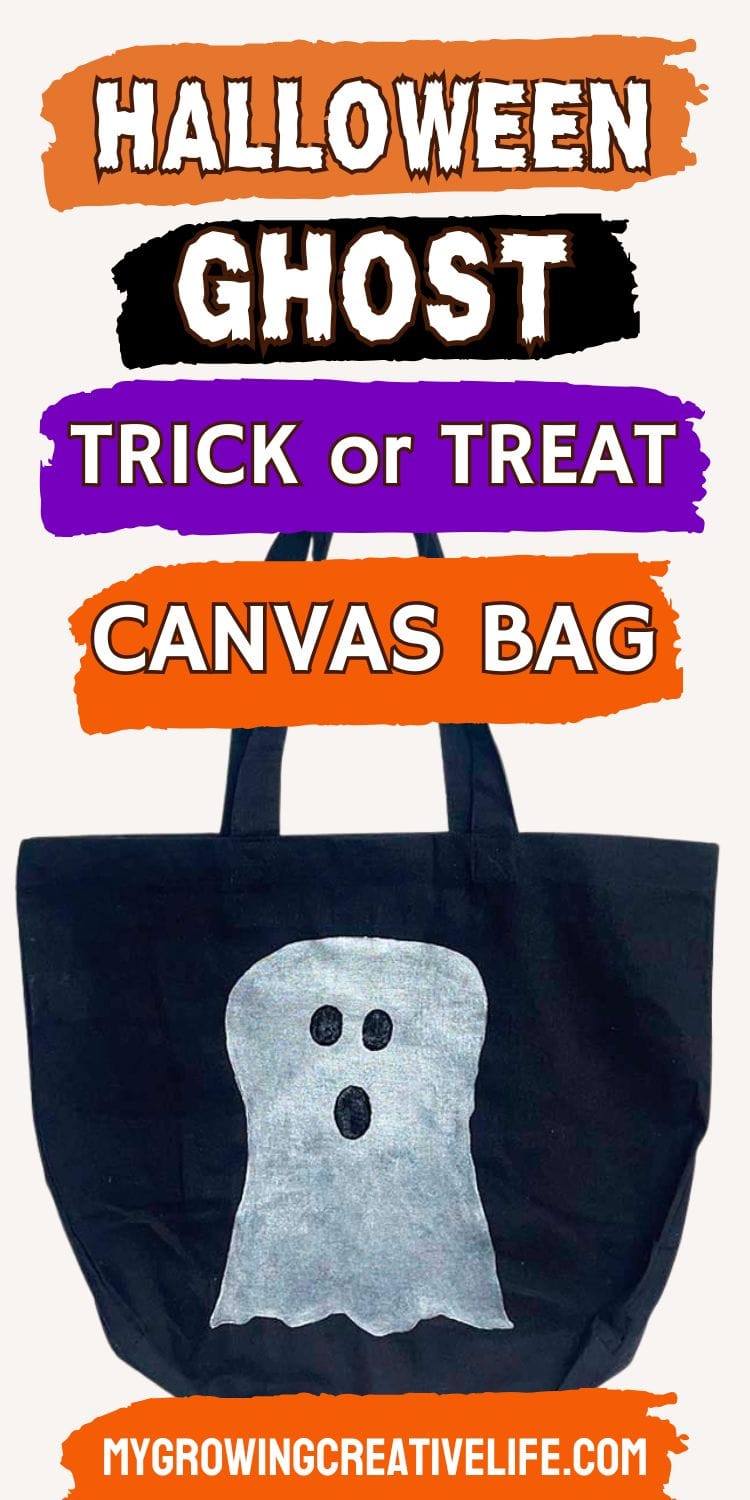
Painted Ghost Trick Or Treat Bags
We’re big fans of Halloween here, so trick or treating is always something we look forward to. In the past, we’ve given the girls buckets or fabric tote bags to carry their candy and personally I like the tote bags much better. They don’t crack, are light weight, and can be personalized many different ways. This ghost trick or treat bag is the easiest one I’ve made and it takes only a few supplies.
On a more personal and Eco-friendly note, I appreciate that the bags get used by everyone in our house all season long (for dance or other sports, or just going out) which is nicer than once a year. They can also be used the following year, assuming they don’t get too beaten up.
So, pull out your paint brushes and let’s get spooky (in a cute way)!
Painted Ghost Trick or Treat Bag
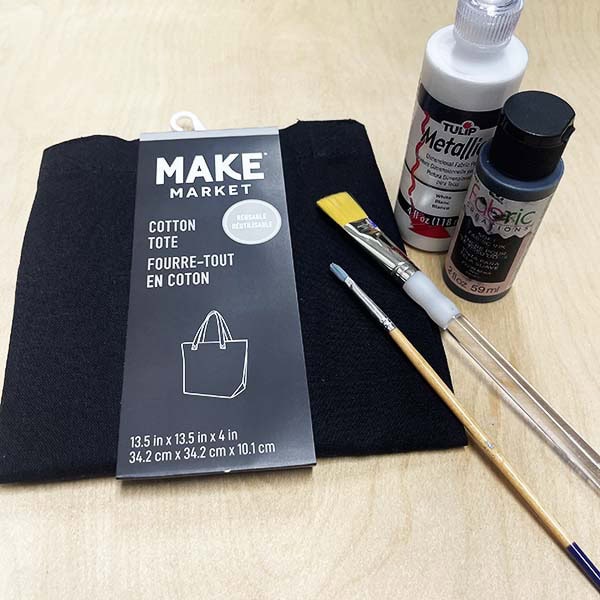
WHAT YOU’LL NEED:
- Black Cotton Tote Bag
- Tulip Metallics Dimensional Fabric Paint (in White)
- Black Fabric Paint (I chose this one)
- Medium Size Flat Brush (I chose 3/4″)
- Small Paint Brush
- Wax Paper
- Piece of Cardboard (that will just fit in bag)
- Piece of Tissue Paper (optional)
- Scissors (optional)
- Pen/Pencil (optional)
SUPPLIES NOTE:
- The Tulip Metallics paint really makes this ghost shimmer in a beautiful spooky way, so it pays to search for it. All of the other supplies are interchangeable for whatever brands work for you
- The tote bag should be cotton. There are polyester bags out there as well, but the paint may not adhere to it as well. Something to keep in mind.
MORE FUN HALLOWEEN PROJECTS:
PREPPING THE Bag
As with all projects, the prep work is important for these bags. It’s pretty quick, but SOOO worth the effort! Please don’t skip!
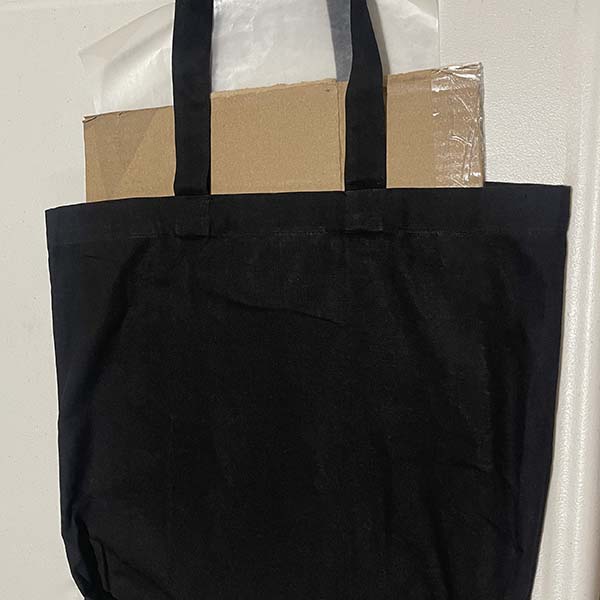
1. Iron the bag, so the section you are painting on is flat and wrinkle-free.
2. Place the piece of cardboard inside of the bag. Cut a piece of wax paper (about the size of the cardboard) and stick the wax paper inside of the bag on top of the cardboard. NOTE: in my original picture below, the cardboard is on top of the wax paper. After doing 2 bags, the wax paper is definitely more helpful on the top!
PAINTING GHOST on BAG
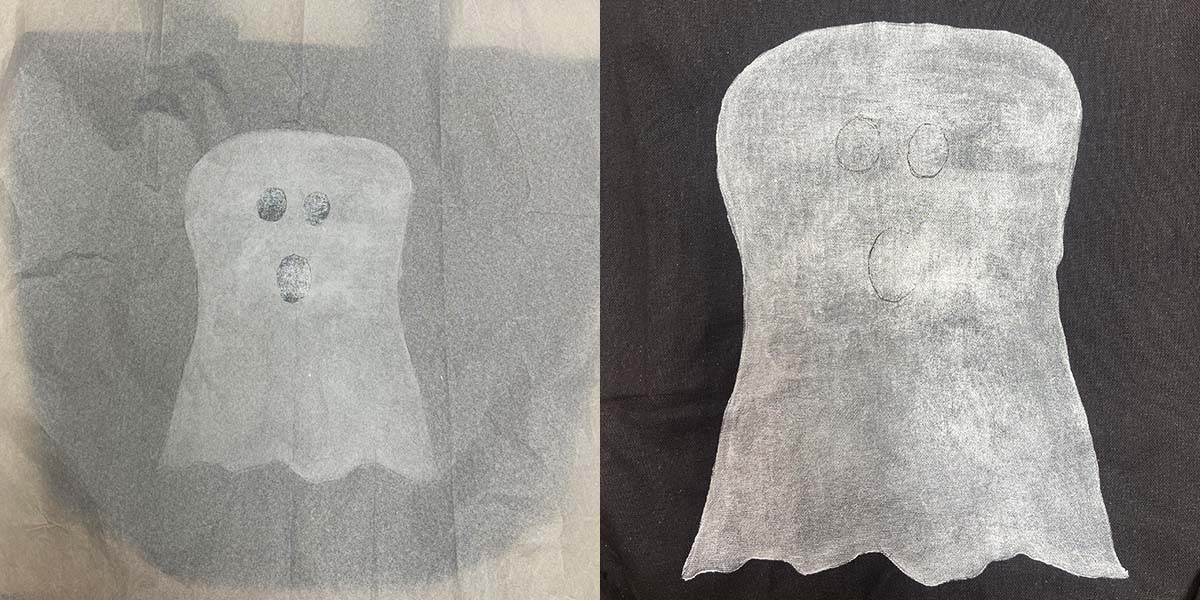
3. Using the nozzle tip of the metallic paint, draw a shape of a ghost on the bag. The fun part is that there is no one “right way” to draw a ghost and if you need to adjust, like I did below, just add more shape until you like it. Once you get a shape you like, use the medium-sized flat brush to gently brush the paint edges inward. Add more paint and continue to brush it out until the ghost is filled in and not splotchy.
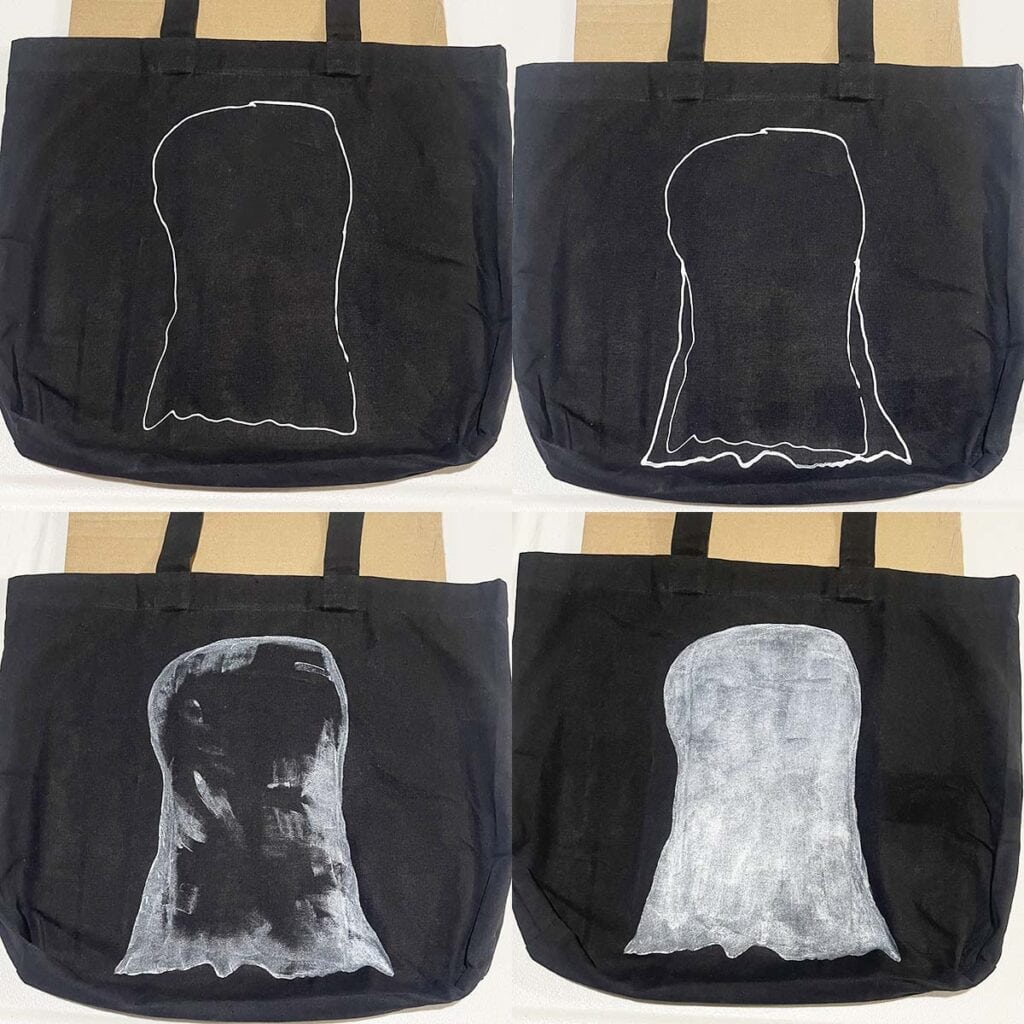
4. Once the paint is fairly dry, carefully open the bag and peal the wax paper off of the bag (and throw away).
ADDING GHOST’S FACE TO BAG
When the ghost is completely dry, you have 2 options for adding the face. 1) If you are comfortable with freehand painting (or at least drawing the eyes and mouth directly onto the bag), go for it and use the black paint and small brush to paint them in. 2) If you are not comfortable with freehand OR just want a bit more certainty, go to the next step.
5. Place the tissue paper on top of the bag and trace the outline of the ghost. Take the paper off of the bag and draw in the eyes and the mouth. Erase and redraw as many times as you need to get the perfect face. Cut out the holes of the eyes and mouth.
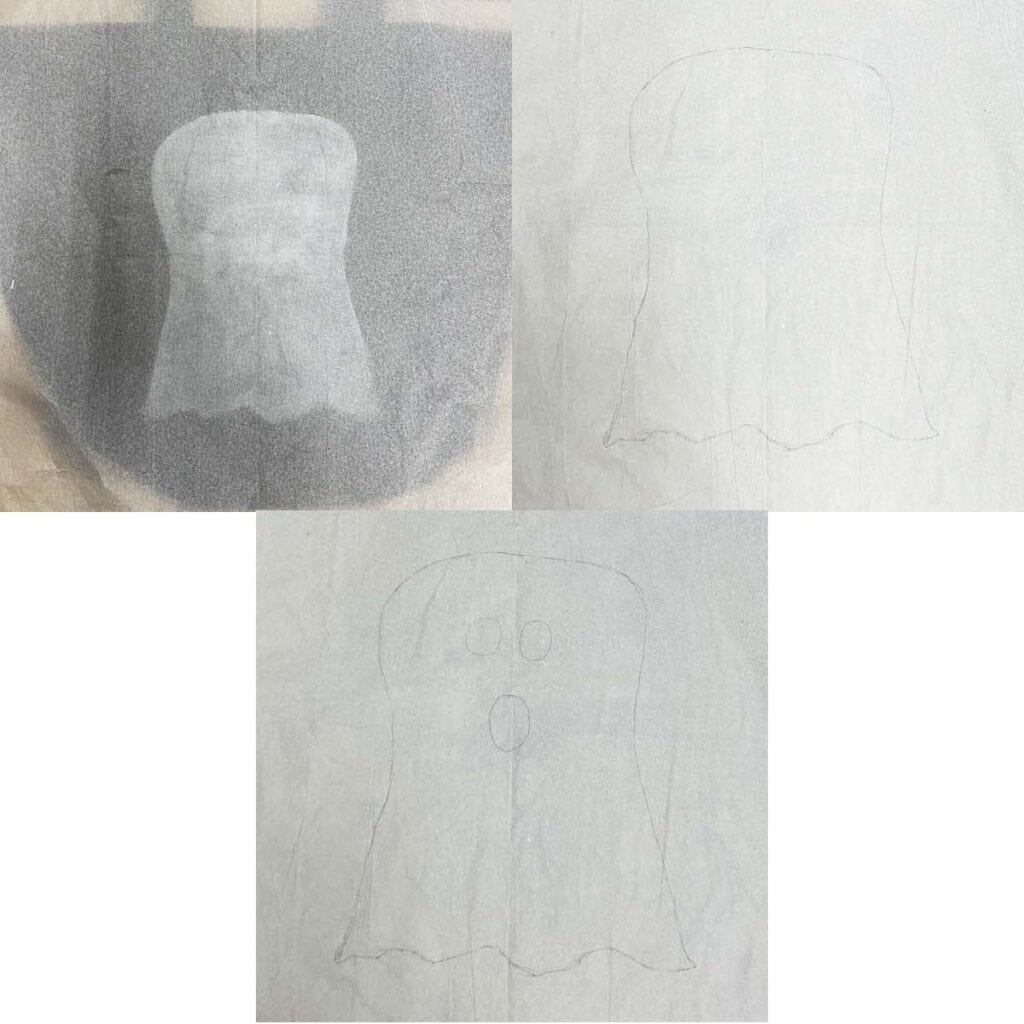
6. Place the tissue paper back on the bag and line up the outline with the ghost. Using a pen or pencil, trace the outline of the eyes and mouth onto the bag. Remove the paper and paint them in with the black paint and small brush.
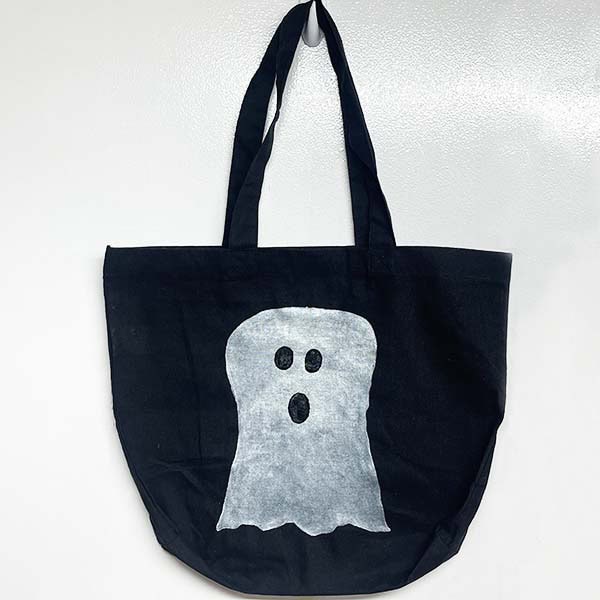
Once the paint dries you have a simple, cute ghost trick or treat bag that is durable enough to hold all of that Halloween candy or anything else that you carry around this Halloween season. Enjoy!


