Hot Cocoa Spoons: Easiest & Tastiest Gifts To Make
I always see these hot cocoa spoons at the store during the holidays and they look so yummy, like a little bit of happiness on a spoon. I don’t love the price however, SO, I decided to make them and show you how to make them too. Now we can all share a bit of happiness on a spoon of a fraction of the price! They are super quick to create by adults and kids and make great stocking stuffers, teachers gifts, favors, or just-because gifts for the ones you care about. Just don’t taste test them or you might not give them away!
What kind of chocolate should I use?
For this project, I used both milk and white chocolate, but dark chocolate would be great too. As long as its a decent quality chocolate that melts, it will work.
What topping are good for hot cocoa spoons?
For all of my hot cocoa projects I like to stick with some basics (chocolate chips, marshmallows, and candy canes) because I know they melt into the hot chocolate, or coffee, well and taste good. Feel free to explore more options, however, keep in mind that someone will be drinking it eventually, so it should taste good as well as look cute.
Ready to make spoons filled with happiness?

MORE YUMMY HOT CHOCOLATE GIFTS:
Hot Cocoa Spoons
WHAT YOU’LL NEED:
- Milk Chocolate
- White Chocolate (Optional)
- Caramels (Optional)
- Mini Chocolate Chips (Optional)
- Crushed Candy Canes (Optional)
- Marshmallow Bits (Optional)
- Wooden Spoons
- Clear Pretzel Bags
- Silicone Baking Mat (or Wax Paper)
- Tray to lay the mat or wax paper in
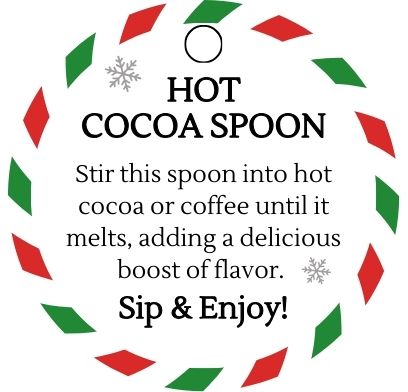
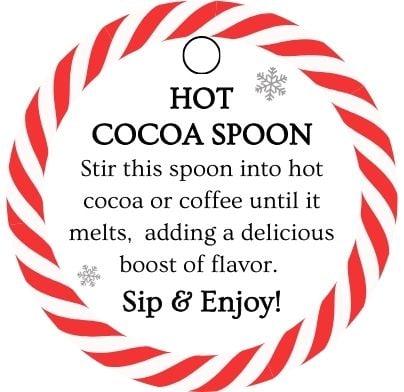
- Tag For Festive Instructions (See Options Below)

MATERIAL TIPS:
- CARAMEL – I love adding a drizzle of caramel, but I will admit that its the trickiest of the ingredients here. I did create a few (not shown), but the caramel, once melted, stays sticky, so its a challenge to bag if not covered up by another ingredient.
- CHOCOLATE CHIPS – If you want to add chocolate chips I strongly recommend using mini chips. They fit on the spoon easier. I chose semi-sweet chocolate, but milk or dark chocolate mini chips will work as well.
- CANDY CANE BITS – A long time ago if you wanted candy cane bits you had to break them up yourselves. Now, they sell them pre-broken and ready to use which are SO easy (and less of a mess).
- MARSHMALLOW BITS – Since the spoons are not very large, dehydrated marshmallow (bits) are perfect for adding flavor without a lot of volume. They also look pretty cute too!
- WOODEN SPOONS – I found my wooden spoons on Amazon, but they are fairly easy to find during the holiday season (I just saw some in Target’s dollar section). There’s no particular size as long as it can fit in a cup or mug.
- CLEAR PRETZEL BAGS – For this project a normal clear treat bag was way too big, so I found clear pretzel rod bags at Michael’s. They are the perfect size for this and come in 75 bag bunches, so you won’t run out.
- TAGS – As I did with the Reindeer Hot Chocolate Cones, I provided a free option in black and red. For those of you looking for more color, here are some more colorful tag options from my Etsy shop, Teal Girl Designs. Use PromoCode GROWCREAT30 for 30% off your purchase.

PREPARING THE SUPPLIES
As with all projects, the prep work helps everything go smoothly (or smoother at least). Before we start creating the spoons let’s set up the supplies needed.
1. First thing, place whatever toppings you decide to use in small bowls or ramekins. It makes them easier to get to while the chocolate is still melted/warm. Also, pull out spoons for each topping as its easier to apply with a spoon (and more hygienic if you are giving them as gifts).

2. Next, cover your tray with either a baking mat (top pic) or wax paper (bottom pic). In my case I wanted two trays and only have one baking mat, so I used both.

3. Lastly, before you start to melt the chocolate, grab a small bowl (for the chocolate) and larger bowl (that the small bowl fits into). The larger bowl will be used as a warm water bath to help the chocolate stay melted for longer.

mELTING the chocolate
There are wonderful food bloggers out there that have detailed tutorials on just how to melt chocolate, so I will spare you the step-by-steps of melting chocolate and focus on creating the spoons. For me personally, I have always created a double boiler with a pot and a large pyrex bowl which works great. I know other people that use the microwave which works well too. You choose which option works best for you as long as the chocolate gets melted.
4. Melt each type of chocolate you are using and place the melted chocolate in the small bowls. Add warm/hot water to your large bowls (leaving at least 1/2″ of space between the water and top of the small bowl…we don’t want water in the chocolate).

CREATING THE HOT COCOA SPOONS
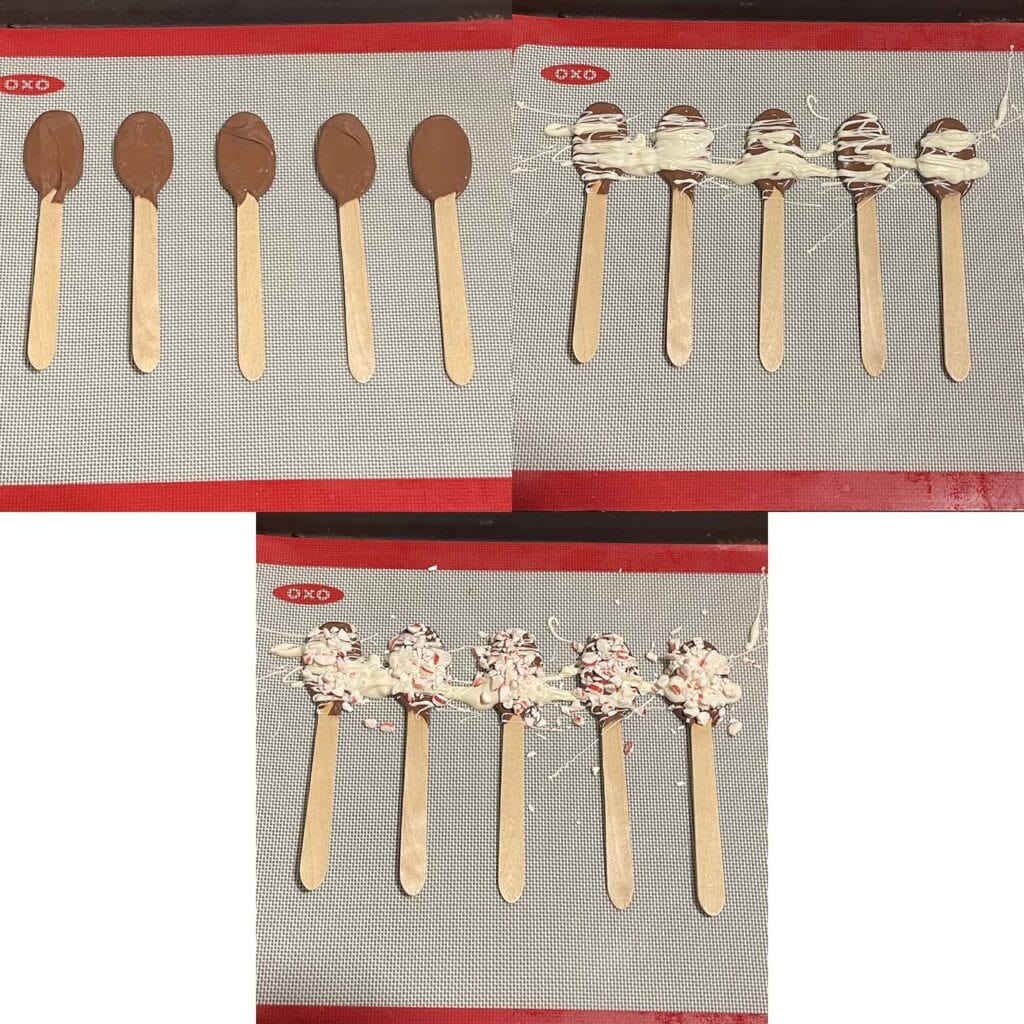
5. Once the chocolates you are using are melted, you can start to dip the spoons in. Dip the head of the spoon in the chocolate and twirl it to cover the front and back. Pick it up out of the chocolate and allow any excess to drip off. Place it down on the paper/mat.

6. Repeat this process with 4 or 5 spoons.
7. Once you have the chocolate covered spoons on the paper/mat, now comes the fun part. Decorating!! Add whatever toppings or combination of toppings you like. Think about what tastes good together.

8. You can also layer multiple chocolates for more fun combinations, like these peppermint bark spoons below. Start with covering the spoon in one chocolate. I suggest milk or dark because they melt the easiest. Then drizzle a second chocolate, like white in this case, (or even caramel) for more flavor. Finally, add toppings, like peppermint pieces.
BAGGING UP THE SPOONS
9. Once you are finished with the toppings, the spoons need to cool. Since I am always impatient, I placed mine in the freezer for about 10 minutes which did the trick. NOTE: If you take them out early, as I did with one set, and try to bag them, you will get chocolate all over the inside of the bag (see below). If that happens, cut the bag open. Place the spoon back on the tray and into the freezer for another 5 minutes.

10. Once all of the spoons are cool (hard enough to bag), place them in the clear bags. For those spoons where the chocolate and toppings went way off the spoon (and are hard to bag), use a knife to trim off a bit of the extras before bagging.

ADDING FINISHING TOUCHES
11. Tie curling ribbon to the top of each spoon to seal the bag and curl the ends for a festive look. Print out gift tags, if you are using them (see Material List for tag options). Cut them out and give them a hole punch and add to your spoons to finish.

tips FOR MAKING SPOONS WITH KIDS
These hot cocoa spoons are extremely inexpensive and easy to make a bunch with your kids as teachers gifts or for their friends during the holidays. Here are some prep tips for having a smooth and fun time creating with your kids.
- Since melting chocolate is more of an adult or older child task, let your little ones help pick out toppings, add them to bowls, and prep the trays while you melt the chocolate. Divide and conquer!
- Keep the number of chocolates fairly simple (1 or 2) and allow the toppings to bring the creativity. I would also avoid caramel because it can create a hot sticky mess that takes a lot of clean up.
- If you have little ones, dip the spoons in chocolate for them and allow them to do the decorating.
- Cut out the tags ahead of time, punching a hole in the corner as well as cutting the pieces of curling ribbon that secure the tag to the cone. Also, makes the assembly quicker if you are creating a bunch.
Hope you have a fun time creating these yummy spoons of sweetness! (And don’t taste test too many or you may not want to give them away!) Happy holidays and gift giving!!
~ Nikole