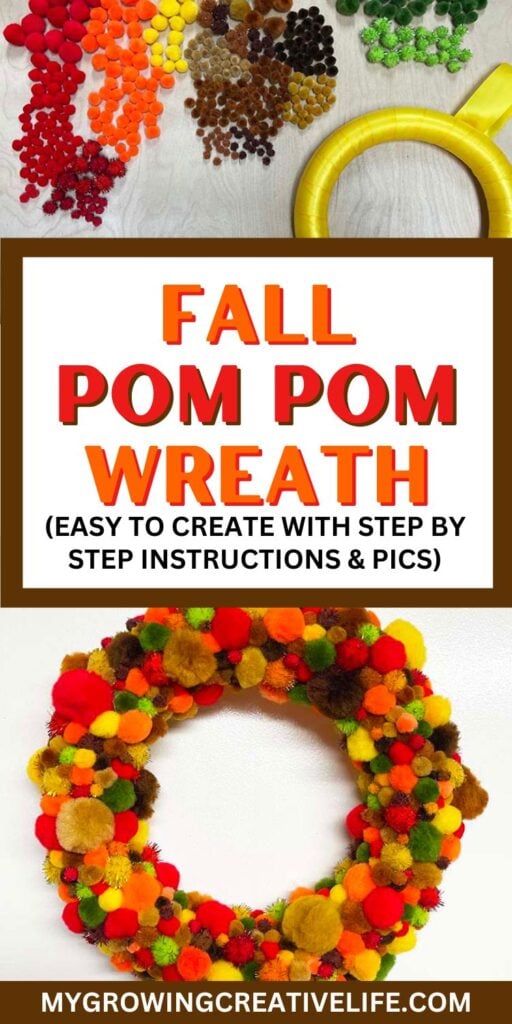
Fall Pom Pom Wreath: Easy, Colorful, and Festive
Ok, before we can chat about this fun, festive fall pom pom wreath, I have a confession to make. I love making pom pom wreaths and other fun projects with pom poms, BUT I am NOT a fan of making pom poms. They’re time consuming to make, take a ton of yarn to be super fluffy, and you need a lot, especially if you’re trying to cover something like a wreath. I just don’t have the patience! Anyone else feel like that? We also just happen to collect tons of store-bought pom poms in our house from all of seasonal craft kits we get. So, here is a perfect use for those pom poms!
A few years ago, I made a Valentine version of this wreath which I love, but it was a bit different than this one because I could find a flat back styrofoam wreath for the project. For this one I could only find a wreath that was completely round, so I wanted to share my tips for working with that type of wreath. Either way…fun, colorful and very fluffy!!
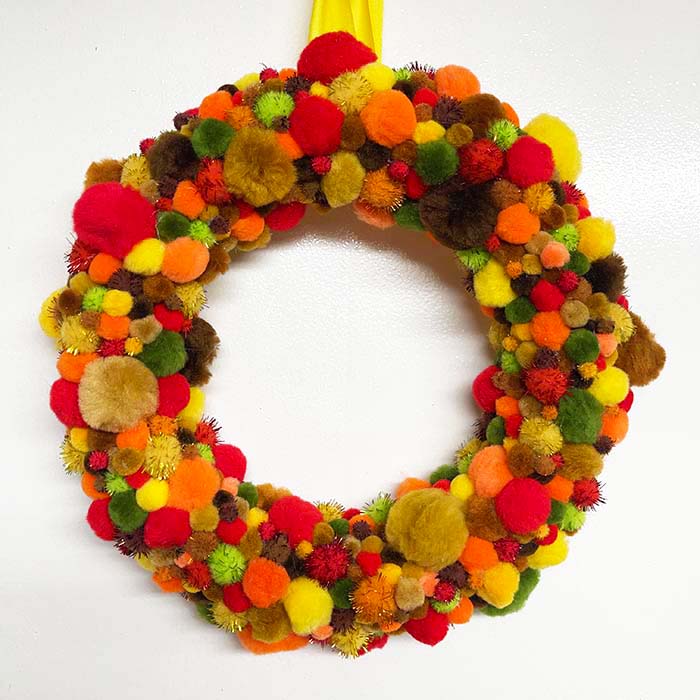
One note on color, since you get to choose…for Fall I added yellows, oranges, reds, browns, and yellowish greens. However you interpret Fall or Thanksgiving colors, add or omit any of the colors that I chose to make it work for you! Ready?
More Festive FALL/THANKSGIVING Projects To Check Out:
- Thankful Tree: 2 Trees Every Kid Can Make This Thanksgiving
- Colorful Feather Turkey Craft to Make With Your Kids
- Pipe Cleaner Turkey: A Colorful, Fun Kids Craft
More Pom Pom Projects:
- A Clothespin Snowman: Last Minute Fun For Any Gift
- Pipe Cleaner Spider & Spider Web: Fun Easy Halloween Craft
- The Perfect Crafty Mason Jar Gift For Kids
Fall Pom Pom Wreath
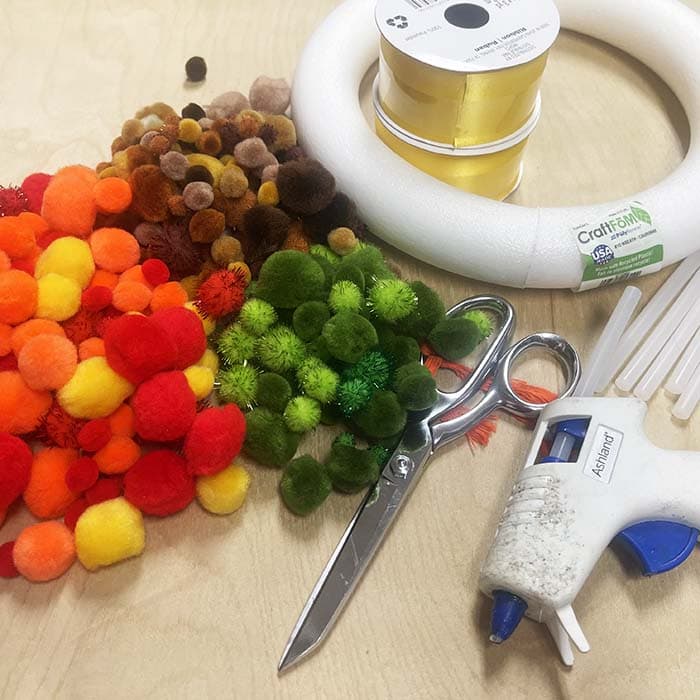
What You’ll Need:
- Styrofoam Wreath (this one is 9.8″ wide)
- Satin No Wire Ribbon (I used 2 rolls of 1 1/2″ x 3yds.)
- Lots of Pom Poms in variety of sizes (I used as small as 1/4″ and up to 1 1/2″ sizes)
- Hot Glue Gun
- Glue Sticks
MATERIAL TIPS:
- The Wreath – For this project I used a round wreath instead of a flat back one (like I did for the Valentine Pom Pom Wreath). I would have preferred a flat back wreath as opposed to a round one (less area to cover with ribbon and pom poms), but no one seems to make the flat back anymore. If you do find one, USE IT. It lays on the table a bit better while you’re decorating and you need less pom poms. You can find styrofoam wreaths in the floral design section of the craft store.
- Ribbon – There are 2 reasons for wrapping the wreath in ribbon. The first is to cover the styrofoam, protecting it (as styrofoam pieces will flake off). The second is to create a smooth, solid color surface that will look good if peeking out as well as make attaching pom poms easier. I prefer a satin ribbon without wire as it gives you better flexibility to pull as needed to cover properly. Also, I used one that was 1.5” wide. If you use a ribbon with a thinner width, keep in mind that you will need more ribbon.
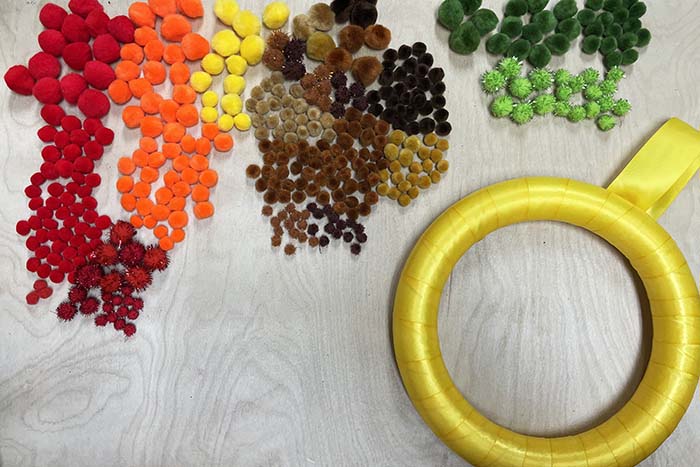
- Pom Poms – There are so many sizes, colors and textures of pom poms out there and, in my opinion, for this wreath, the more variety the better. I used 1” and 1/2” pom poms the most, but also found that the tiny 1/4” and super large 1.5” ones were equally useful. Particularly when you are trying to cover holes or fill large spaces, respectively.
Wrapping The Wreath in Ribbon
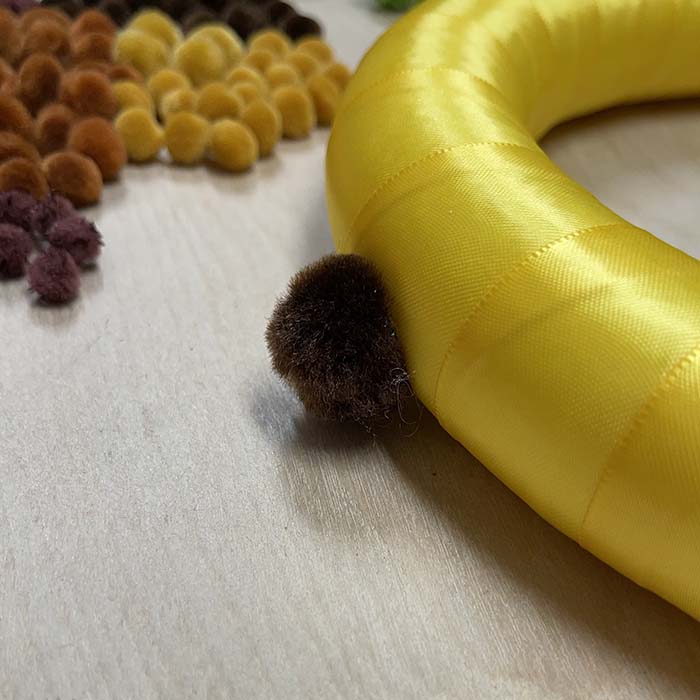
1. First things first, plug in your glue gun and let it heat up. Once it’s hot, take the end of your ribbon and pointing towards the inside of the wreath, attach it with hot glue at an angle. The direction that the ribbon is wrapped in will become important later when you add the loop to hang it with!
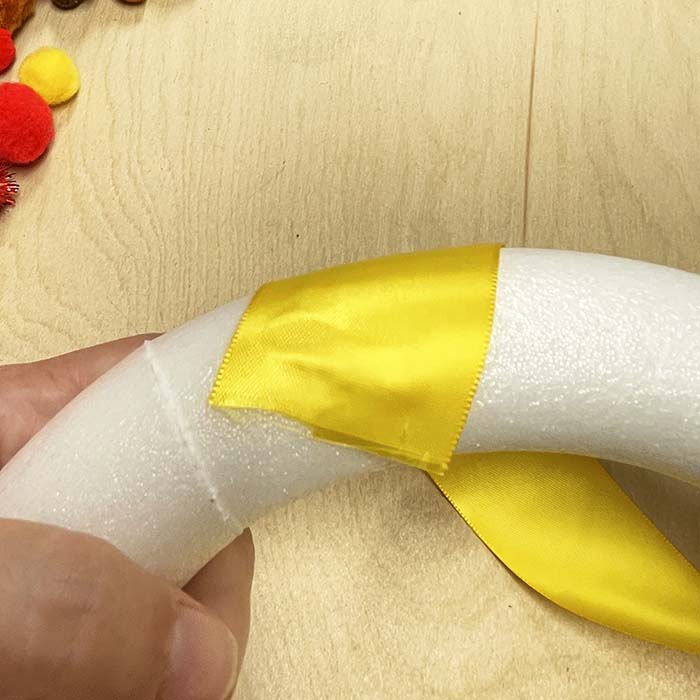
2. Let the glue cool for a minute so it has a bit of strength and then begin to wrap the wreath with the ribbon.
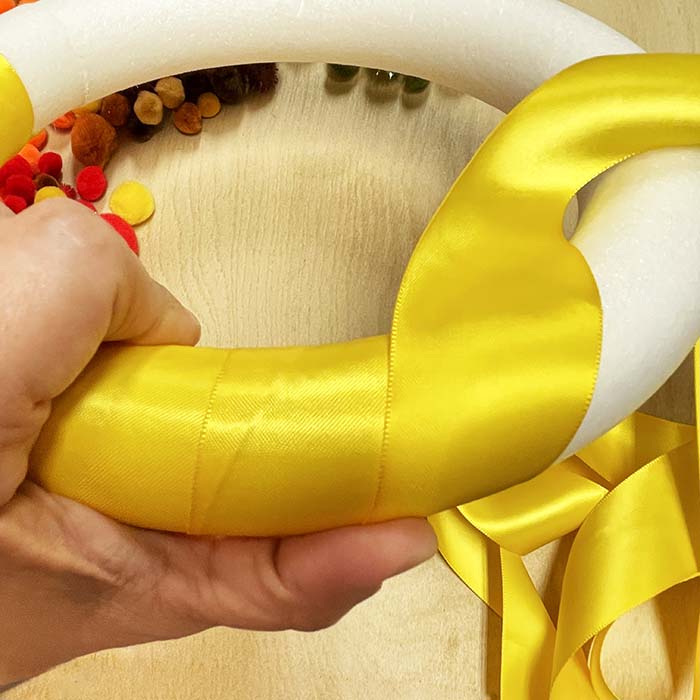
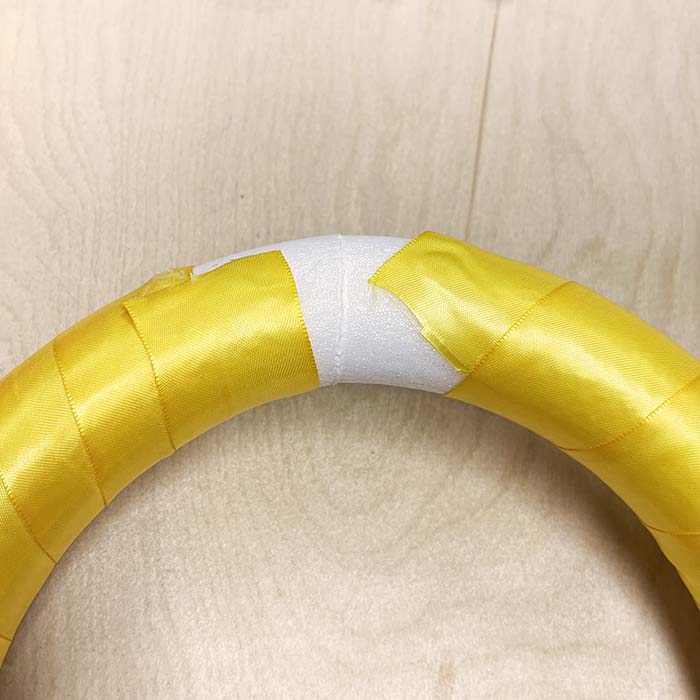
3. If you run out of ribbon from your first roll, secure the end of that ribbon with glue. Glue on the new ribbon and continue to wrap until the styrofoam is completely covered.
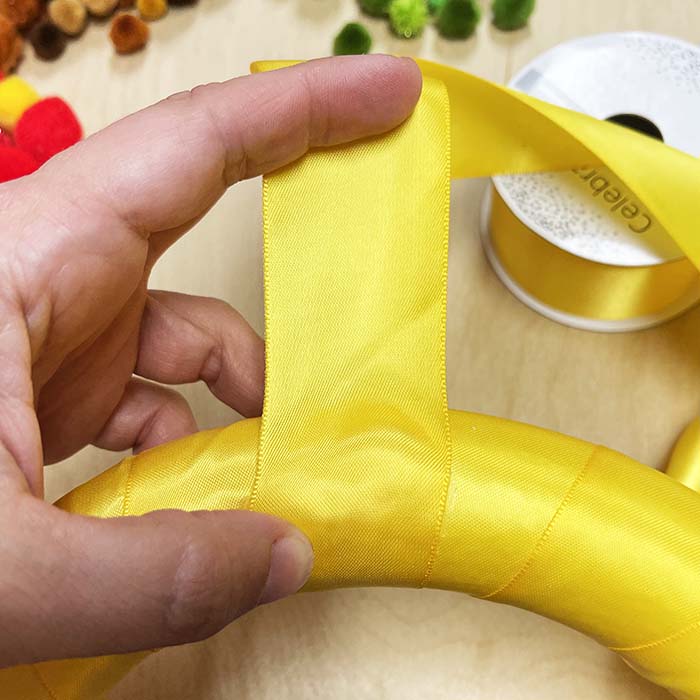
Adding The Loop For Hanging
4. Remember the direction of the ribbon that I mentioned in step 1. Here’s where it’s important. Without cutting the ribbon, glue the ribbon down to the back of the wreath. Be sure that the ribbon is NOT at an angle, but rather pointing straight out from the center of the wreath.
5. Make a loop by turning it back into the center and glue down. Cut off the extra ribbon.
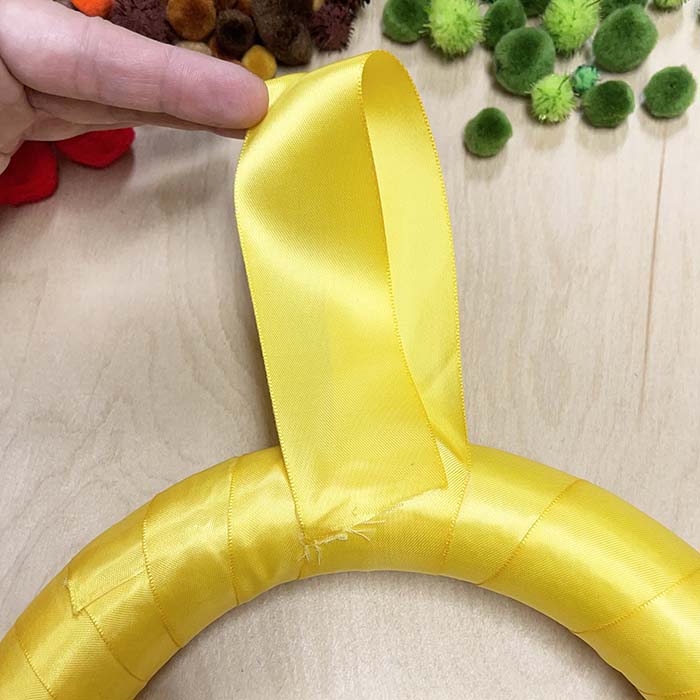
6. Flip the wreath back over and now you have a wreath that’s ready for decorating.
Gluing The Pom Poms On
7. This is a view of the side of the wreath. We are going to cover the entire front of the wreath with pom poms which, since the front is rounded, means everything that’s not laying on the table. TIP: I liked adding the pom poms to the side while the wreath is laying on the table, so I know that it’ll lay flat to the wall and still have coverage as close to the back as possible.
8. Here is a view of my piles of pom poms. There are so many sizes, colors, and textures. After creating the Valentine pom pom wreath, I learned that it was easier to pre-group the pom poms by type and size, so I could see how many of each I had. Since there are some pom poms that I definitely want to use and I’m not sure how many it will take to completely cover the wreath I start with those first. I’m sure you have a few favorites too, so set them aside now.
9. Starting with one type and size of pom pom, add hot glue to each pom pom (or to the wreath itself) and glue it to the wreath. Once you’ve finished all of the pom poms of a certain type, move onto the next group, rotating as you go (see progress pics below). TIP: To get them evenly distributed around the wreath as well as the inside, middle, and outside of the curved surface, I rotated the wreath a quarter turn after I glued each one down. This makes you look at the wreath from multiple angles, so you can see gaps better and where pom poms are getting bunched up.
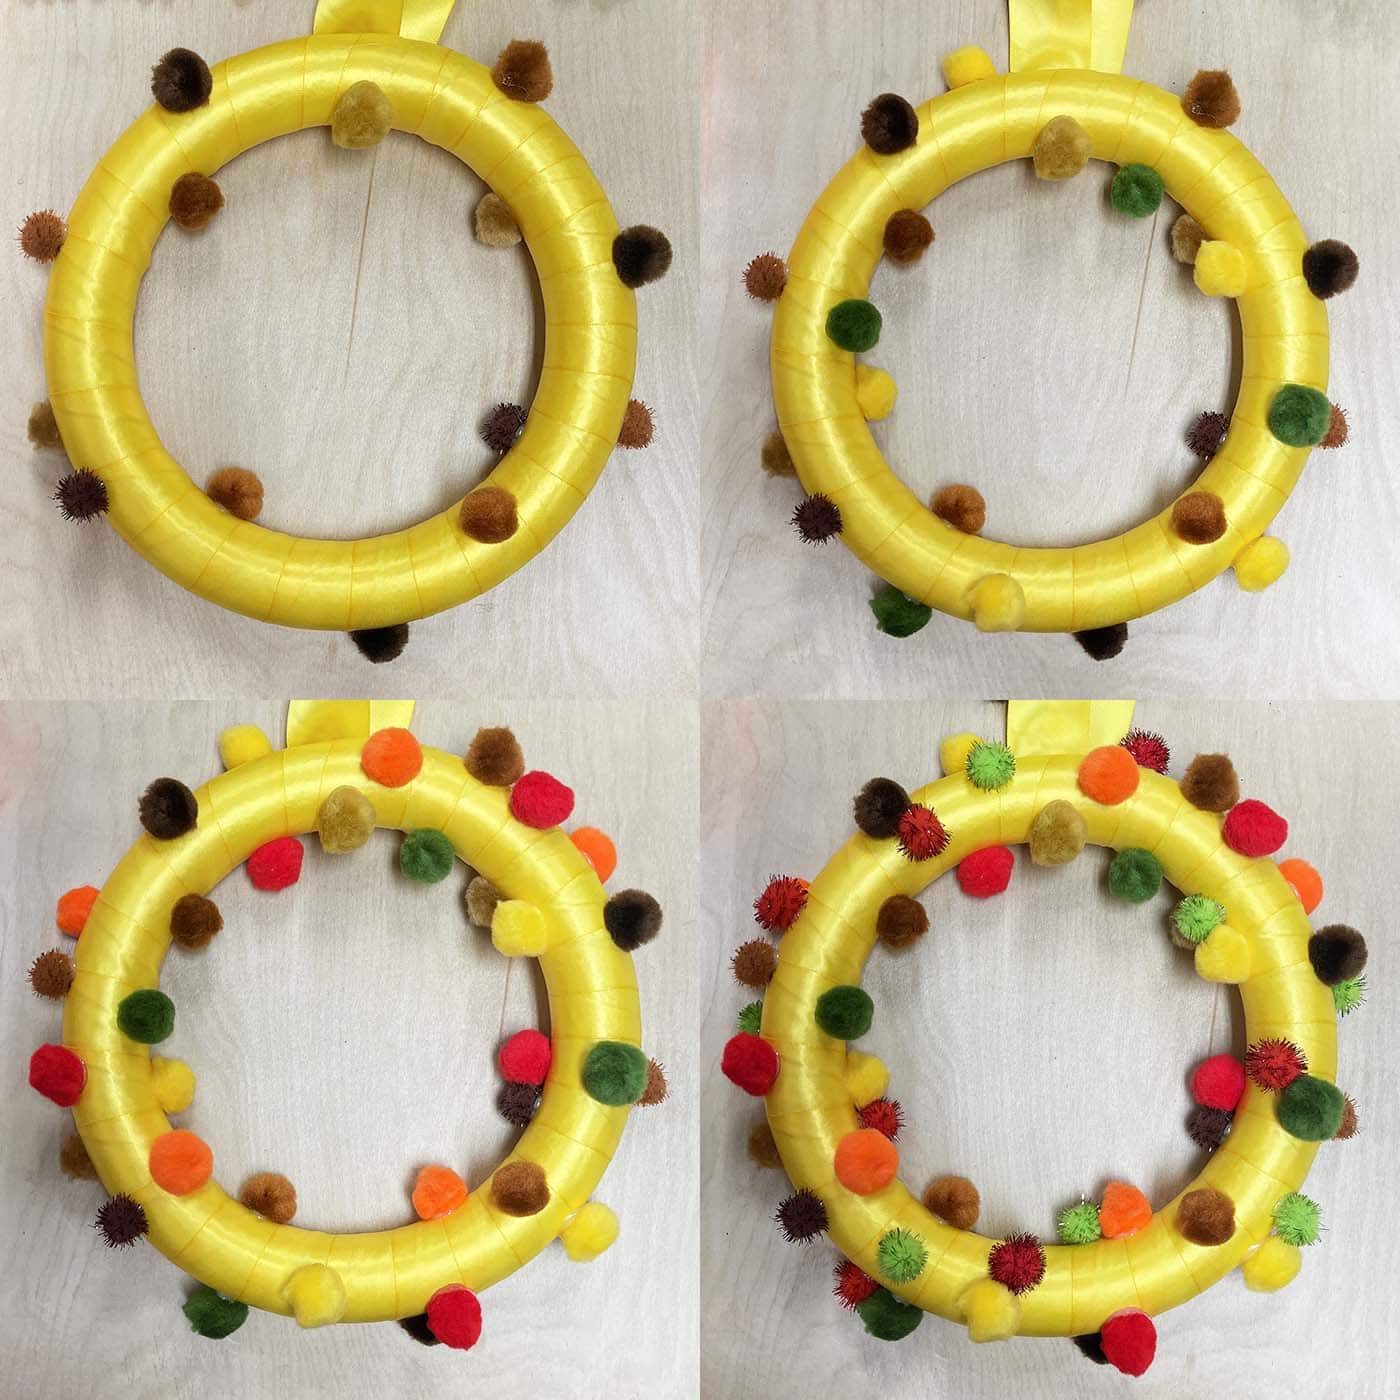
10. Continue in this manner until all of the ribbon on the wreath is hidden by pom poms. NOTE: I ended up going back to the store for more pom poms because there is definitely more surface to cover on the round wreaths.
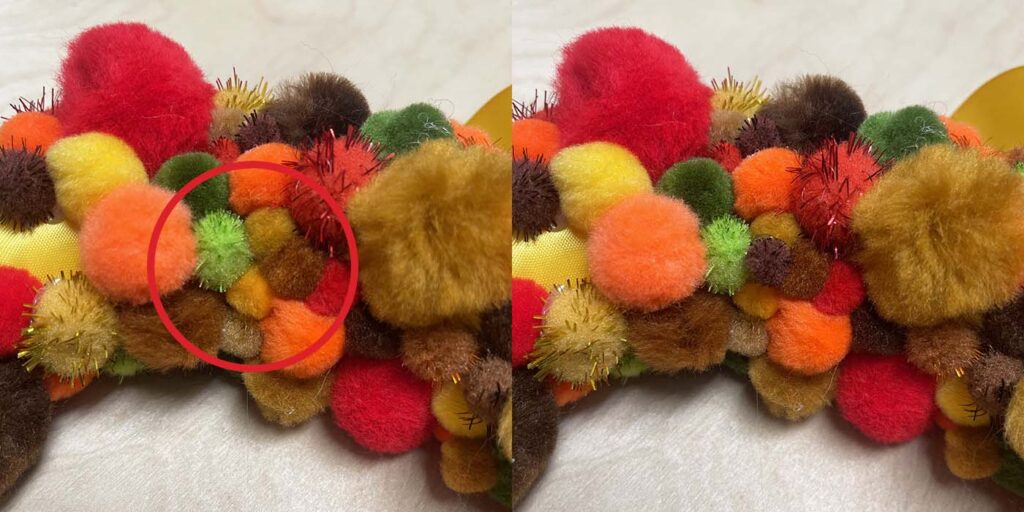
11. Once your wreath is covered by pom poms, now is the time for the finishing touches. Look at any areas where hot glue is showing. Take a small pom pom or two and glue them over the top to hide it.
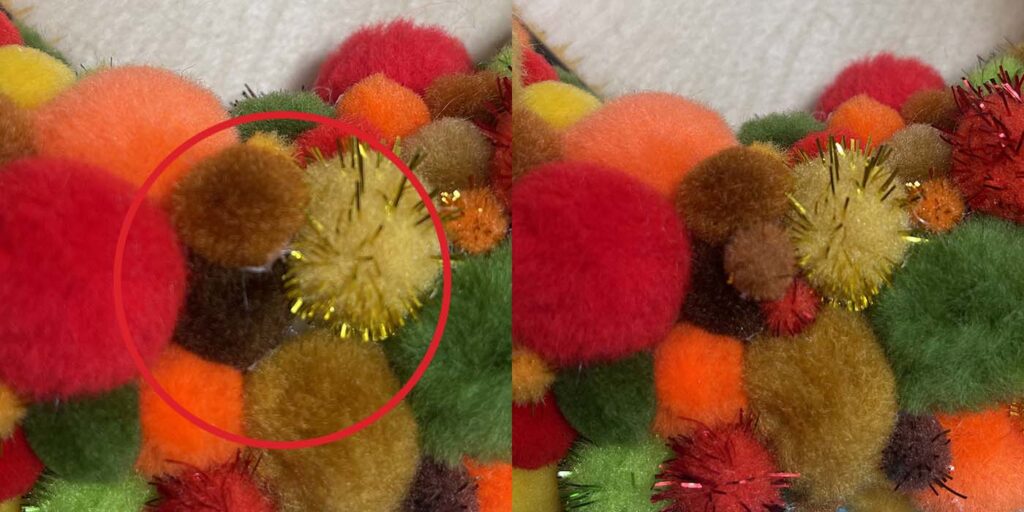
12. Also, look for any areas where the pom poms look kind of smooshed/flattened. Take a small pom pom or two and glue them over the top to add a bit of dimension and texture back to that area.
And here we are! This fall pom pom wreath is super colorful and fun, definitely festive for Thanksgiving. It’s also easy to make and requires only a few supplies. My younger daughter likes touching it because its so soft and I’m a big fan of the different textures. So, throw on a holiday movie and give it a try.