Tulip New Kits Review: Neon, Glitter, Color Change, Glow Tie Dye
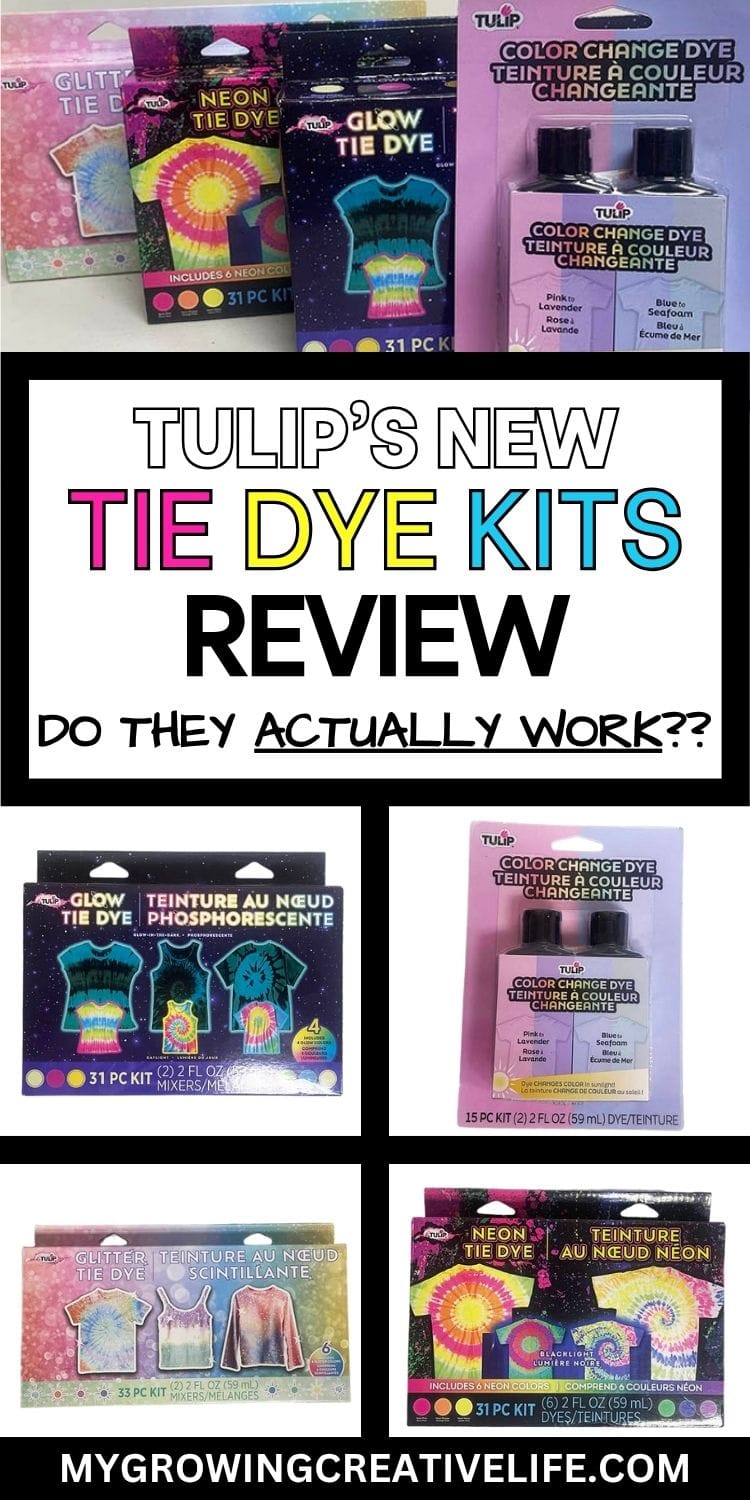
Last summer I noticed that Tulip created new tie dye kits (always new fun stuff), so of course I had to pick them up. I was eager to give them a try and share which ones I think you should try too! The new kits were: Neon Tie Dye, Glitter Tie Dye, Color Change Tie Dye, and Glow Tie Dye. Now, I know I mentioned last summer and I did all of the testing and playing with them then, but I wanted to wait on this post until this summer (2026) to see what Tulip actually kept selling. Sometimes things are just a one hit wonder and sometimes they actually stick around. Thankfully, Tulip is still selling all 4 of them this year, so they are all worth reviewing.
Now, for consistency in testing, I used the same Adult Medium shirt that I always use for my patterns and I created a spiral tie dye pattern for all of them. Since this post is about comparing the 4 new kits and not how to spiral tie dye, I am leaving the step-by-step link for creating a Spiral Tie Dye here.
For each kit I’ll walk you through what’s in the box, dye prep, how to apply and anything I might have done differently from the instructions (because some didn’t make a lot of sense for tie dyeing). And finally, I will show you the results, so check out the winners at the end.
Ok, let’s bust open the kits and get right to the reviews.
Tulip Tie Dye Kits Review: Neon, Glitter, Color Change, Glow Tie Dye
As I mentioned above, let’s review what each kit comes with, how to prepare the dyes (because most needed some preparation) and how to apply them to a shirt. I also adjusted some of the instructions because some didn’t make a lot of sense for tie dye, so I will call that out as well.
FIRST CHANGE (DAMP SHIRTS): For starters, I used DAMP shirts for ALL of the kits. Some don’t call out if the shirt should be damp or dry; some tell you to use a dry shirt. As someone who’s tie dyed close to 400 items (at the time of writing this), I can tell you that a dry shirt takes a LOT of dye to get all of the way through and most of these bottles were pretty small. The colors also blend much nicer with damp fabric (See: Should You Tie Dye Wet Or Dry?).
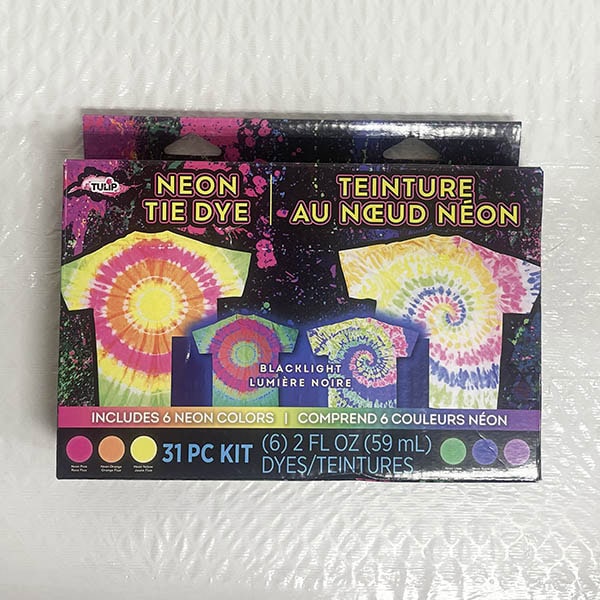
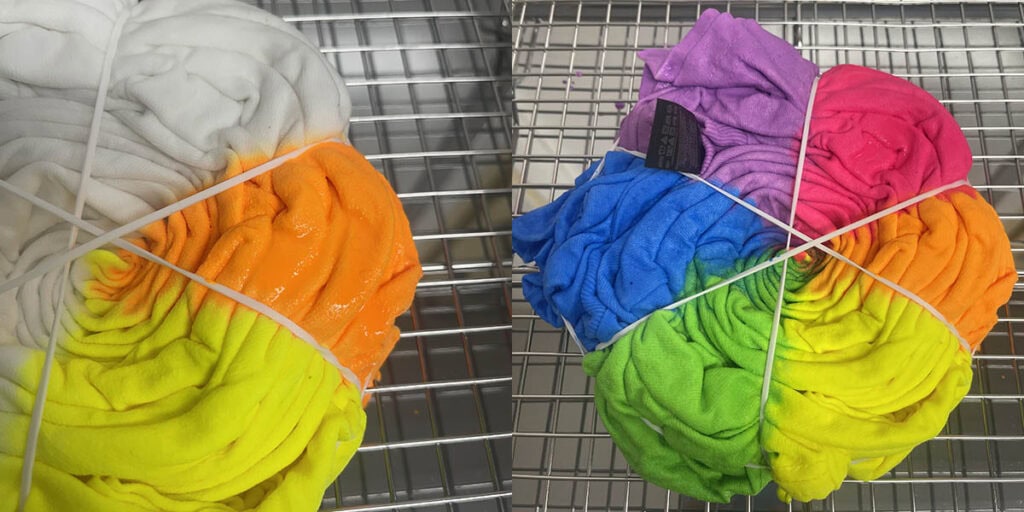
NEON TIE DYE
The Kit
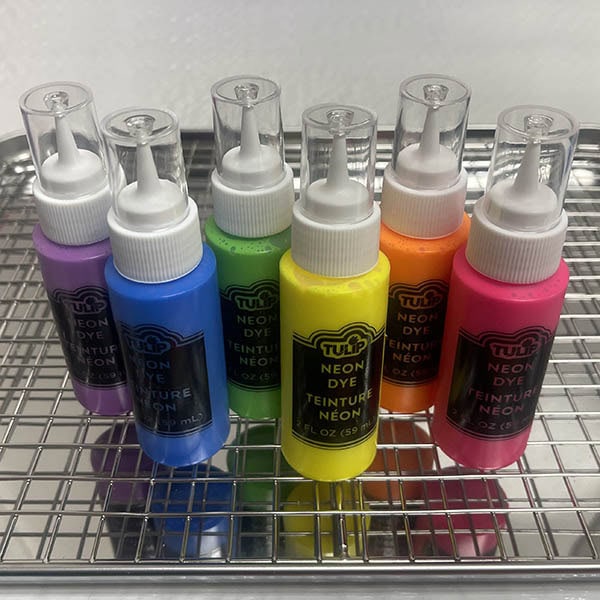
First up, neon tie dye. The kit contains 6 colors (pink, orange, yellow, green, blue and purple), some plastic gloves, rubber bands and instructions. Each color comes in a 2oz bottle that’s premixed, so no water needed.
Dye Preparation
Unscrew the bottle caps and take off the seal. Snip the tip off of the nozzles and you are ready to dye. Pretty quick and easy. The bottles also have nice big clear tops that are easier to take on and off than Tulip’s traditional tie dye bottle caps.
Tie Dyeing The Shirt
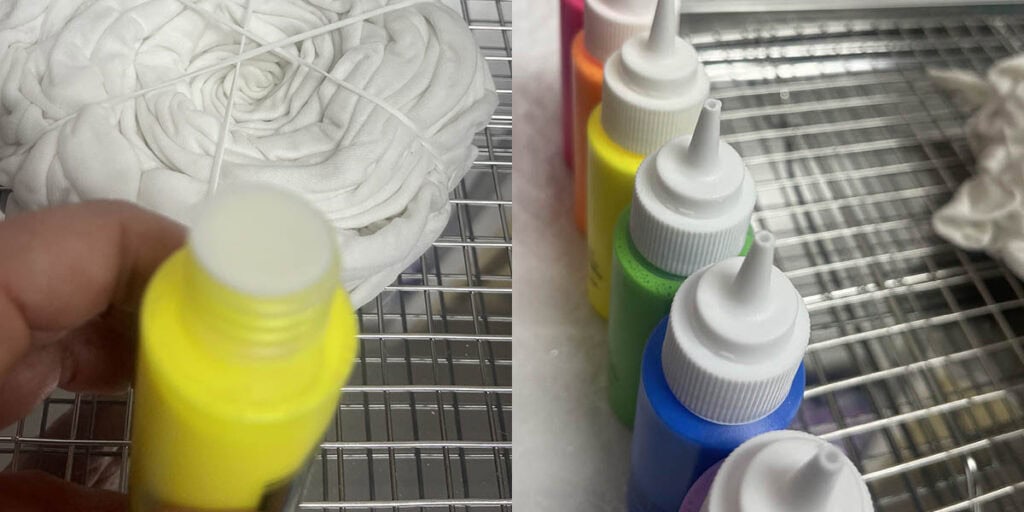
As with any tie dye I started with the lightest colors (yellow in this case) and worked my way around. Right away I noticed that the dye was thicker than traditional dye for tie dyeing and it took extra time to absorb, so patience was key here (see below left pic with the orange dye sitting on top of the fabric). It did eventually absorb in, but it took a VERY long time to do so!
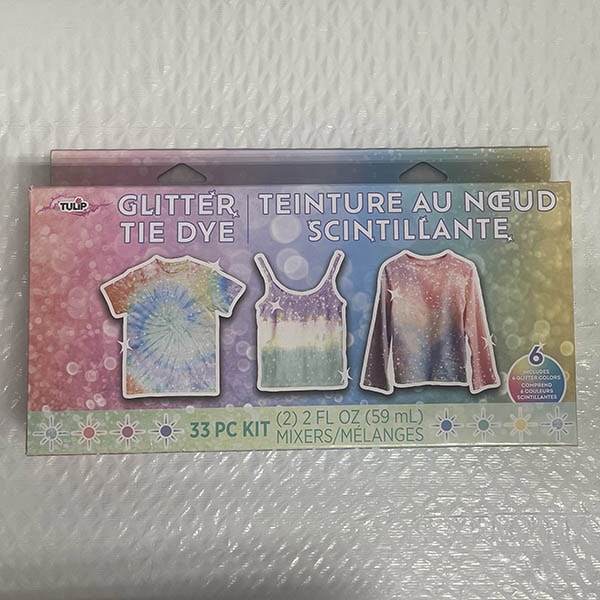
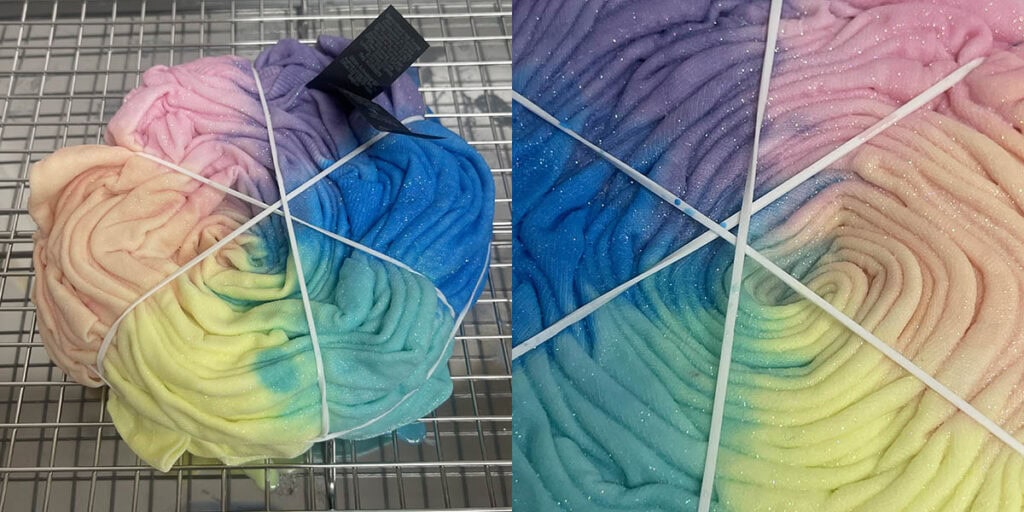
GLITTER TIE DYE
The Kit
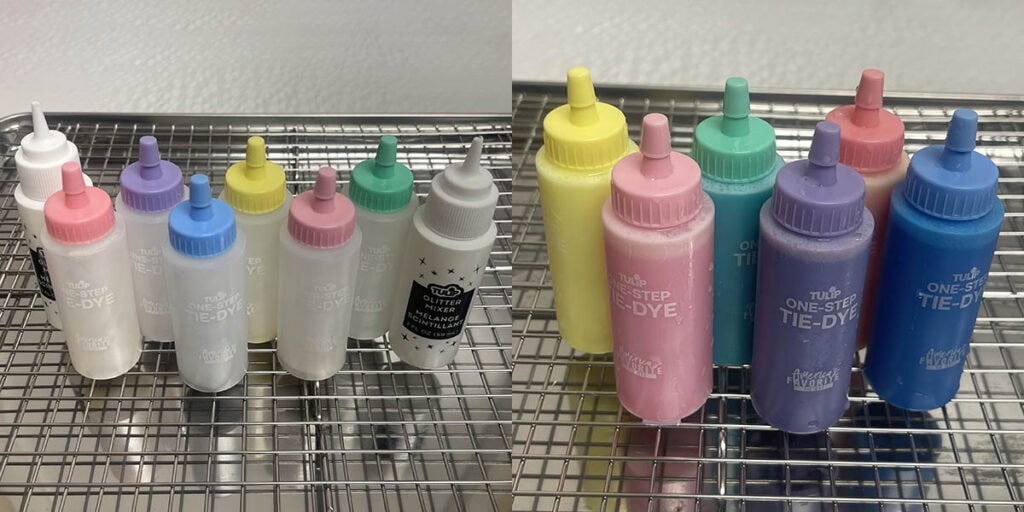
Onto the glitter tie dye kit…The kit comes with 6 bottles of one step dye in lovely pastel colors (blush, salmon, lemon, mint, sky, and lavender), 2 bottles of glitter mixer, plastic gloves, rubber bands and instructions. Each dye and mixer bottle is 2oz.
Dye Preparation
The one step dye bottles are filled with powder dye (like all Tulip One Step Dyes). In order to make them glitter tie dye, the glitter mixer needs to be added to the dye bottles and then finished off with water and shaken. Sounds easy enough, but it was a bit annoying when you tried to do that.
There are 6 dyes and 2 mixers (so 1 mixer for 3 dye bottles). In order to distribute the mixer evenly across 3 bottles I needed to open all 3 bottles and keep adding mixer to each one bit by bit, so they were equal. It would have been nice if the mixer bottle was see through, like the dye, so you could see and manage the amounts better. I added all of the mixer to the bottles, then filled them with water and shook. Glitter tie dye!
Tie Dyeing The Shirt
As with the neon, we have 6 colors, so I started with the yellow (lemon) and worked my way around (and then repeated on the back). Since this is the traditional dye, it absorbed well, however, I quickly noticed that the glitter was sitting on top of the fabric and not absorbing into the shirt (see below right pic).
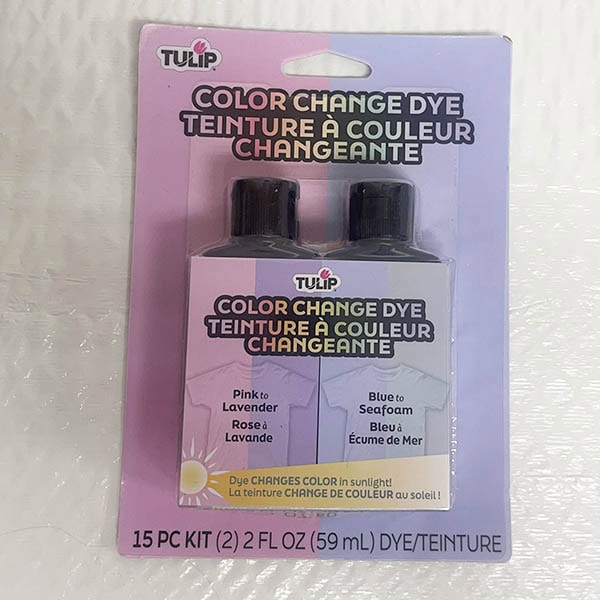
COLOR CHANGE TIE DYE
The Kit
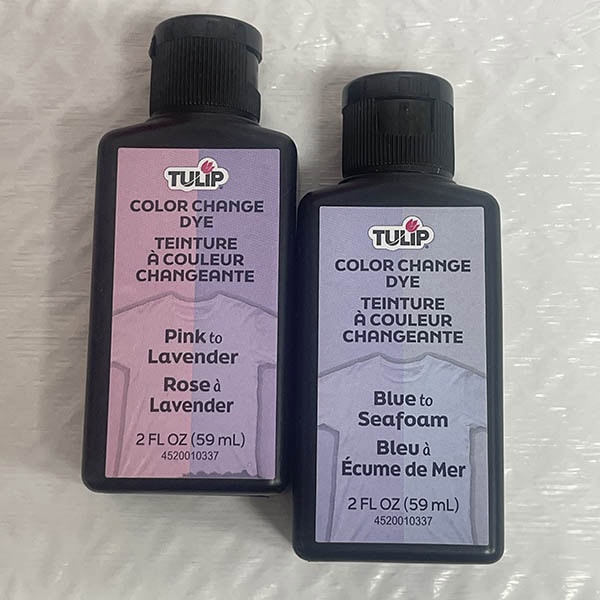
Next up, Color Change Dye. This kit is the biggest departure from the traditional tie dye kits I usually see. There are no squeeze bottles. Just two 2oz bottles of liquid concentrated dye, plastic gloves, rubber bands and instructions. Tulip sells 2 color options:
- Option 1: Pink to Lavender and Blue to Seafoam (shown here, my first try)
- Option 2: Mint to Sky Blue and Lilac to Periwinkle (shown in results, my second try)
I started with option 1 and the results were not good, so I made a few adjustments and gave it a second try with option 2 (shown in results).
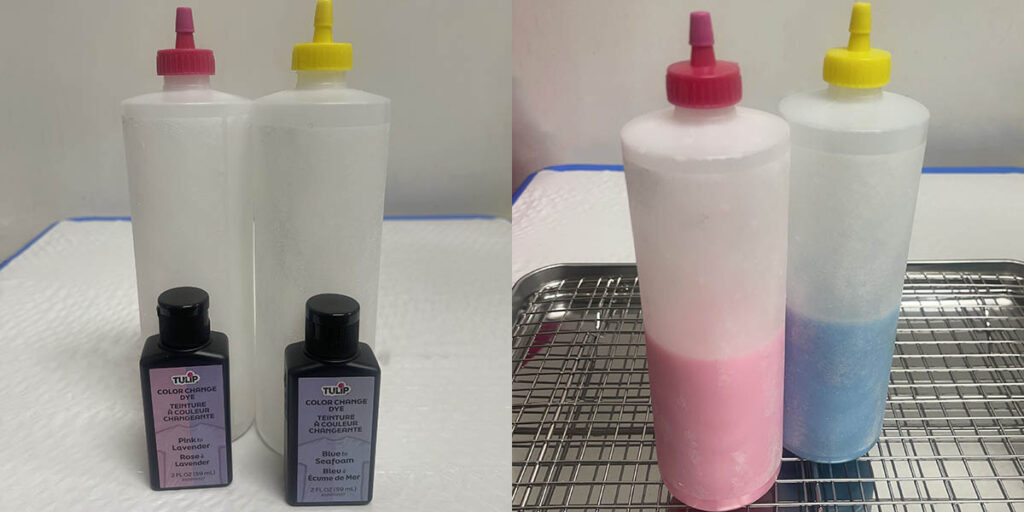
Dye Preparation
This kit can be used as a dye bath to dunk fabric or an item in OR for tie dye depending on how much water you add to the dye. I opted to tie dye (of course), so I had to acquire squeeze bottles for this. If you have large squeeze bottles from another tie dye kit, such as Tulip’s Block Party tie dye kit (shown below), you can use those. Just make sure they are well rinsed out. If you don’t have them, they are pretty easy to buy.
I added each dye to a squeeze bottle, then followed Tulip’s recommended amount of water, and shook. Ready to tie dye.
Tie Dyeing The Shirt
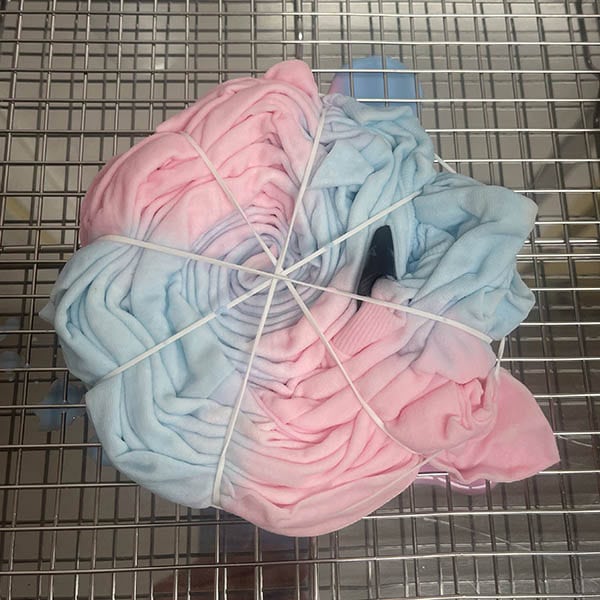
Since there are only 2 colors and they are fairly light, I created thicker spiral wedges. The dye was sort of milky and less dye like, but it absorbed into the fabric fairly easy. I repeated the pattern on the back.
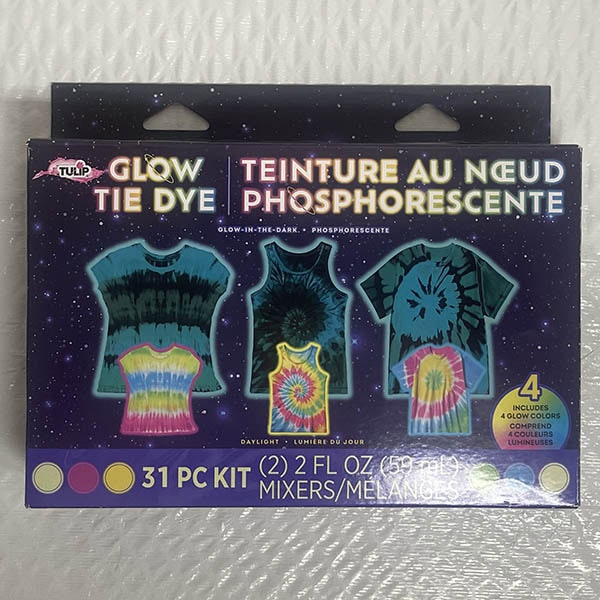
glow tie dye
The Kit
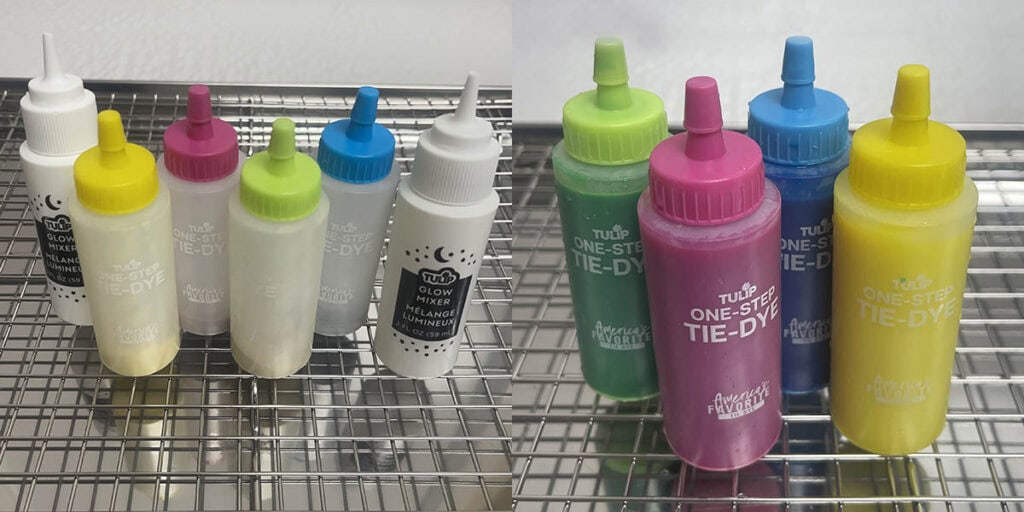
Finally, the glow tie dye kit. This kit is similar to the glitter tie dye kit in that it comes with one step dye bottles, glow mixer bottles, plastic gloves, rubber bands and instructions. There are only four 2oz dye bottles in this kit though, in colors fuchsia, yellow, lime and turquoise.
Dye Preparation
As with the glitter tie dye, the glow mixer must be distributed among the dye bottles. Again, I wish the mixer bottle was clear so it was easier to see how much I was pouring in each dye bottle. Once the mixer is added, add water to fill up the dye bottle, put the cap back on and shake. Glow tie dye.
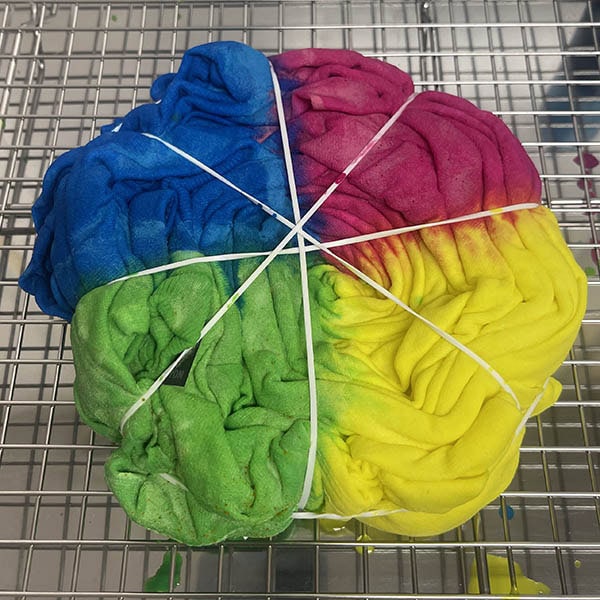
Tie Dyeing The Shirt
For this spiral I created 4 wedges and added the 4 dyes to them starting with the yellow. I then repeated the pattern on the back side.
CURING ALL TIE DYE KITS
Ok, this is where I started to do things different than the instructions, based on my experience. Most of the instructions called for opening up the shirt right after dyeing and laying them out to dry. This is a horrible idea for a few reasons! Tie dyed shirts should be left tied up with rubber bands during the curing process, so the dye can work its way into the shirt and then stay in that spot until washing (creating the pattern). When you immediately open up the shirt and don’t intend to wash it immediately, the excess dye can move into areas of the shirt that it wasn’t supposed to be in and muddy up the pattern and colors. Dye also requires moisture, time and heat to cure (See: How Long To Let Tie Dye Sit Before Rinsing). If you lay it out to dry you remove the moisture too quickly and then it doesn’t get enough time to cure.
CHANGE TWO (Curing In Bags): Each shirt was placed in a plastic bag, like I always do with any tie dye project, and left for 24 hours to let the dye cure as much as possible.
CHANGE THREE (Laying Flat To Dry Before Washing): Normally after curing in a bag for 24 hours I rinse the shirt out. Since the instructions called for fully drying the shirt prior to washing for some reason, I felt it couldn’t hurt to try at that point. I carefully took each shirt out of the bag, removed the rubber bands and laid them on a clean plastic sheeted surface to dry. (NOTE: Have paper towels handy to wipe up any excess dye). Once the front of the shirt was dry I turned the shirt over to dry the back. NOTE: I did not do that for the first color change shirt and it was a super pale mess.
FINAL REVIEW: Neon, Glitter, Color Change, Glow Tie Dye
Truthfully, I have always been a BIG fan of Tulip’s One Step Tie Dye Kits with bright colors that last, but I am not so happy with these new kits. There is one decent one in the group, an OK kit and the other two I would NOT recommend. I will also say that all of them fade much faster than the one step kits. It was noticeable after the second washing! In addition, typical bottle size of the one step kits is 2.75oz. The bottle size for all of these kits was 2oz, so they will only create 1 or 2 tie dyed items (something to keep in mind). Ok, onto the results.
NEON TIE DYE
RECOMMEND – The neon tie dye shirt turned out pretty bright which was nice. I have seen reviews for this product with the color completely washing out. I think curing it in a bag for 24 hours, which is not in the instructions, and then drying out the shirt really helped the dye stay. Aside from the dye taking forever to absorb, it was pretty easy to use. NOTE: As will all these kits, it does seem to start fading quickly, so be careful about over laundering.
GLITTER TIE DYE
NOT RECOMMEND – The glitter tie dye was a big disappointment. First, the pastel dye completely washed out. Tulip’s other pastel dyes are softer, but still saturated colors (Check out: How To Pastel Tie Dye). Next, the glitter was barely visible and limited to tiny spiral strips (the top of the shirt when it was tied up). Lastly, the mixer made the entire shirt hard and a bit crunchy. There were no positive points about this kit.
COLOR CHANGE TIE DYE
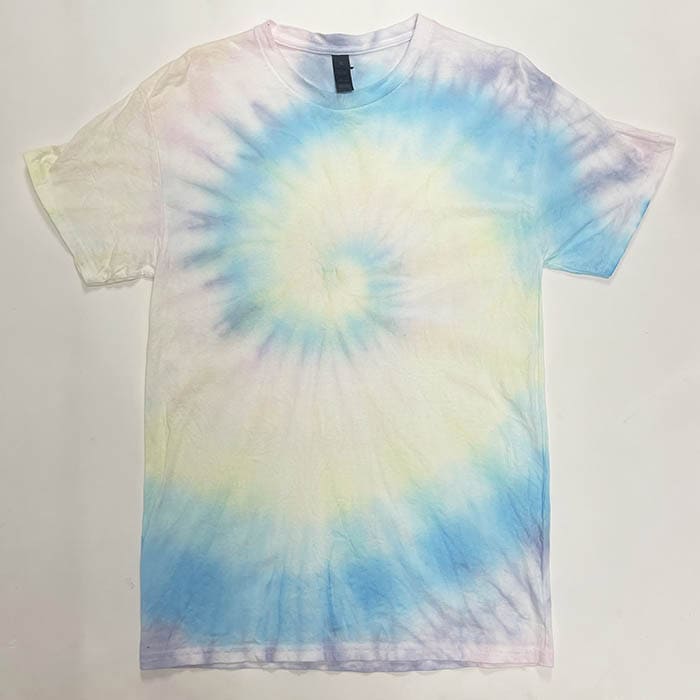
MAYBE – The color change tie dyed shirt was pretty interesting. If you followed their instructions for curing, it was a very pale mess. If you put the shirt in a bag for 24 hours and then laid it out to dry, that seemed to help the curing process. The colors actually do change when they are in sunlight (indoor lights do NOT cause the change). It was quick and very cool to watch. That being said, I wish the colors were a lot more vibrant (if they were I would give it a recommend).

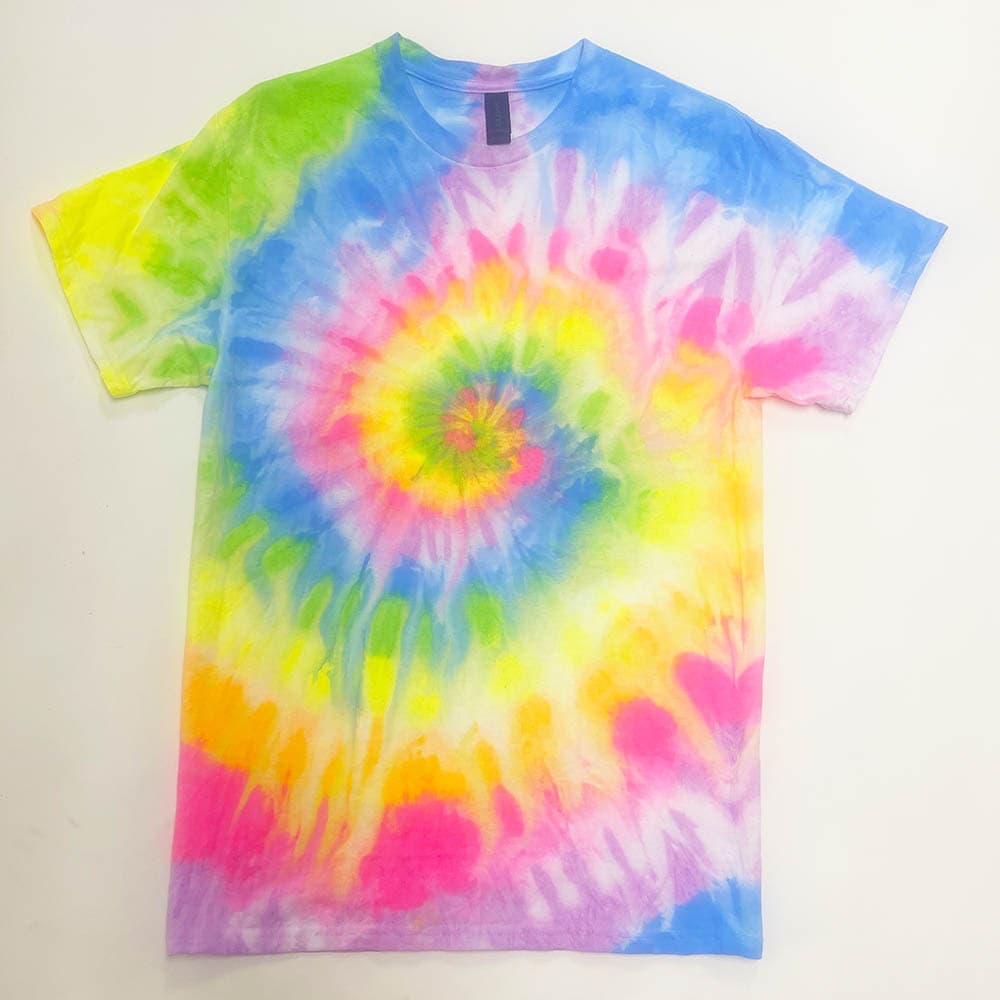
glow tie dye
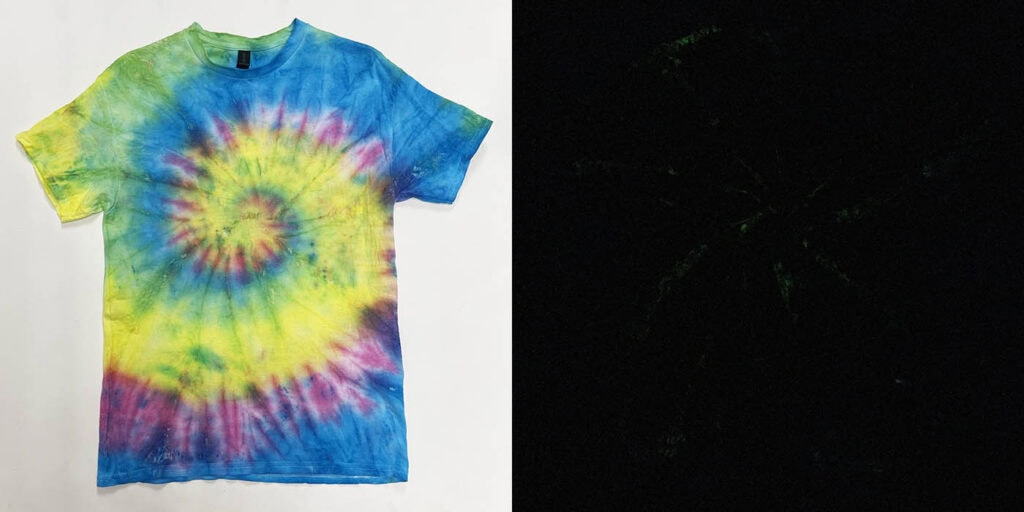
NOT RECOMMEND – The glow tie dye was also a big disappointment. The dye colors were pretty bright which was nice, but the glow was barely visible and limited to tiny spiral strips (the top of the shirt when it was tied up). The pic below shows the glow in the dark quality (right). Notice that you can barely see anything. The mixer also made the entire shirt hard and a bit crunchy. There were no positive points about this kit.
I hope these tips will help you decide what tie dye kit you would like to use for your next project.