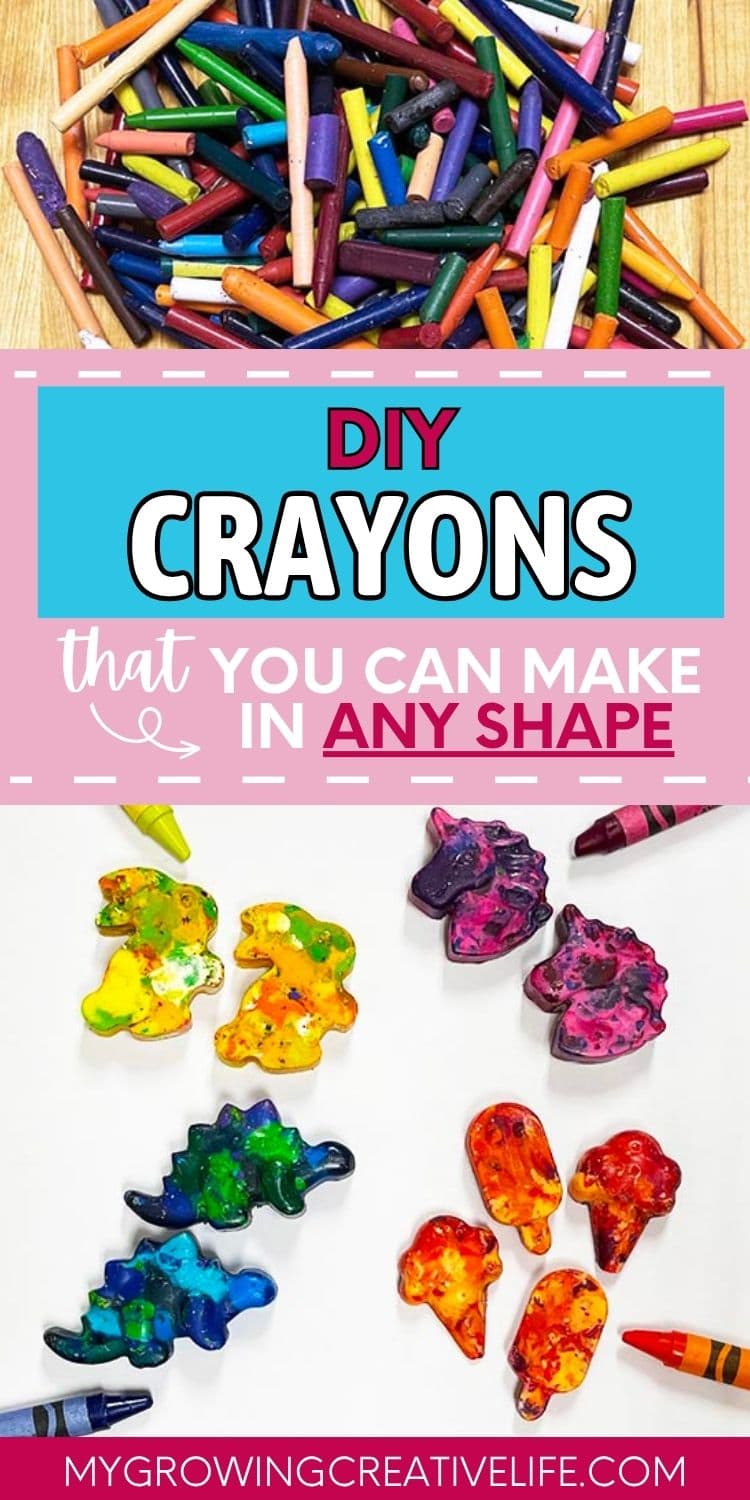
DIY Crayons Using Silicone Molds – Creating Cool Crayon Shapes
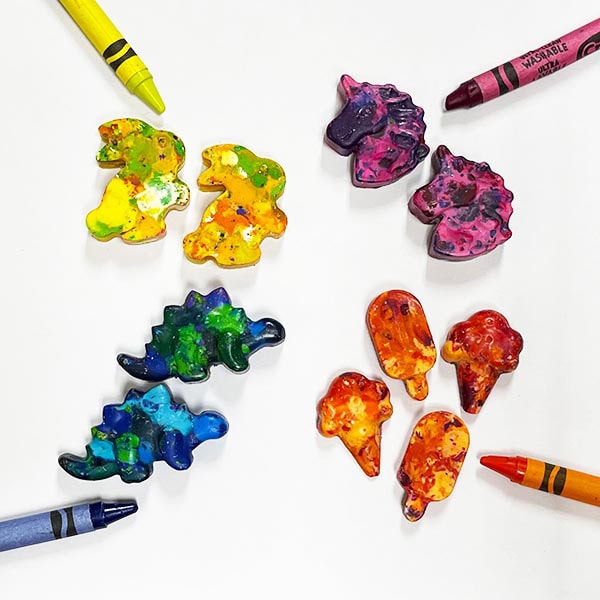
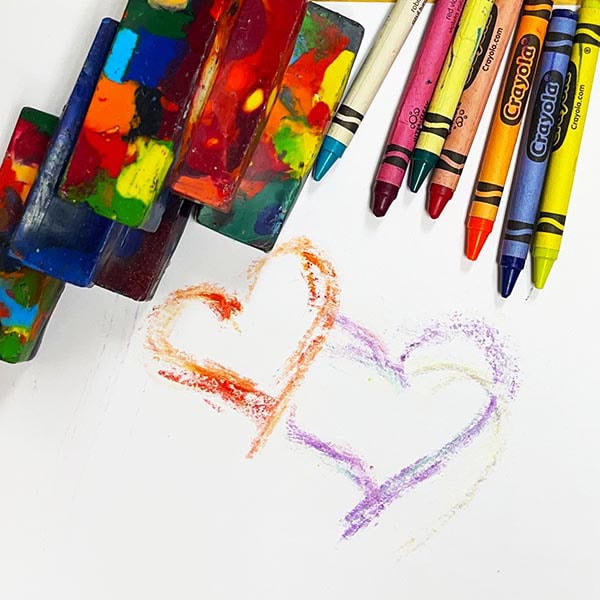
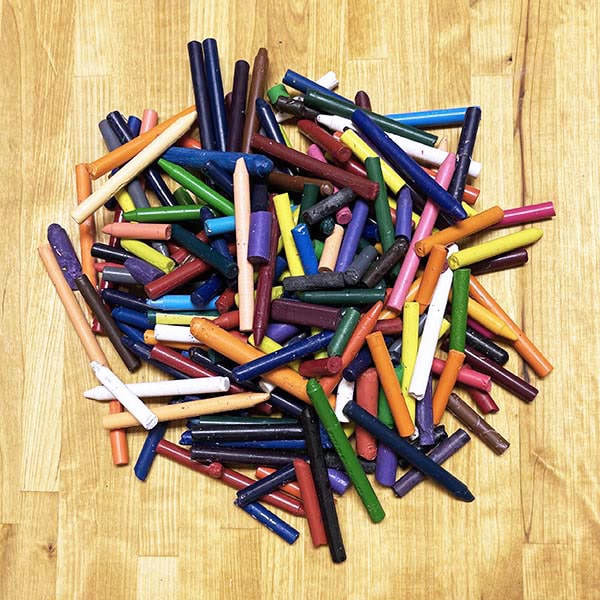
Anyone have a pile of random and broken crayons that could use a new home or use? Ours was ever growing from all of the old boxes or ones that got broken and now no one wanted to use them. If you do (or you are just looking for a very cute, fun way to re-imagine crayons), this project is for you. These DIY crayons use silicone molds and the oven (adult needed) to create new and fun shapes. You can also add different colors together to get beautiful blended crayons. What a way to up-cycle your old crayons!
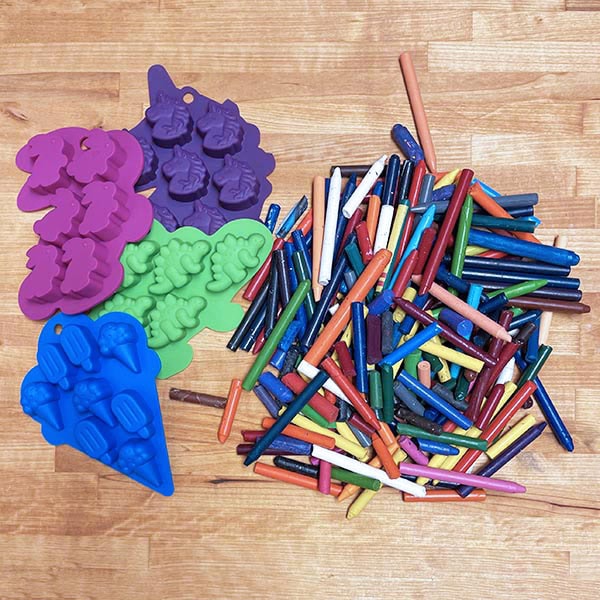
This project requires very few supplies, namely crayons, silicone molds in any shape and a few items commonly found in your kitchen. Because we are using the oven and most likely a knife, an adult or adult-supervision is a must, but kids of all ages will have fun filling the molds with whatever colors or combination of colors they choose. Ok, let’s get creative!
FOR MORE FUN KIDS CRAFTS
- Glow In The Dark Glitter Slime: Fun, Safe, & Easy For Kids To Make
- Best Friend Necklaces: SO Easy & Better Quality Than Store Bought Ones
- Pipe Cleaner Pig: A Cute And Fuzzy Kids Craft
- Create Tissue Paper Mason Jar Lanterns With Your Kids
- The Perfect Crafty Mason Jar Gift For Kids
DIY CRAYONS USING SILICONE MOLDS
WHAT YOU’LL NEED:
- Silicone Molds (I got mine from Michael’s & Amazon)
- Crayons
- Cutting Board and Knife (if your molds have small shapes)
- Oven Safe Tray
- Aluminum Foil
- Gift Bags & Ties (If you are giving them as gifts)
CUTTING BOARD NOTE: You may want to use a cutting board that is older or inexpensive. If you cut up a lot of crayons, it may be hard to wash every bit of the color out of the board.
prepping THE CRAYONS
Before you can start filling the molds, you need to prep the crayons, so they can melt properly and fit in your molds.
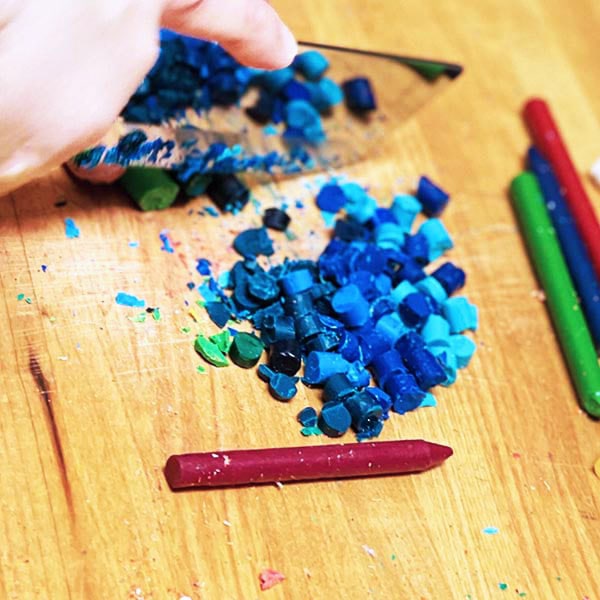
1. Each crayon comes wrapped in a paper wrapper. Peel off the paper, so you are left with just the actual crayon. TIP: As the adult, you can take your knife (I prefer serrated ones) and carefully cut length-wise down the length of the crayon. You only need to go deep enough to cut through the paper. It makes it very easy to peel and saves a ton of time. I also then hand all the cut ones to my kids to peel while I cut (so it get everyone involved).
2. After the crayons are peeled, break them into smaller pieces. If your molds are small or have fine details, (adults) use your knife to chop up the crayons into pretty small pieces. If your molds are big or simple shapes, you can break the crayons up with your hands.
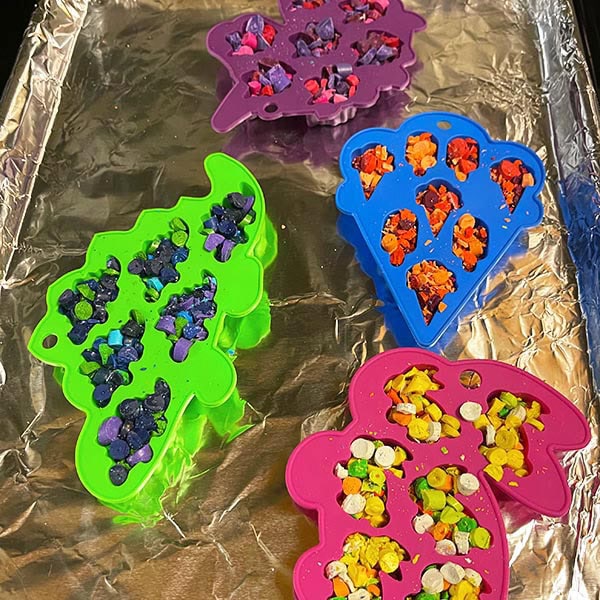
filling the molds
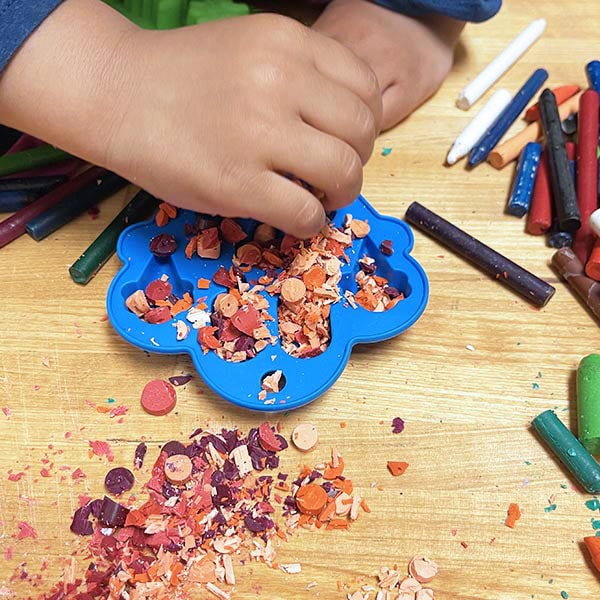
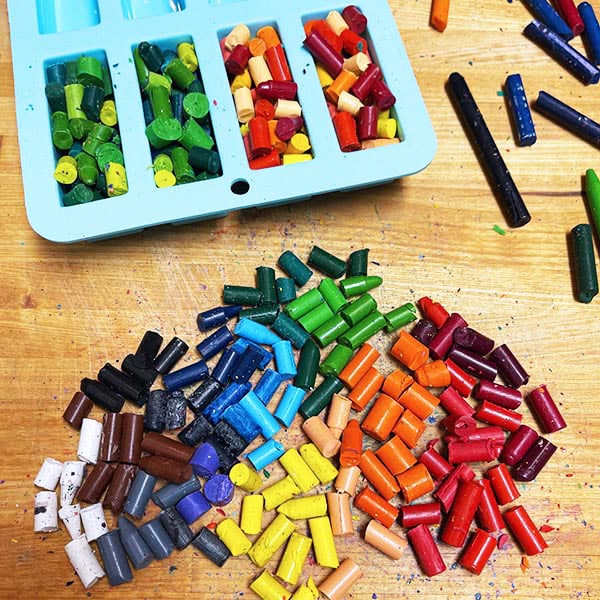
3. Once wrappers are off and pieces are cut, now comes the fun part: creating blends of colors. As you can see below, my daughter definitely got into it. TIP: Once I made these crayons a few times I realized that if you line your oven trays with foil BEFORE filling molds, you could set the mold right on the tray and fill it on there. Saves moving time and possible spills. TIP 2: Slightly overfill the molds as the contents will settle when melted and sink in to the mold.
MELTING THE CRAYONS
4. Adults, set the rack in your oven to the middle and pre-heat your oven to 125 F.
5. Add aluminum foil to all of the trays that will be holding the molds and gently place the filled molds on the trays (if not already on there, see tip in step 3).
6. Once the oven comes up to temp, bake the crayons in the oven for 10 minutes and then check to see if they have melted. If they are not melted, continue baking in 5 minute increments until the pieces have melted and there are no pieces sticking out. NOTE: There is no set time for melting because every mold size, shape and capacity is different.
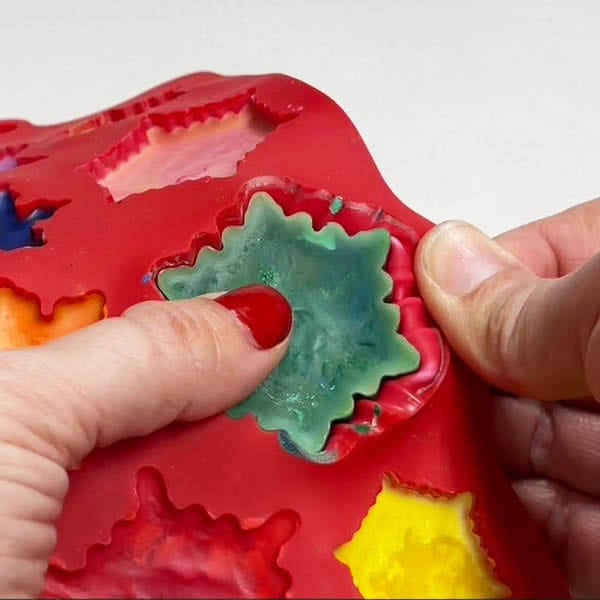
UNMOLDING THE CRAYON SHAPES
7. Pull the trays out of the oven to let the molds cool. As size of mold varies greatly, I cannot tell you how long to wait. Just make sure the new crayon is solid and cool to the touch before unmolding. TIP: If you are doing this in cold/cool weather, set the entire tray outside for a bit to let mother nature cool the crayons for you.
8. Once the crayons are cool to the touch, pick up a mold and gently pull the sides of the mold AWAY from the crayon. Do NOT just push the crayon out or you risk breaking the crayon. This will loosen the crayon before the final push out. When sides are loose, push gently from the bottom of the mold to get the crayon out.
Once your DIY crayons are all unmolded they can be used again to create fun blends of color or be put into gift bags/baggies for fun gift giving! Happy Crafting Kiddos!
~ Nikole