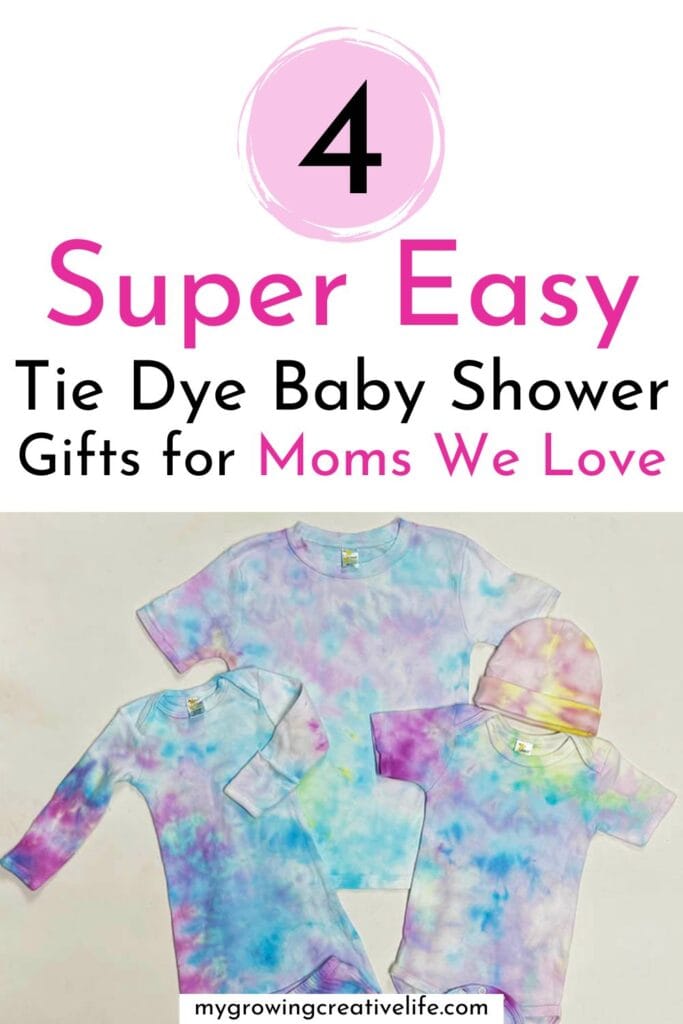
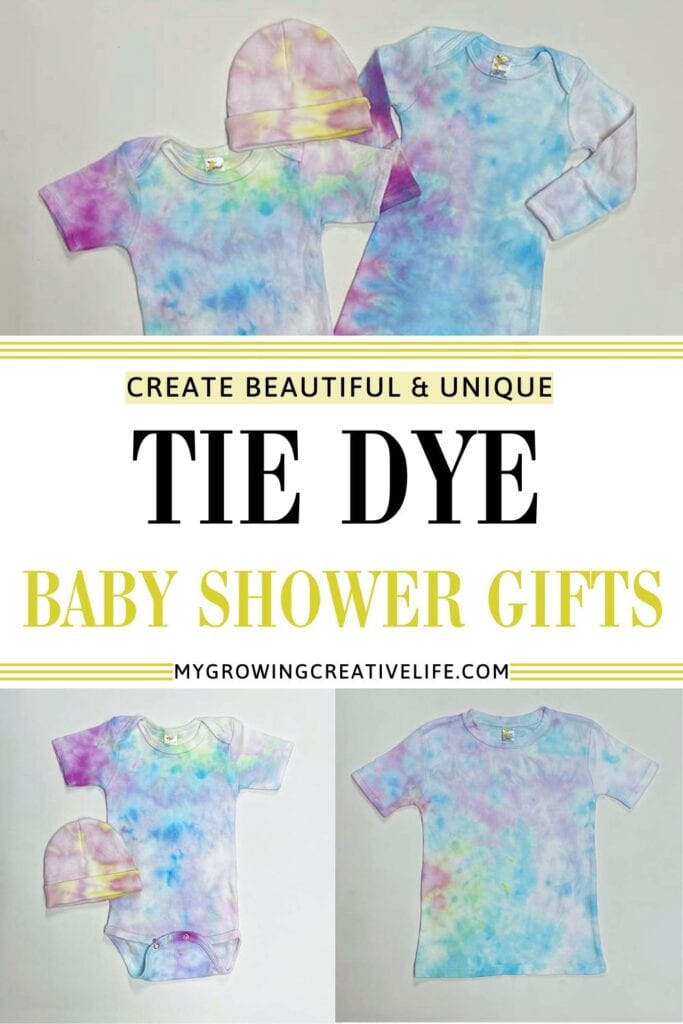
DIY Ice Dyed Tie Dye Baby Shower Gifts: Beautiful & Easy
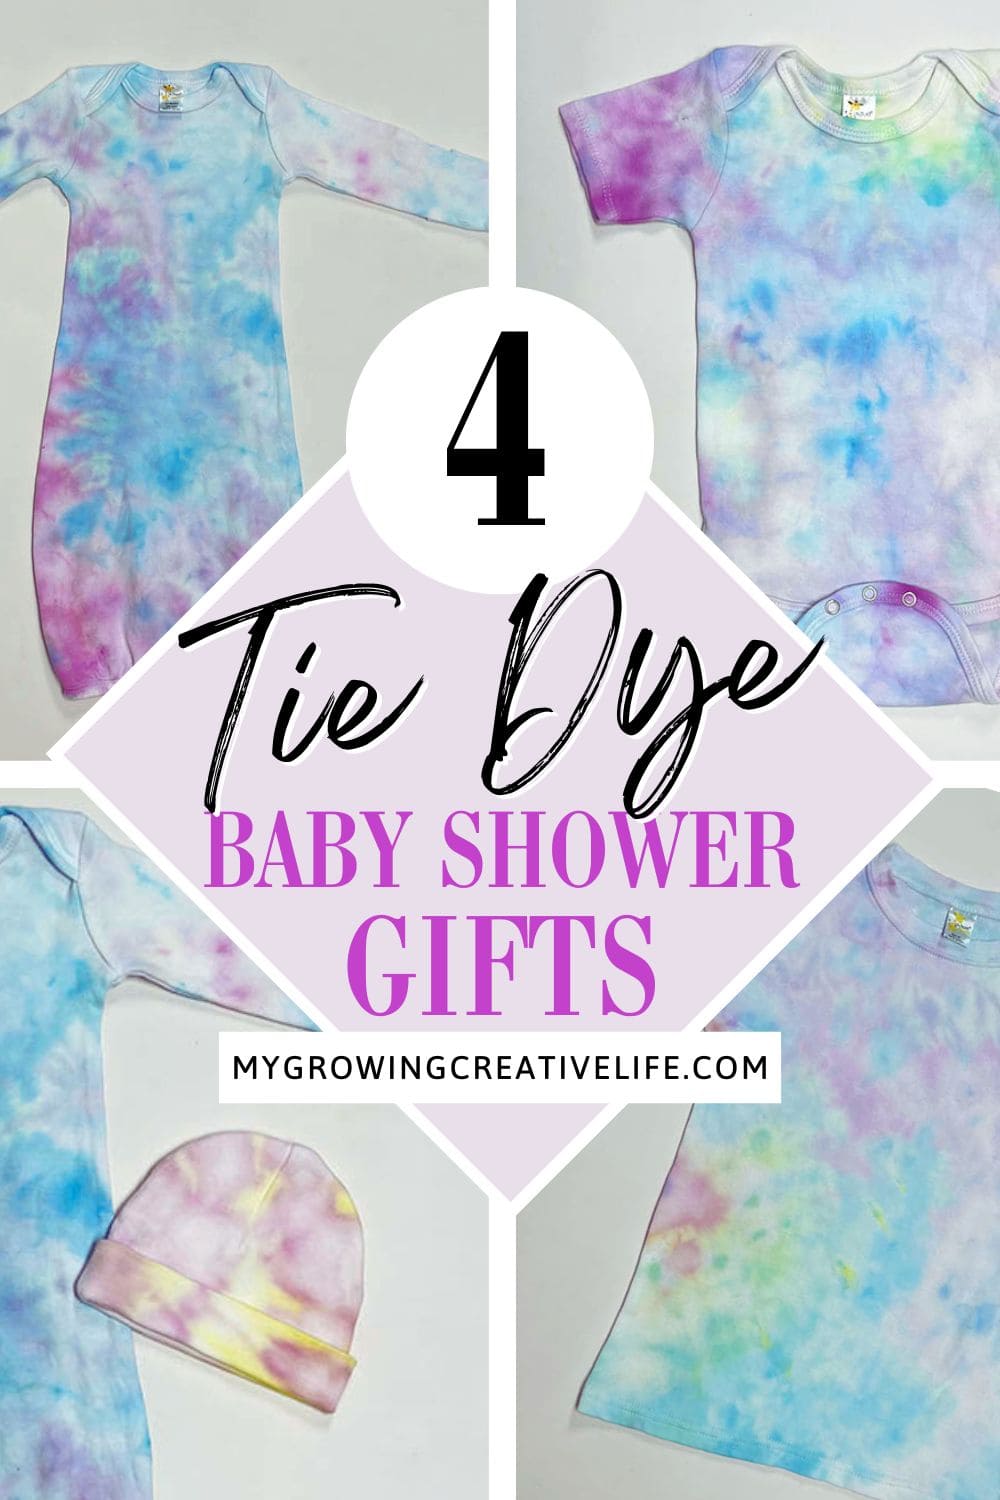
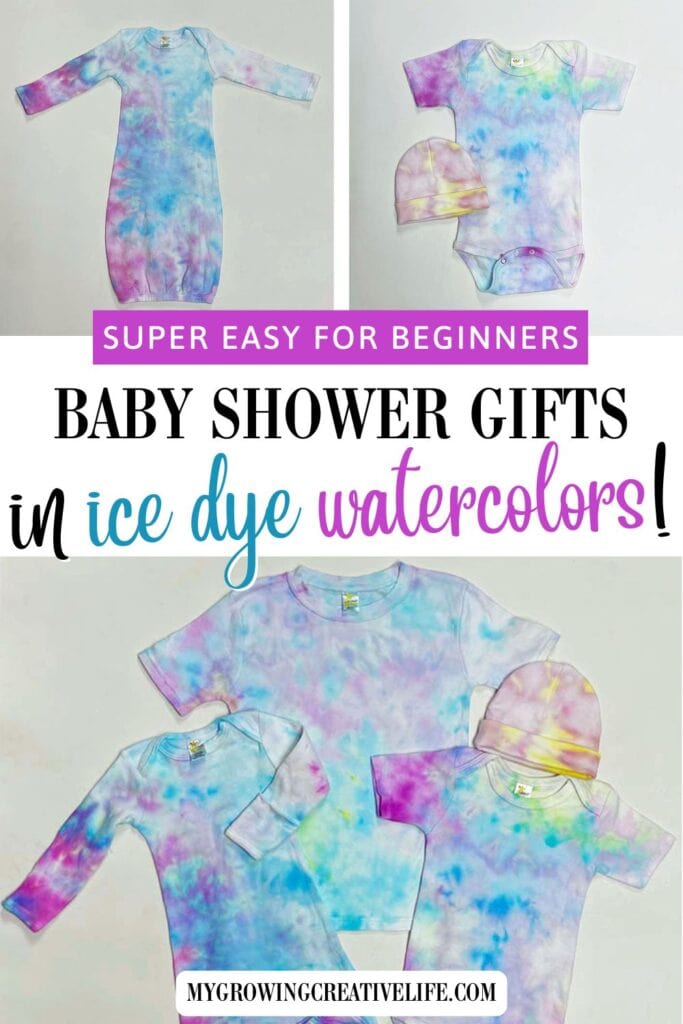
Creating unique and original gifts can be both fun and easy AND so much more memorable for both you and the recipient. These tie dye baby shower gifts are a perfect example of that! For this project, I used ice dye, a super easy technique for beginners, to create a watercolor effect with damp fabric, ice, and powdered dye.
Now let’s talk about the clothing…These super soft pieces I received from The Laughing Giraffe (thank you!). As always, I give you my honest opinion and comments about any of the products that I use and all of the items shown here were truly wonderful to work with from start to finish! The fabric was soft, a nice thickness and took the dye well. The stitching and closures were also notably of great quality, so I would definitely feel comfortable giving them away as gifts.
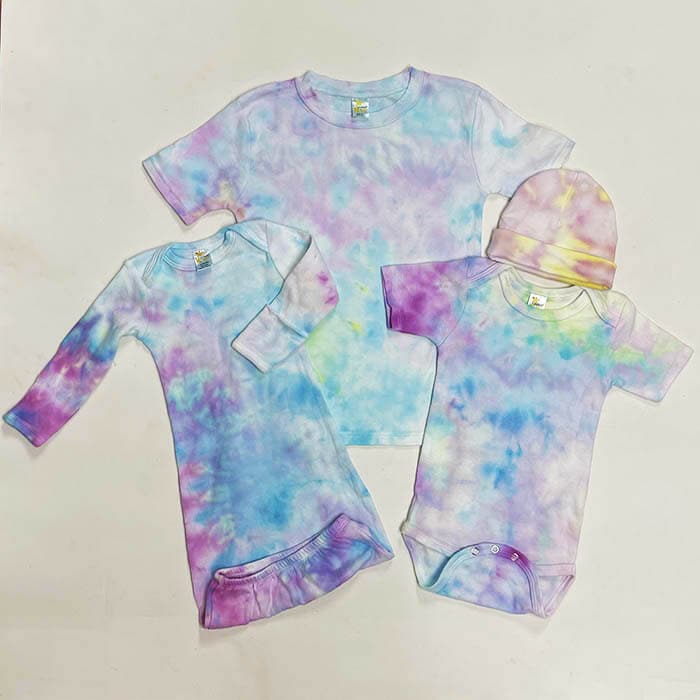
If you are looking to give a gift that can grow with the child (which is pretty clever), I would suggest several different pieces and sizes, like I used here. The baby nightgown is a 0-3M for starting out. The baby bodysuit (onesie) is a 6-12M for when they grow. This cute beanie hat is 0-6M. And lastly, the t-shirt (4T) is perfect for when they get big or a sibling. As someone who has 2 daughters and 2 nephews, I understand the importance of sibling shirts. Who doesn’t like to match OR be left out?
Ok, ready to create some beautiful baby shower gifts?
FOR MORE TIE DYE BABY GIFT IDEAS: TIE DYE ONESIES: Cutest DIY Baby Gifts & Sibling Shirts To Match
FOR COMPLETE TIE DYE 101 BASICS: HOW TO TIE DYE: THE ULTIMATE GUIDE
Ice Dyed Tie Dye Baby Shower Gifts
WHAT YOU’LL NEED:
- Baby Nightgown
- Baby Bodysuit (Onesie)
- Baby Beanie Hat
- Toddler T-Shirt
- Rubber Bands
- Scrap Cardboard (used to create ring around each item)
- Painter’s Tape
- ICE
- Baking Tray With Rack OR Rack Over Another Bucket/Sink
- Dye Kit (Which Includes Rubber Bands, Gloves, And A Plastic Sheet)
- Plastic/Rubber Gloves
- Plastic Covering For Work Surface
- Gallon Plastic Bag or Plastic Wrap
NOTE ABOUT THE RACK SETUP: For ice dyeing you will need a rack to set the items on, so they are lifted off of the ground. This allows the melted ice and dye to run through each item and any excess can fall below and away from them, so it doesn’t mess up the patterns you are creating. I used my trusty baking trays with racks (2 this time) that I use for all of my tie dyeing. They easily held all of the excess liquid. If you do not have the baking tray and rack, you can use another rack over any container that will not stain (or you don’t care if it stains), like metal, plastic, glass.
CREATING Tie Dye PATTERN
For all 4 items, start with damp fabric, but not wet. They could be fresh out of the washing machine. If you washed them on a different day, like I usually do, then just dunk each one in a bucket of water or sink and wring it out before starting.
Since ice dyeing is pretty random in terms of where the dye goes, I like to use the crumple tie dye technique which I will show you for each piece below. In my more detailed post about Ice Dyeing I do suggest that you could try other designs, however, for this project I would suggest to NOT experiment with other designs. Why? Because these baby and toddler items are pretty small, so it will be hard to create any noticeable pattern using ice dyeing. If you are interested in more defined patterns for the baby items, check out Tie Dye Onesies: Cutest DIY Baby Gifts & Sibling Shirts To Match. Those patterns, while not ice dye, could also work for the nightgown and hat.
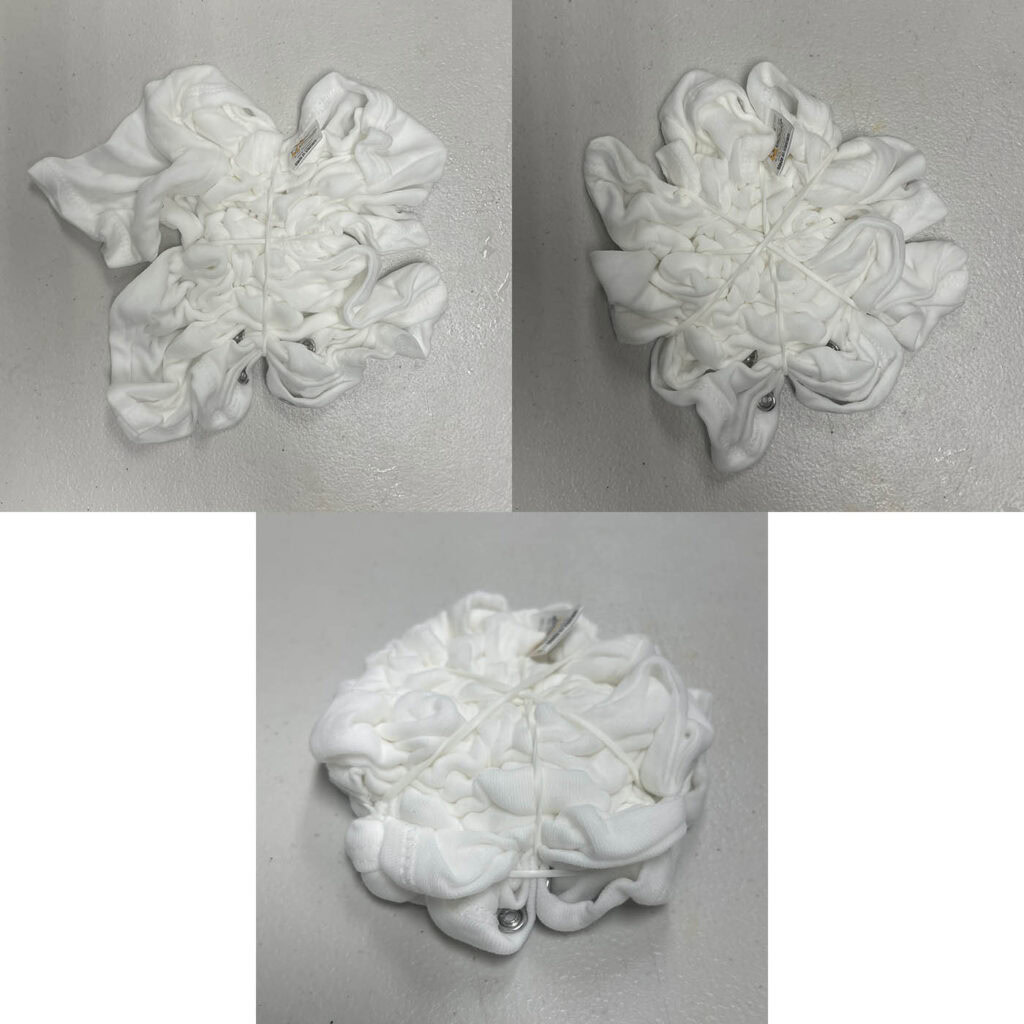
Baby Nightgown
1. Lay the nightgown flat on the work surface. Using your fingers, start to scrunch it together in the center (be sure to include the sleeves). Continue to gather it together towards the center until you have a crumpled circle of a nightgown.
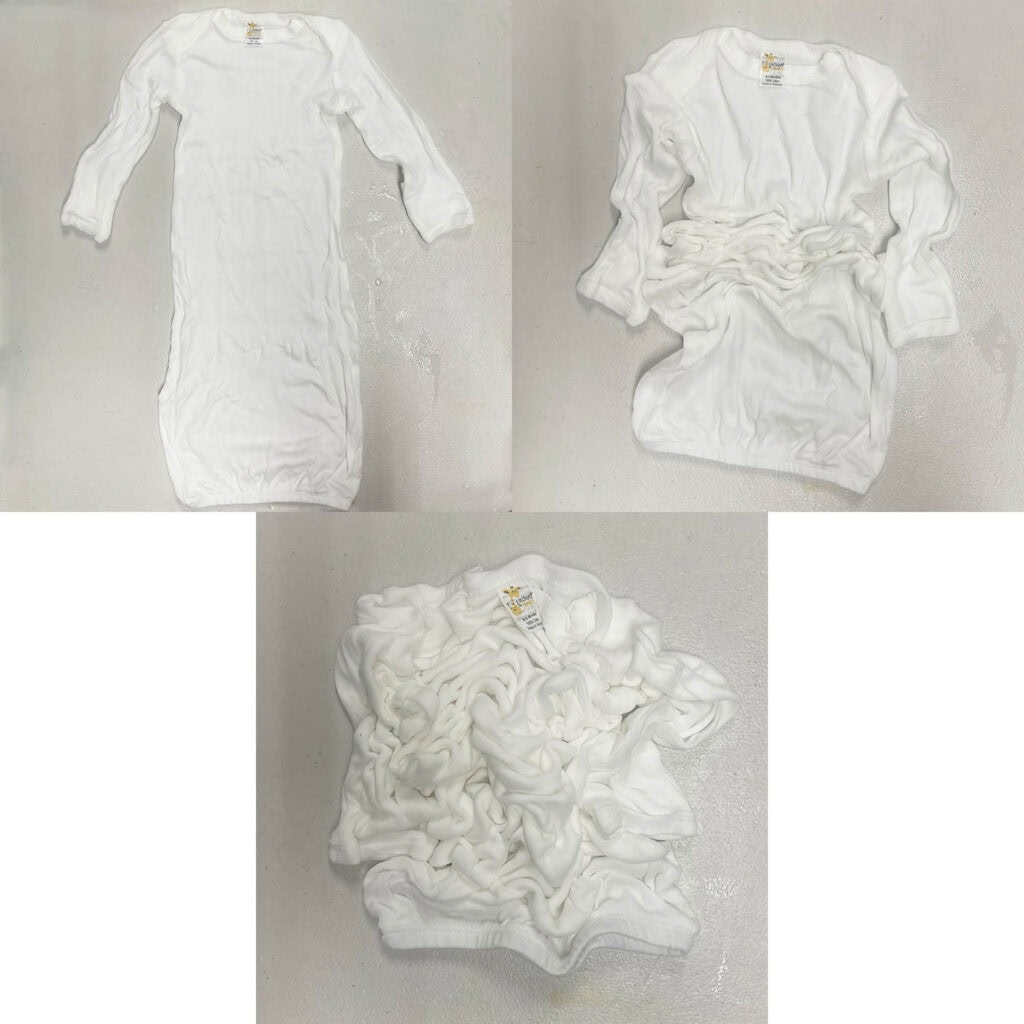
2. Place the first rubber band around the crumpled pattern by carefully sliding it under/over the nightgown and across the center. Add the second, third, and fourth rubber bands as shown below, so it resembles a 8 slice pizza. Add a final rubber band around the nightgown to secure the sides. Tuck any loose ends in.
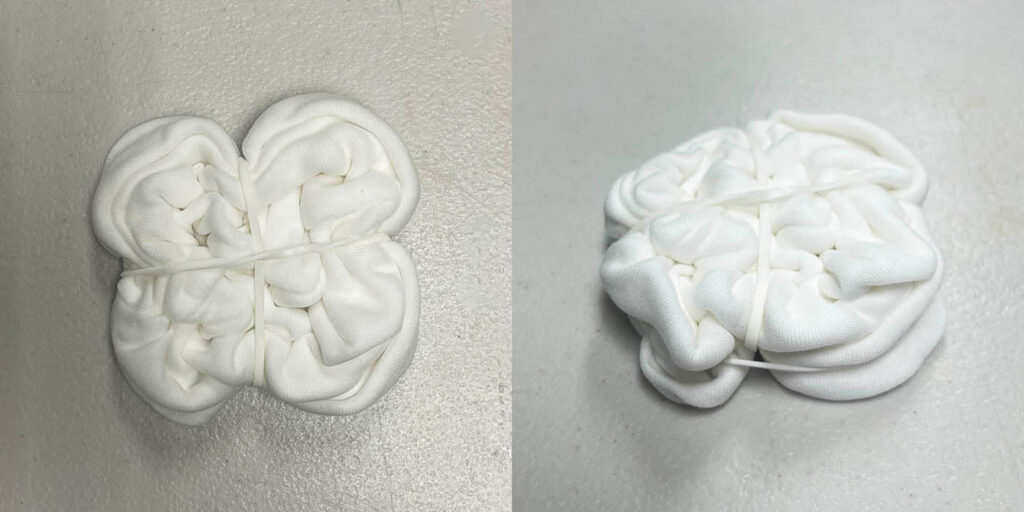
Baby Bodysuit (Onesie)
1. Lay the bodysuit flat on the work surface. Using your fingers, start to scrunch the bodysuit together in the center. Continue to gather it together towards the center until you have a crumpled circle of a bodysuit.
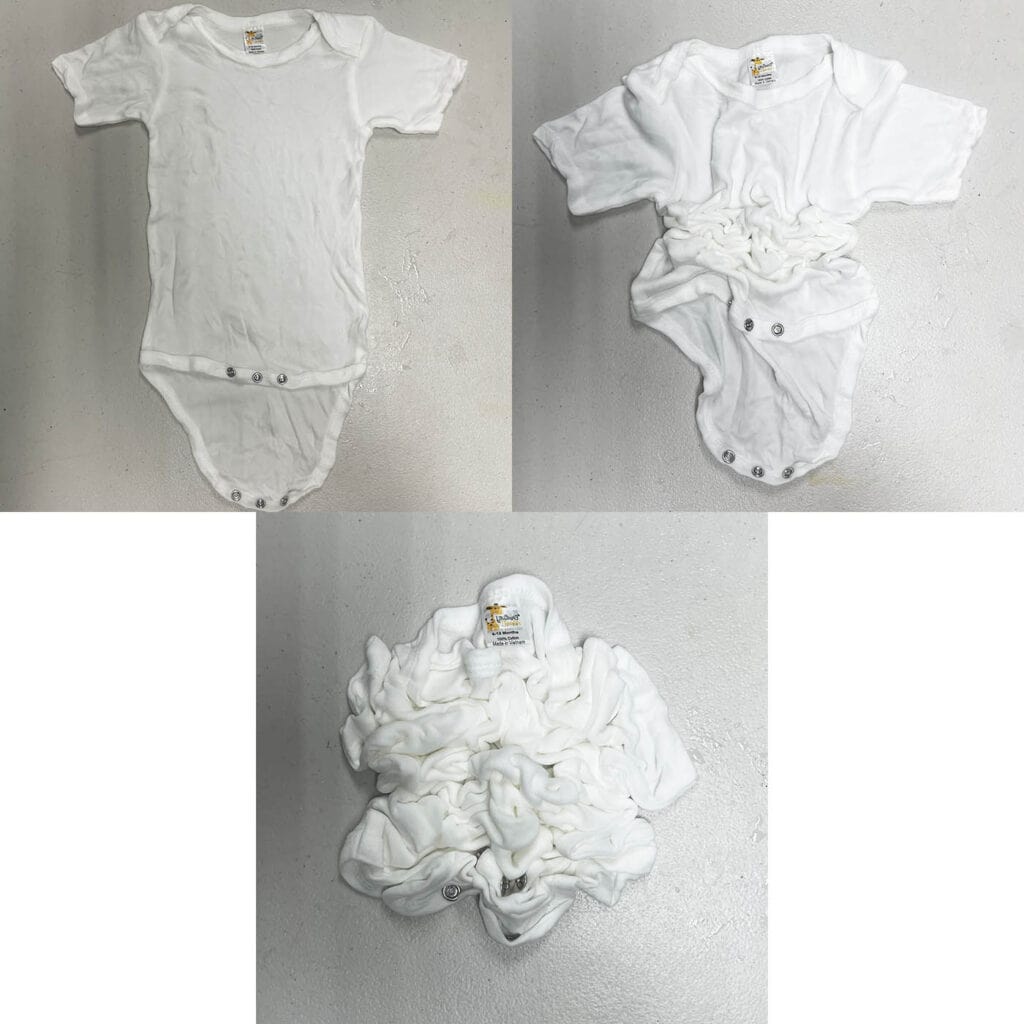
2. Place the first rubber band around the crumpled pattern by carefully sliding it under/over the bodysuit and across the center. Add the second, third, and fourth rubber bands as shown below, so it resembles a 8 slice pizza. Add a final rubber band around the bodysuit to secure the sides. Tuck any loose ends in.
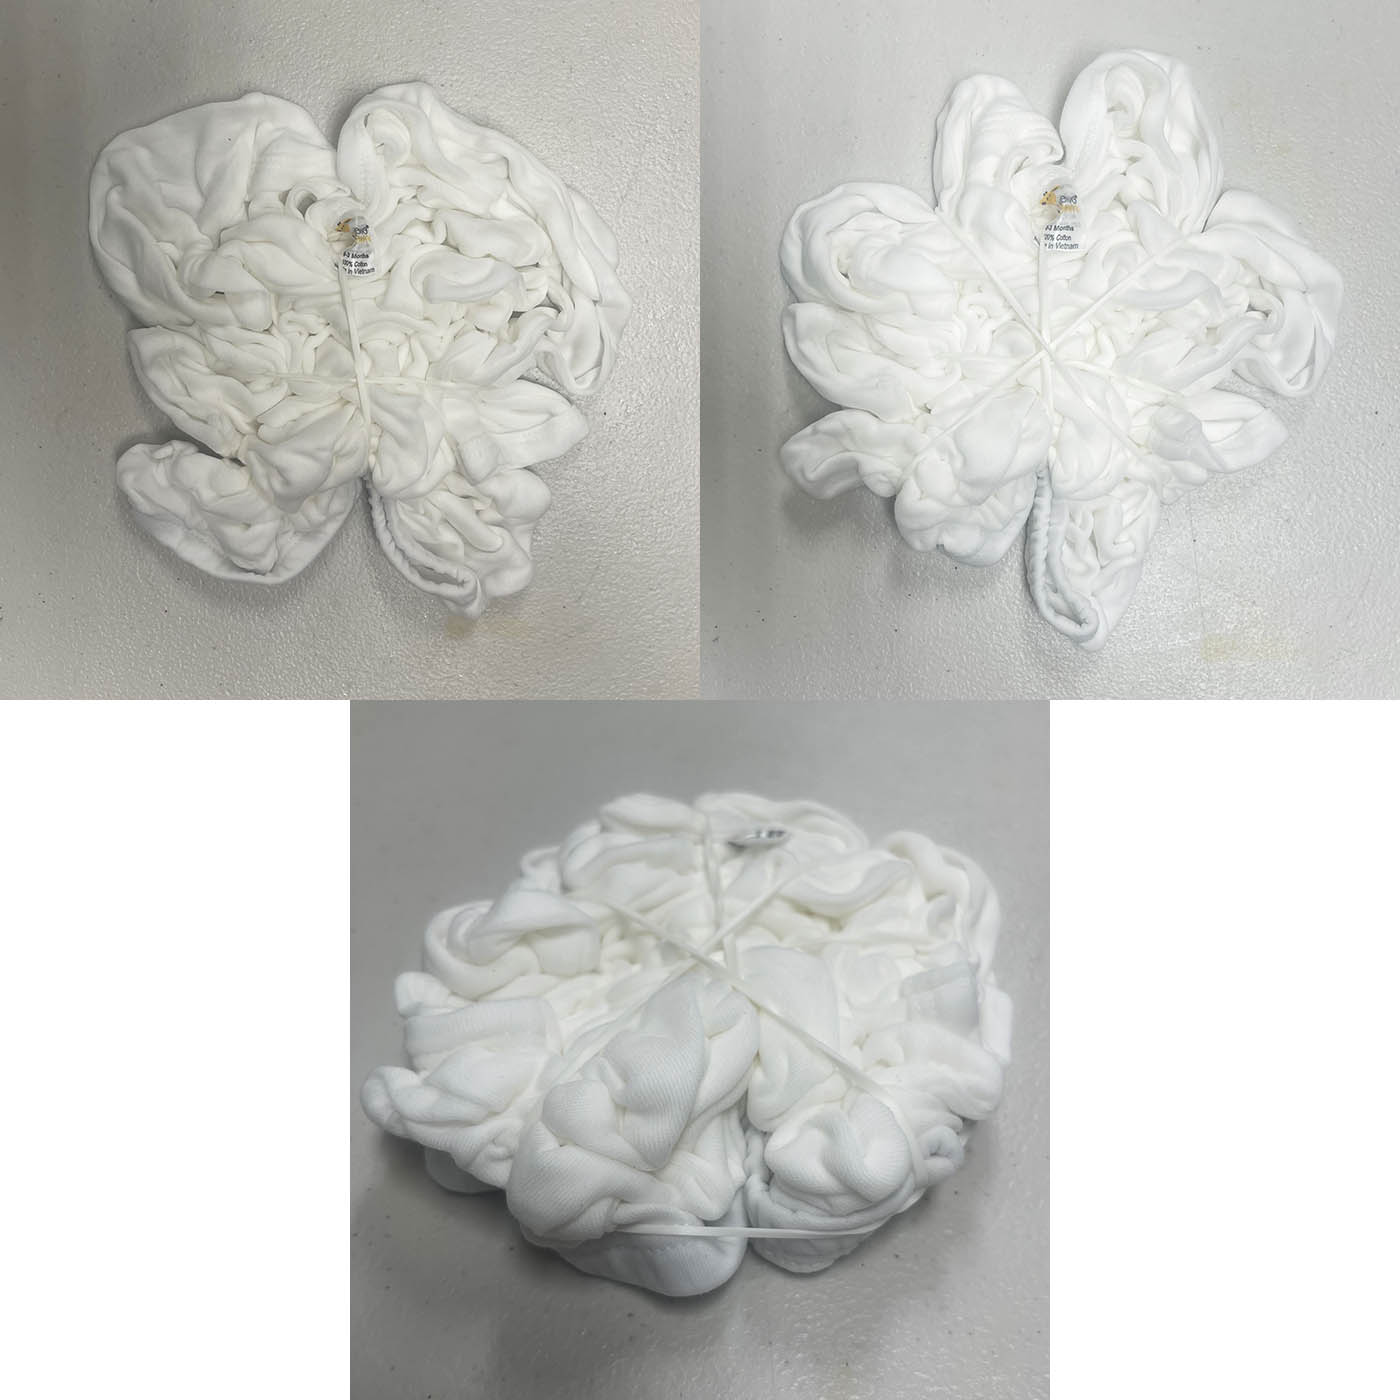
Baby Beanie Hat
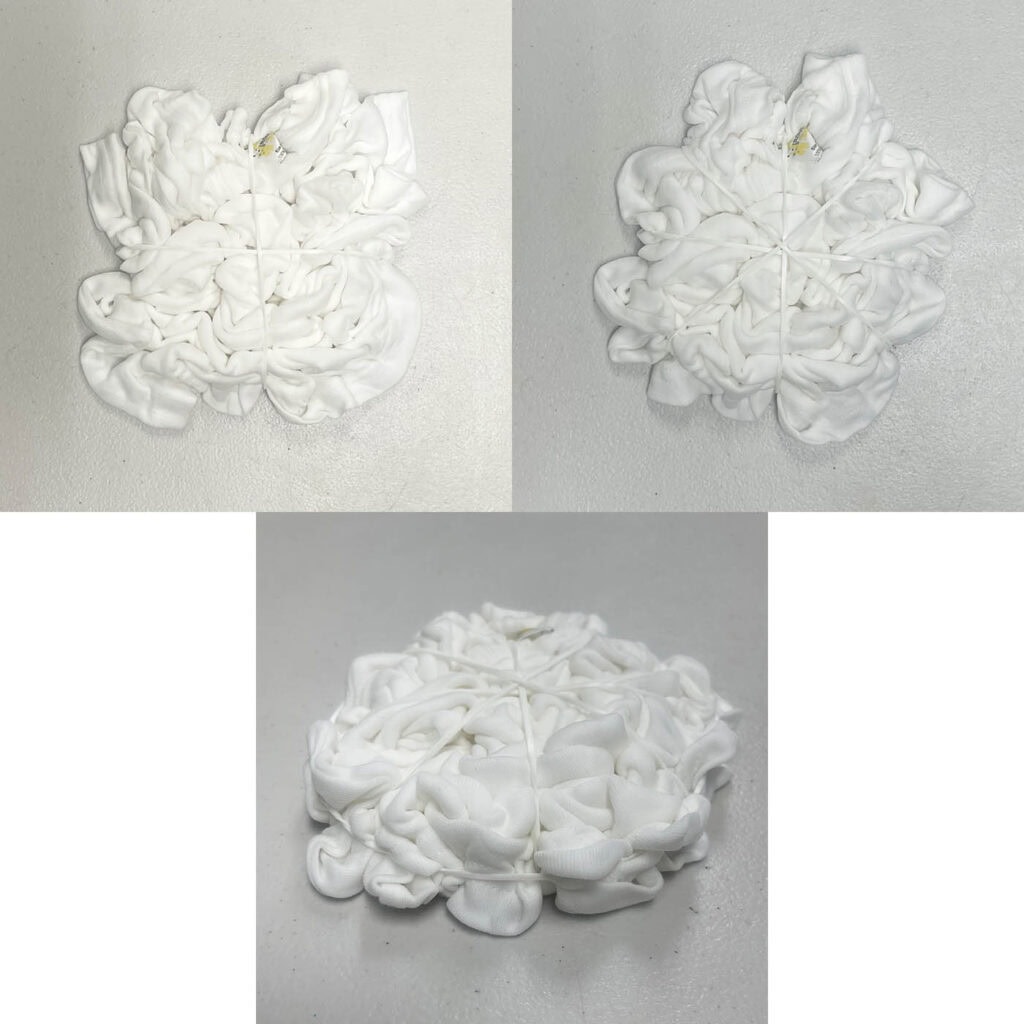
For the beanie hat, I wanted the colors to be evenly dyed throughout it as opposed to a “front/back” if I left it flat and scrunched (left pic below). So…the approach here is a bit than the other items.
1. Pick up the hat and open it up with your hands. Now, gather the sides of the hat (sort of like you are putting tights on), until you get to the top point of the hat. Set the scrunched up hat on the table (right pic below) and push the center of the hat down to the table, so it’s a pretty flat circle.
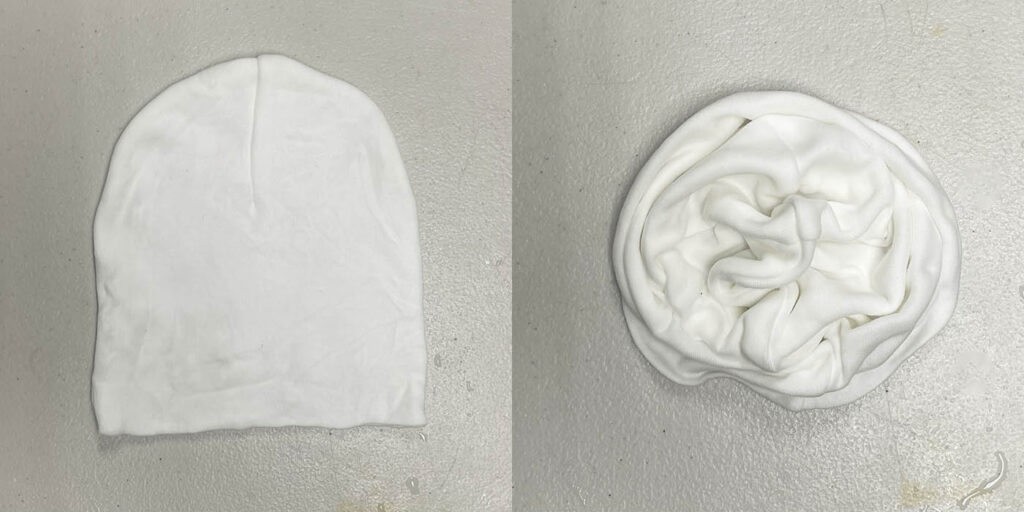
2. Scrunch it together more, if needed, so the circle is pretty small. Place the first rubber band around the crumpled pattern by carefully sliding it under/over the hat and across the center. Add the second rubber band as shown below, so it resembles a 4 slice pizza. Add a final rubber band around the hat to secure the sides. Tuck any loose ends in.
Sibling Toddler Shirt
These instructions could apply to any size shirt, so if the sibling is larger than a toddler, that’s not an issue.
1. Lay the shirt flat on the work surface. Using your fingers, start to scrunch it together in the center. Continue to gather it together towards the center until you have a crumpled circle of a shirt.
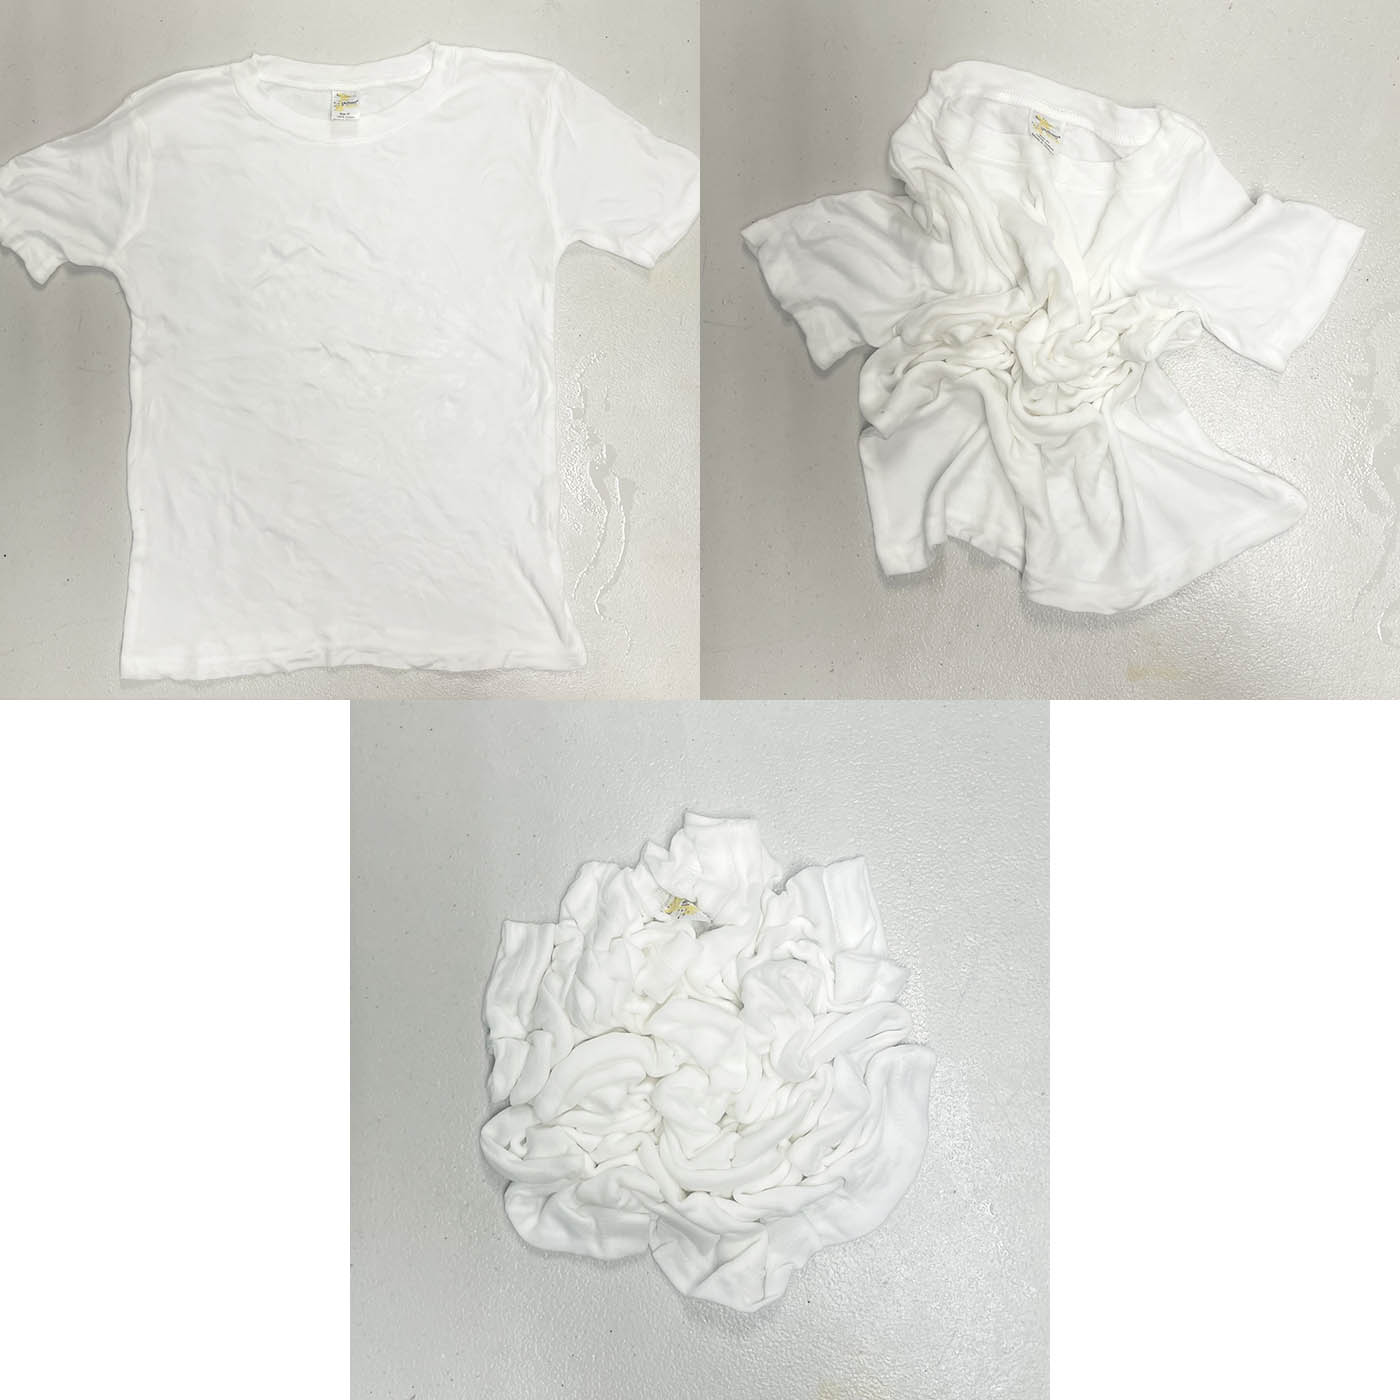
2. Place the first rubber band around the crumpled pattern by carefully sliding it under/over the shirt and across the center. Add the second, third, and fourth rubber bands as shown below, so it resembles a 8 slice pizza. Add a final rubber band around the shirt to secure the sides. Tuck any loose ends in.
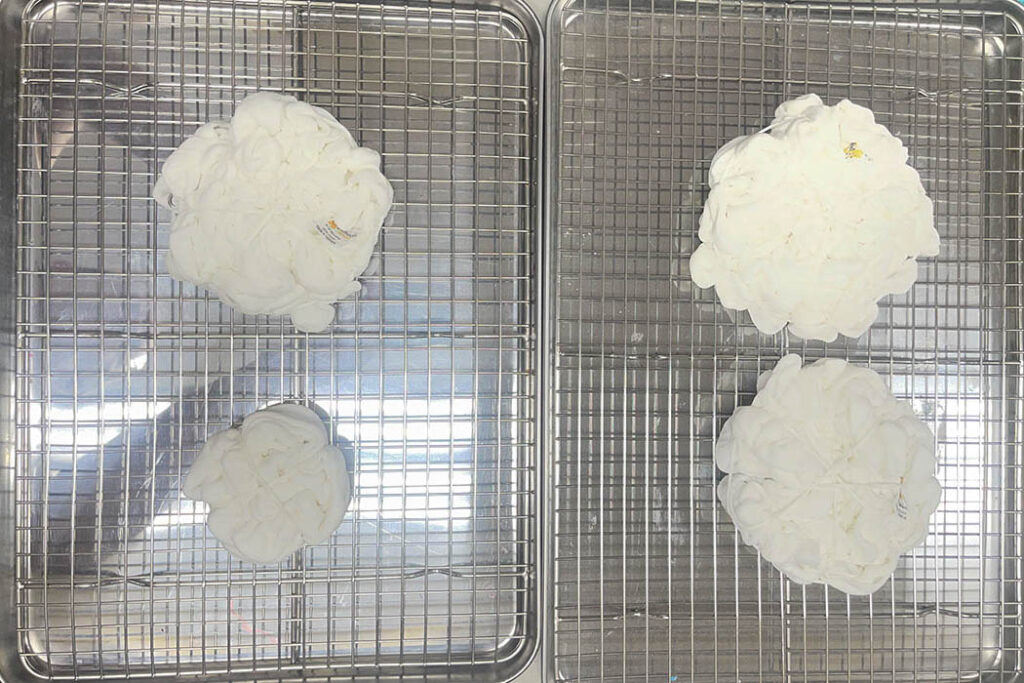
PREPARING TO ICE DYE
3. Once all items have been secured with rubber bands, place them on the trays. NOTE: If you only have one tray, you can try to jam all onto one or do two rounds of dyeing.
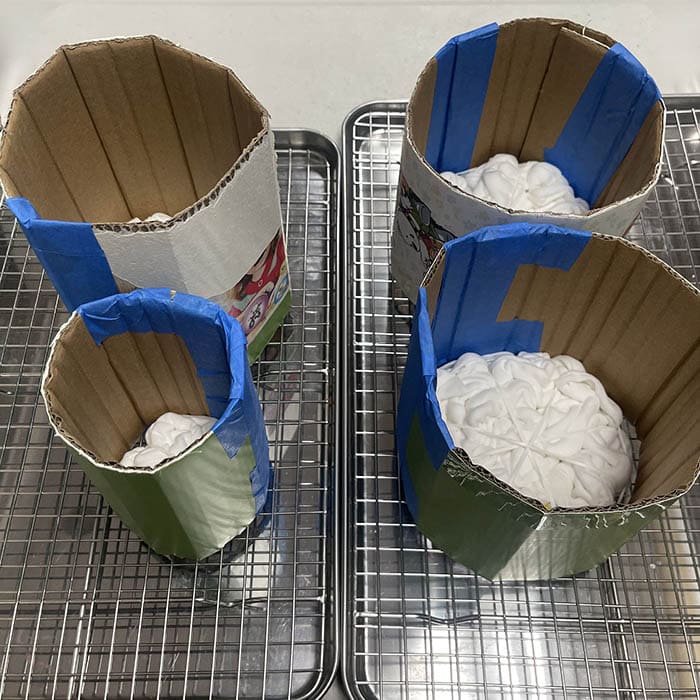
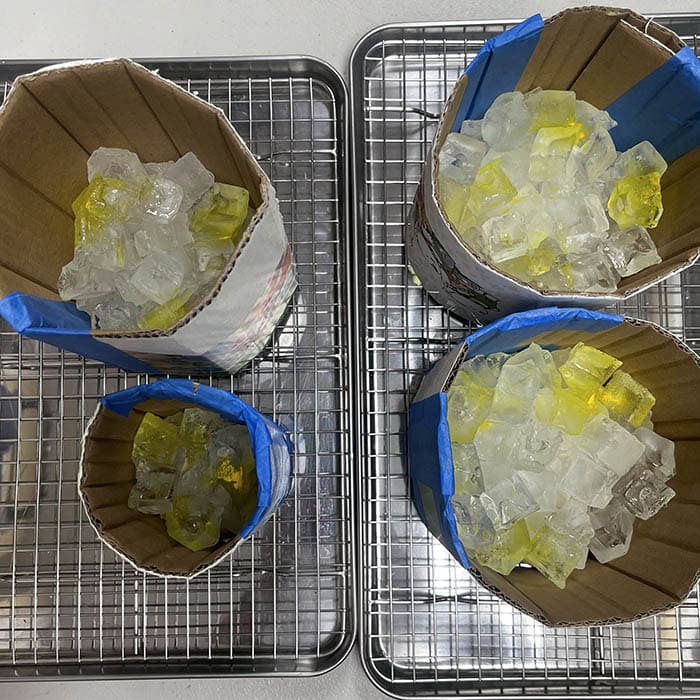
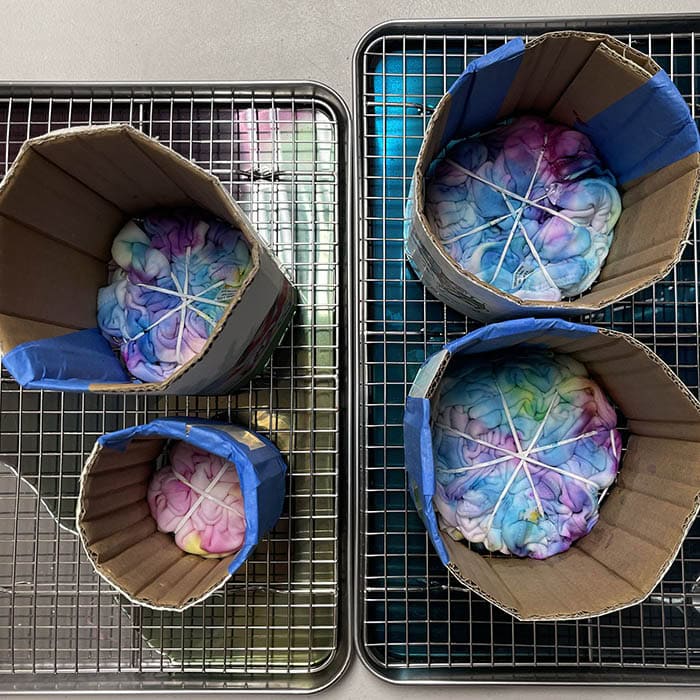
4. You will need to create a cardboard ring around each one to hold the ice and the dye. I used some cardboard I was going to recycle and painter’s tape. They don’t need to be fancy, just functional. Place each item inside its ring.
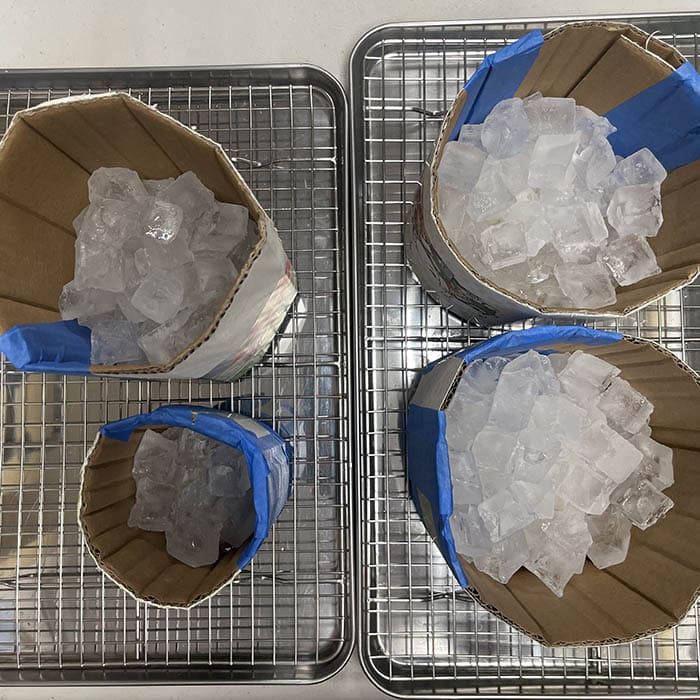
5. Once you have all items in their rings and on the rack/tray, you can add the ice. I added about 1-2″ on top of each one to make sure they were well covered.
ICE DYEING THE BABY SHOWER GIFTS
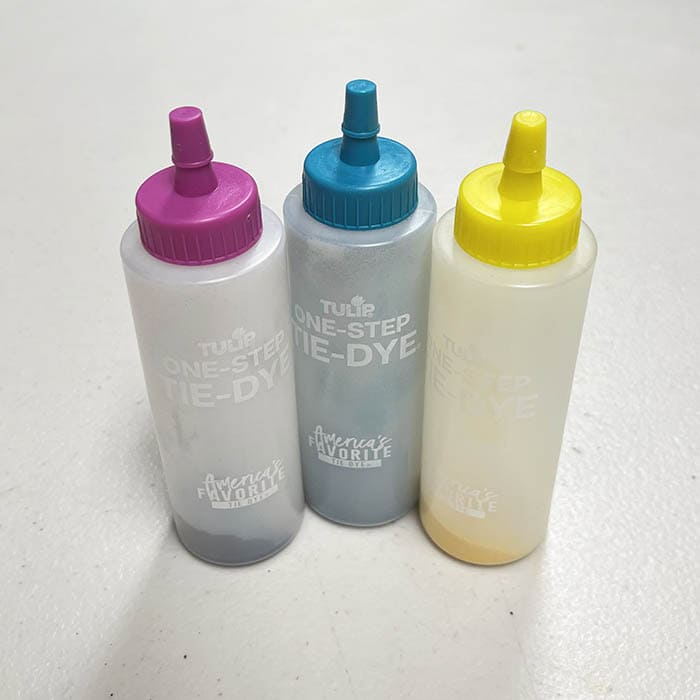
For the baby shower gifts I wanted to stick with colors that could go with either gender, but weren’t the blah greens, yellow, oranges. I chose magenta (not fuchsia), yellow, and teal from my Tulip Party kit, but any play on the primary colors (red, yellow, blue) or the actual primary colors will work. Remember, colors will blend together, so you will get a lot more colors than just those three.
6. For any dyeing technique, always start with the weakest color (which is usually yellow) and finish with the strongest (which is blue) . In this case I started with yellow. Since the dye is already in a squeeze tube, conveniently, just take the little cap off and gently squeeze to get the dye to come out. Move around each item adding dye, so its not evenly distributed (if you do, they will mainly come out one color). NOTE: Since these are for a baby, less is more…meaning error on using too little and having more white space rather than too much dye and it all blends together.
7. Continue to add the rest of the dye colors in the same method. Once you are done, now you just wait.
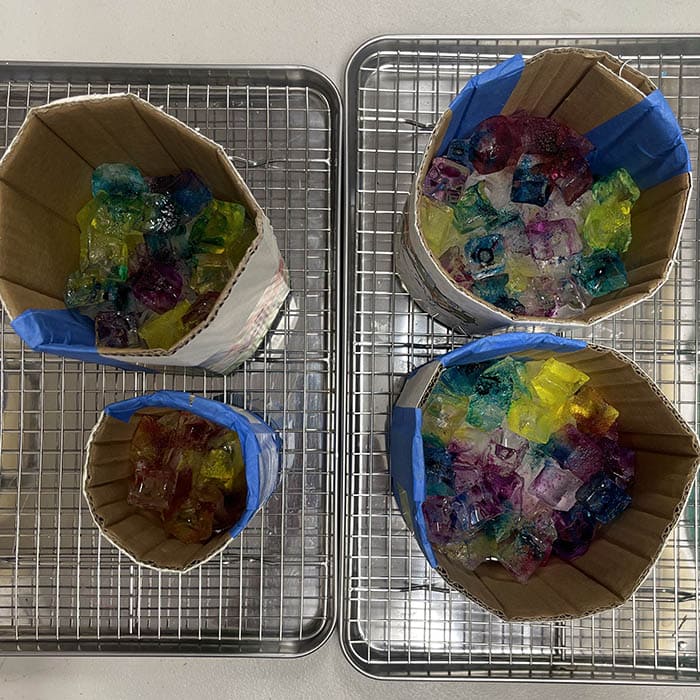
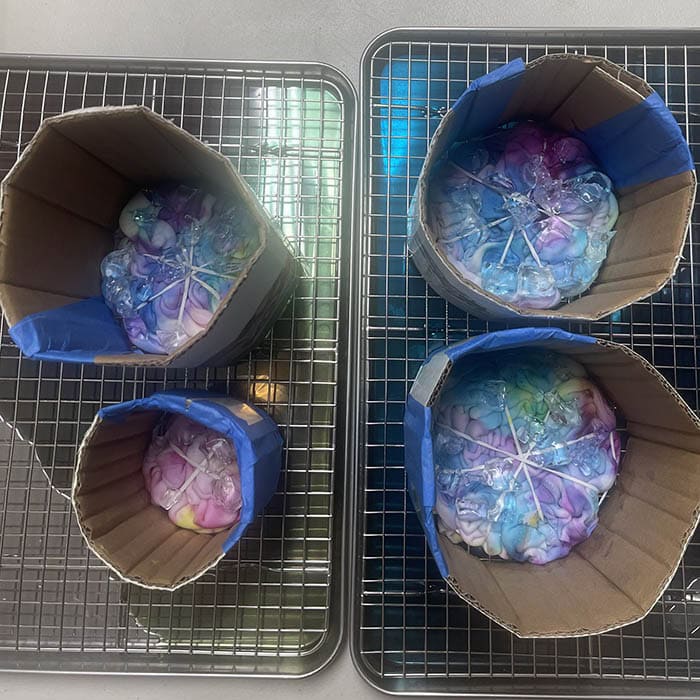
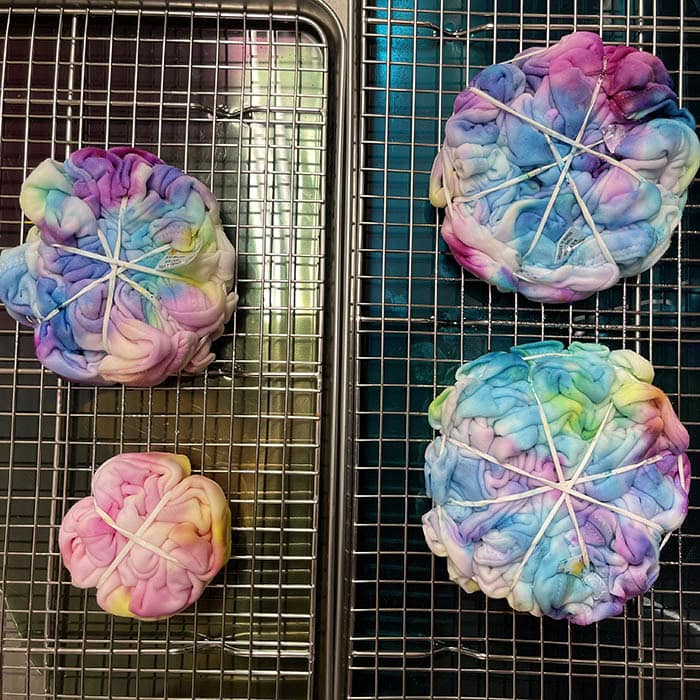
8. After 10-12 hours or so, the ice will have completely melted and the dye will have been disbursed throughout the items.
Placing In Plastic Bag To Cure
9. Once the ice is completely melted, remove and discard the cardboard rings. Carefully place each item in their own gallon plastic bag or wrap each one in plastic wrap. Personally I prefer the plastic bag as you can easily seal it, label it (since you are dyeing more than one item) and move it if needed without worrying about dye leaking out.
RINSING AND WASHING
Let all items sit for minimally 6-8 hours and up to 24 hours max, so the dye can cure. This will help produce the brightest colors. Once the dye has cured, it’s time to rinse and wash them. This is an important step as, if done in the wrong order or rushed, it can muddy up the nice colors. AND RINSE EACH ONE SEPARATELY. It takes more time than trying to rinse a bunch at once, but it will be worth the effort. Once rinsed, they can be washed together.
10. Place the item in a sink or bucket one at a time. We have a stainless steel kitchen sink, so I use that. Rinse the item in COLD water. The cold part is critical because it allows excess dye to wash out slowly while not moving dye to other parts of the item.
11. Repeat this rinse process several times until the water is fairly clear.
12. Once the water is fairly clear, repeat the rinse process once more, but with luke warm water (not HOT). This should get the last bit of excess dye out before putting it in a washing machine.
13. Once all items are thoroughly rinsed, you can wash them together in the washing machine. Wash on warm or cold with a tiny bit of detergent.
Drying The Tie Dyed Items
14. Lay the items out or hang them up to dry (you could also use the dryer on low). Personally I prefer air drying as it extends the life of the dye color (as they will eventually fade a bit with washing and wear). If you do need to dry them in the dryer, use the cool/no heat setting.
NOTE: Wash each item by itself or with other tie dye items for the next few washings before adding it in with your other clothes. (And if this is a GIFT, be sure to tell the recipient that as well).
And here we are! 3 beautiful, colorful baby items and a matching sibling shirt (so no one’s left out). The perfect custom baby shower gifts that are SO easy to make! Have fun and happy tie dyeing!