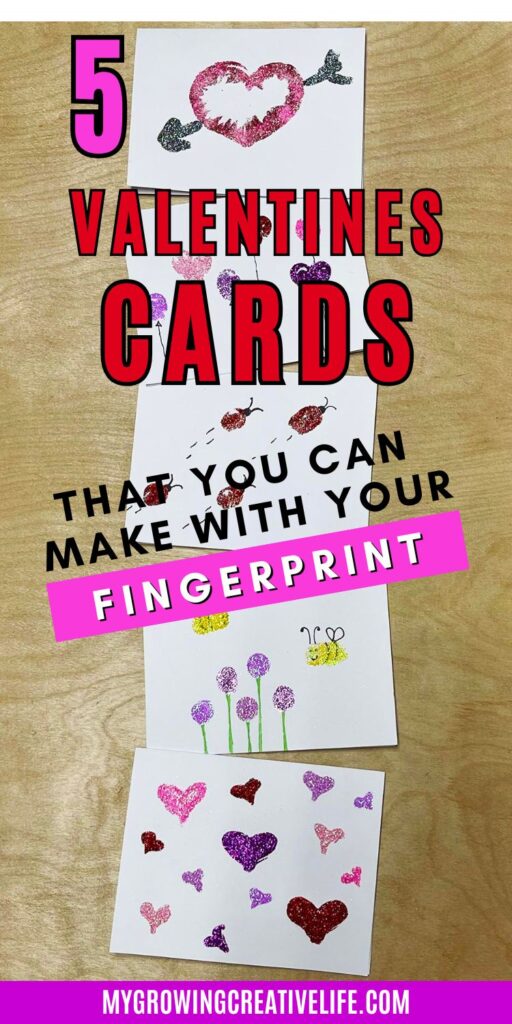
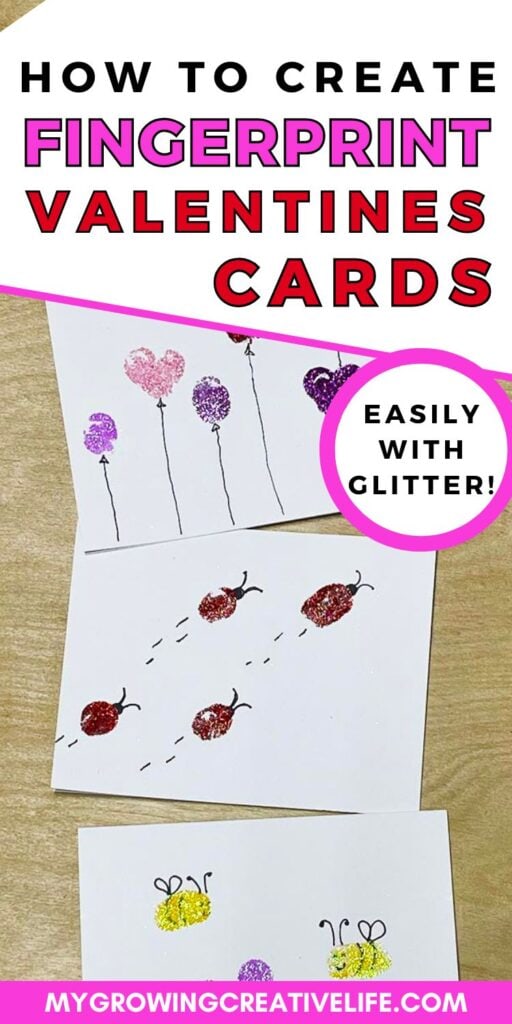
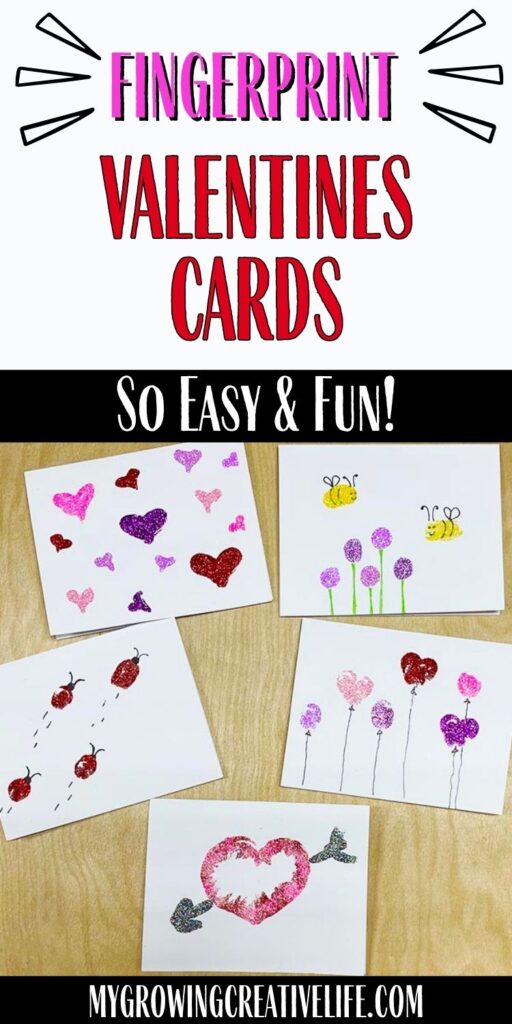
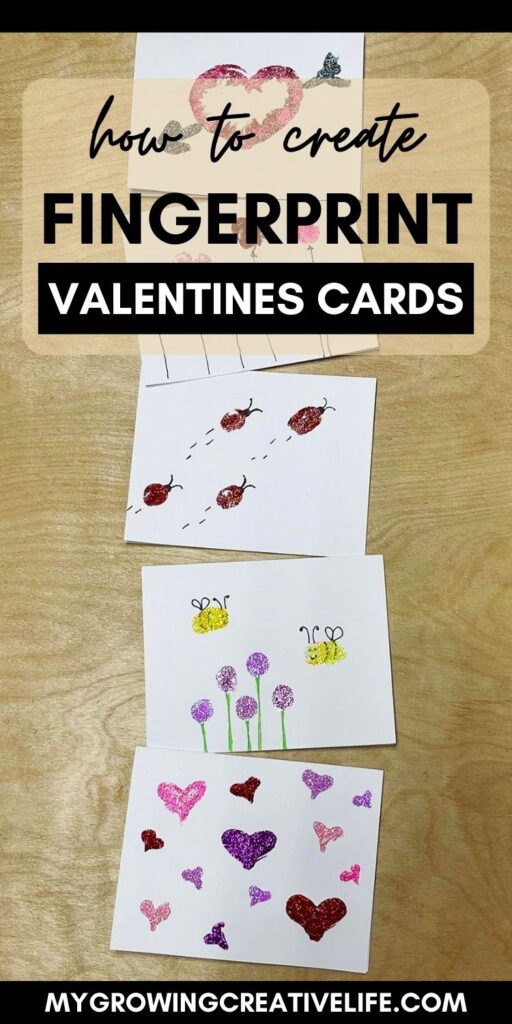
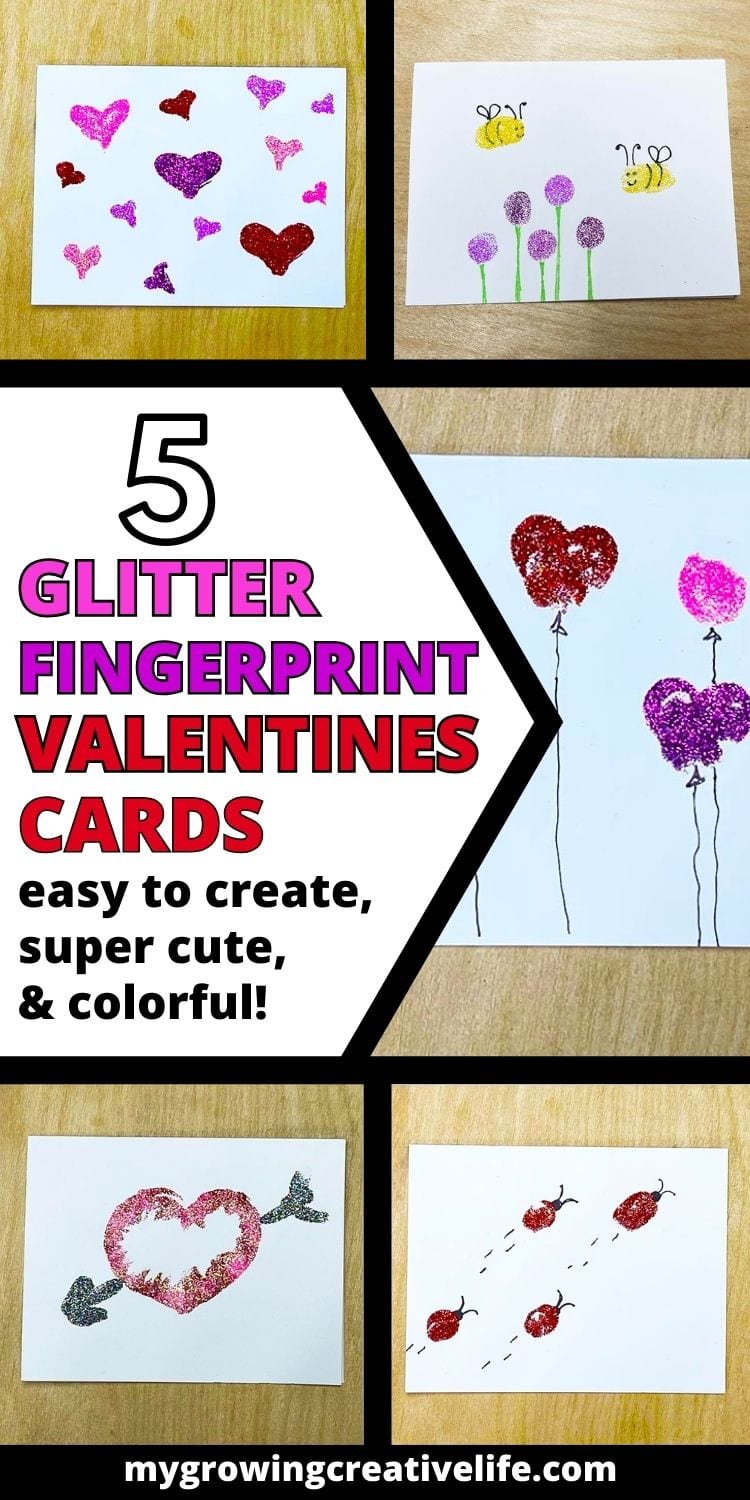
5 Glitter Fingerprint Valentines Cards: Colorful, Fun, & Easy To Create
With Valentines Day coming up, I wanted to quickly create some colorful, pretty cards that you can make with just a few materials and minimal tools (and glitter of course!). These fingerprint valentines cards are perfect because you only need blank cards, glue, glitter, your finger and a pen. That’s it…and aside from the glue drying time, they are super quick to make!
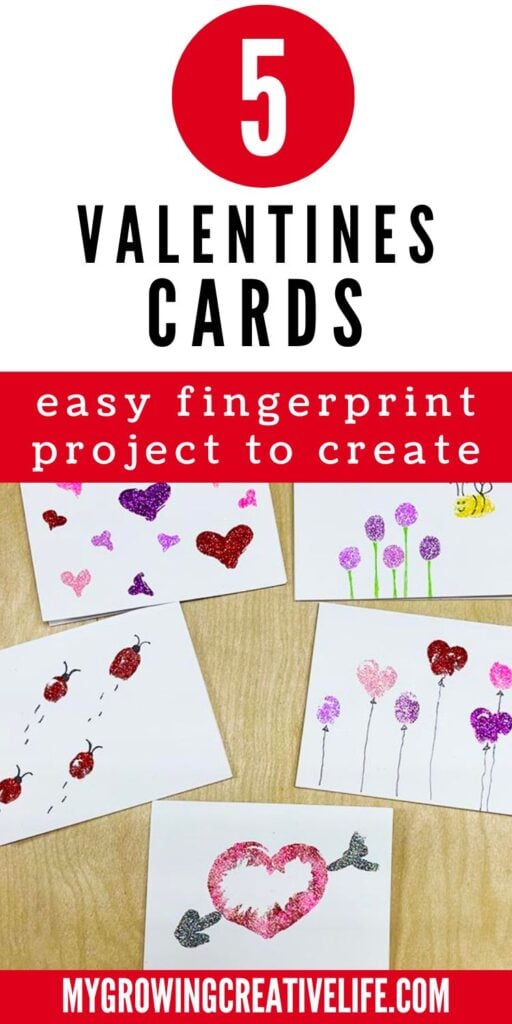
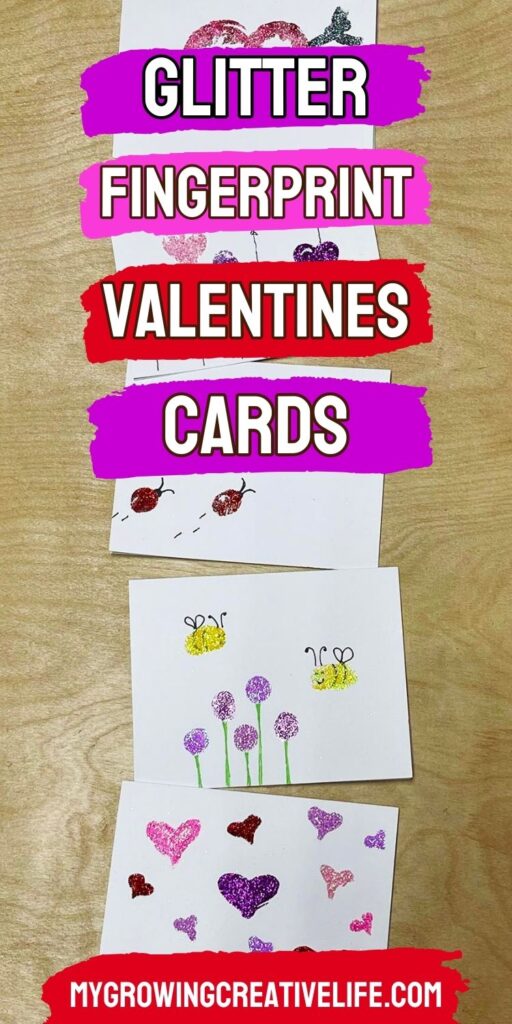
There are 5 different card patterns, so there is something for everyone, from hearts and balloons to bees and ladybugs. And you only need your finger…EASY!! So, let’s get glittery!
FOR MORE VALENTINE DIY:
Glitter Fingerprint Valentines Cards
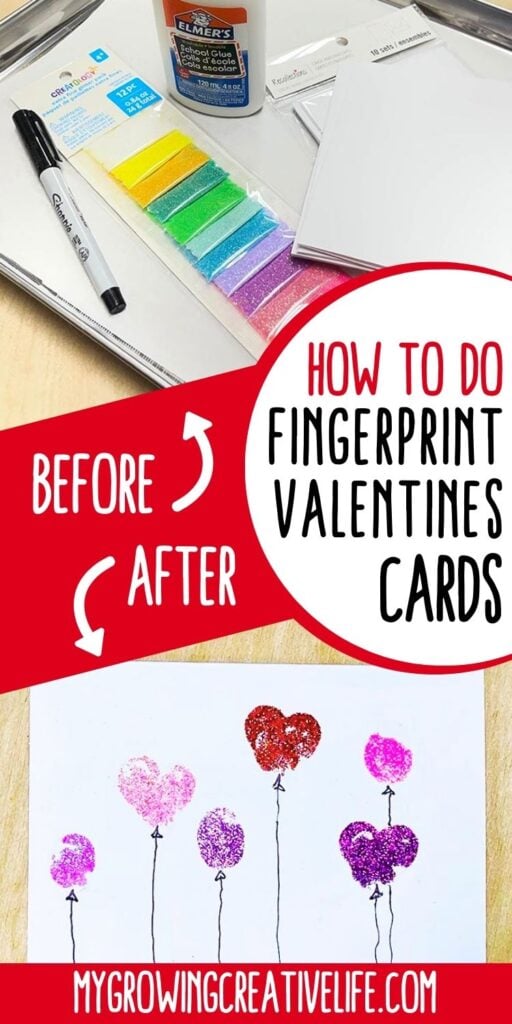
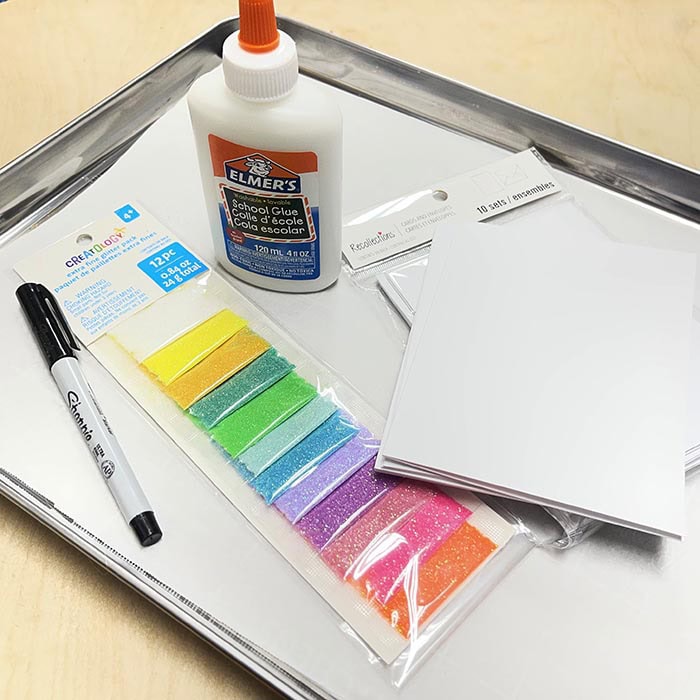
WHAT YOU’LL NEED:
- Glitter (Extra Fine preferred)
- Blank Cards (& Envelopes if you are mailing)
- Glue (I prefer Elmer’s glue)
- Fine Tip Pen (A sharpie or Micron will do) – Black (& Green if you are doing the bee print)
- Tray (to contain the glitter)
- Parchment Paper (for inside the tray-see note below)
- Plastic Lid (for the glue to lie on)
MATERIAL TIPS:
- Glitter – Extra fine glitter looks the nicest and stays attached the best, but you could use fine glitter if that’s what you have on hand.
- Cards – Any blank card will work as long as there’s a bit of thickness, so the glue doesn’t warp the card. You could even try different colors.
- Glue – I have tried a number of glues for this project and I find that Elmer’s school glue works the best because its very liquidy. Craft glues are pretty thick, so if you use them, you’ll have to pay extra attention to the shape as they don’t spread as easily.
- Pens – Any extra fine pen works. I like Sharpie or Micron, but that’s just a personal preference. You will only need a black one, unless you are creating the bee print as the flower stems should be green.
- Tray & Parchment Paper – I used a baking sheet and some parchment paper placed inside it to keep the glitter contained and easily pick up the excess glitter for reuse. Anything flat with a bit of a ridge around the edge could be used instead of the baking sheet. This is also extremely helpful if you are doing this project with kids!
- Plastic Lid – I add a bit of glue to a plastic container lid (because its non-porous and easy to find). Just dip your finger into the glue to create each design.
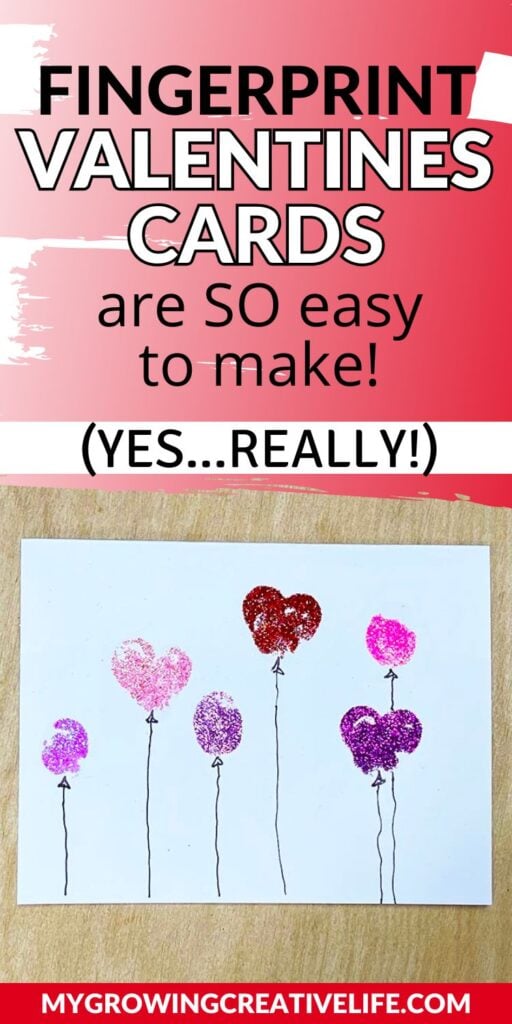
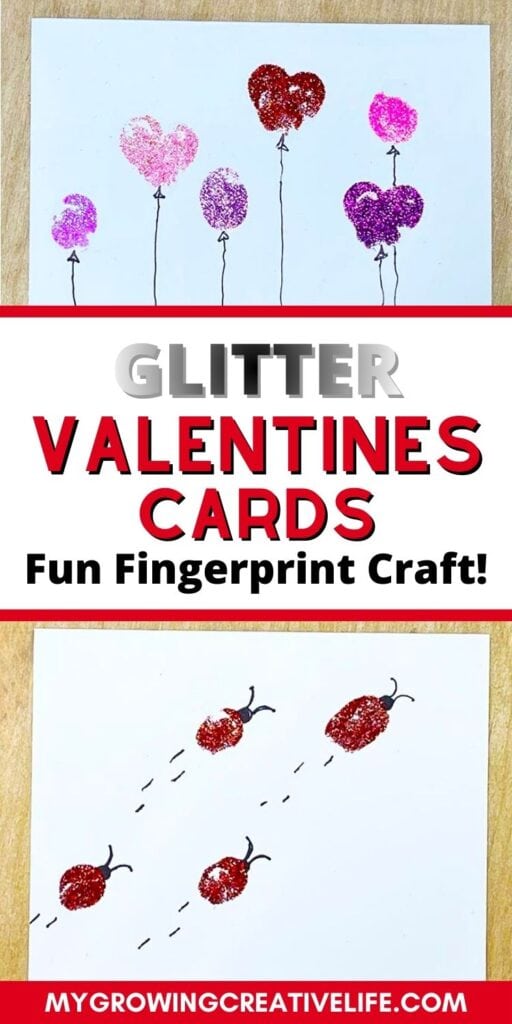
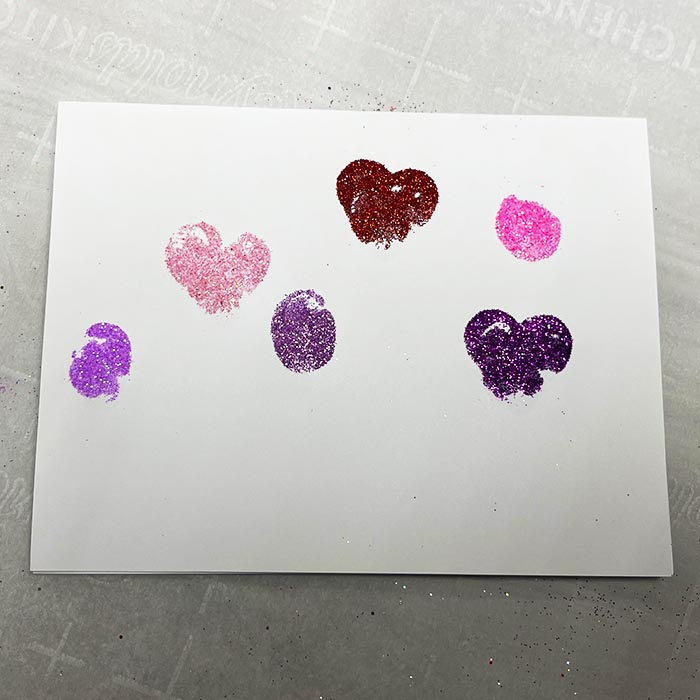
HEART & ROUND Balloons
1. Add a bit of glue to your plastic container lid and dip your finger into the glue. Press your finger onto the card, vertically, wherever you want one of the balloons.
2. If you want a heart-shaped balloon, put your finger on the card in an angle (#1) and then again in the opposite direction (#2). Finish by tapping your finger at the bottom where they meet (#3). I noticed that if you don’t do step 3, a lot of the hearts don’t come out that great.

3. Continue adding regular and heart-shaped balloons until you fill the front of the card.
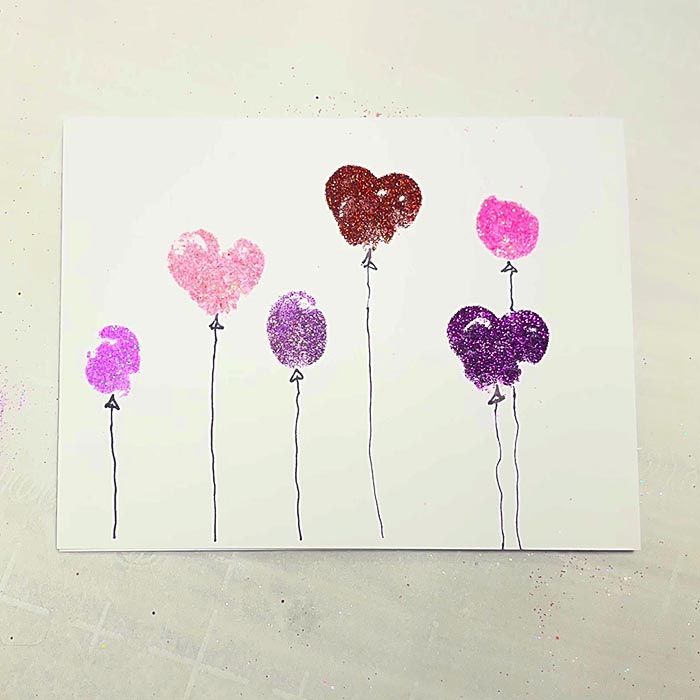
4. Add the glitter to the card. I prefer to tap each glitter jar as I can control how much glitter comes out and where it goes. BE SURE to do this in the baking sheet, so any extra glitter stays in there.
5. Once all of the glued areas are covered, shake off the excess glitter into the baking sheet or garbage can.
6. Add strings to the balloons with the pen (and a cute message to your Valentine inside).
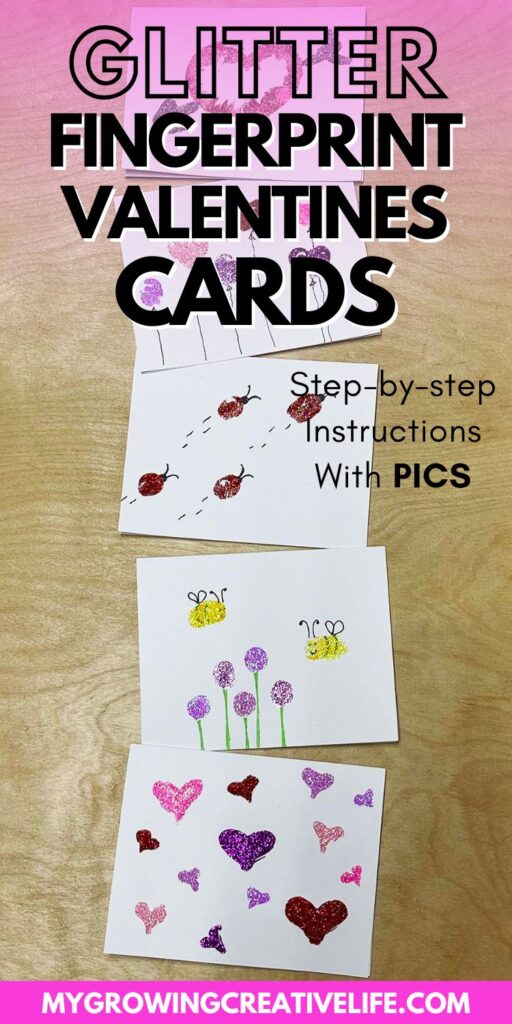
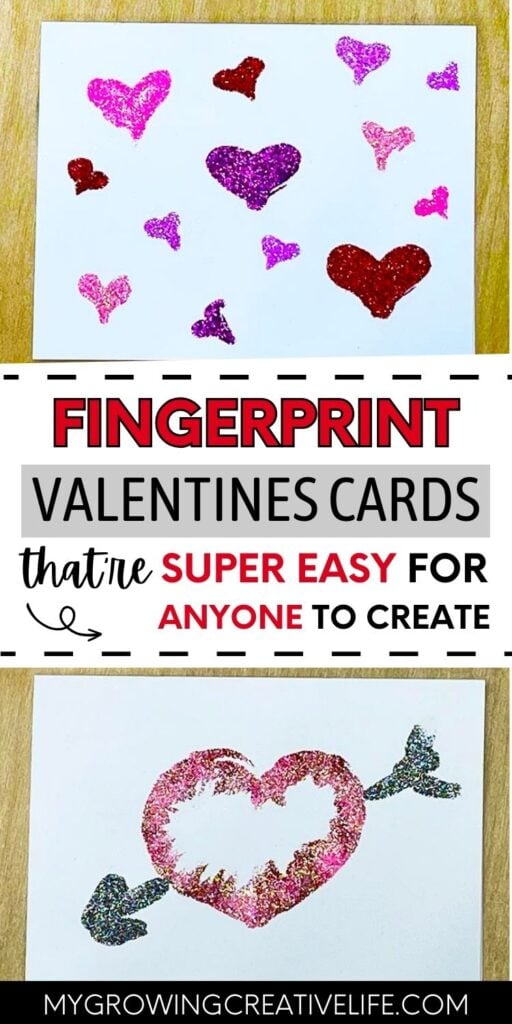
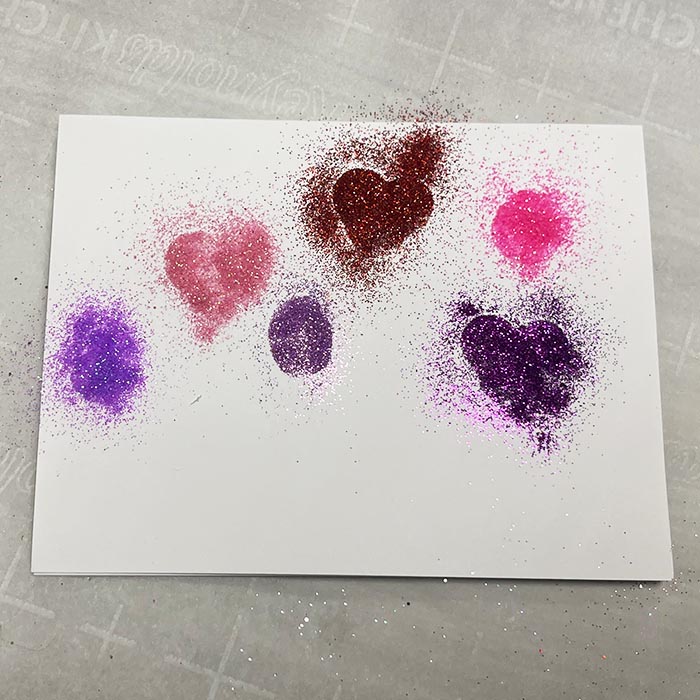
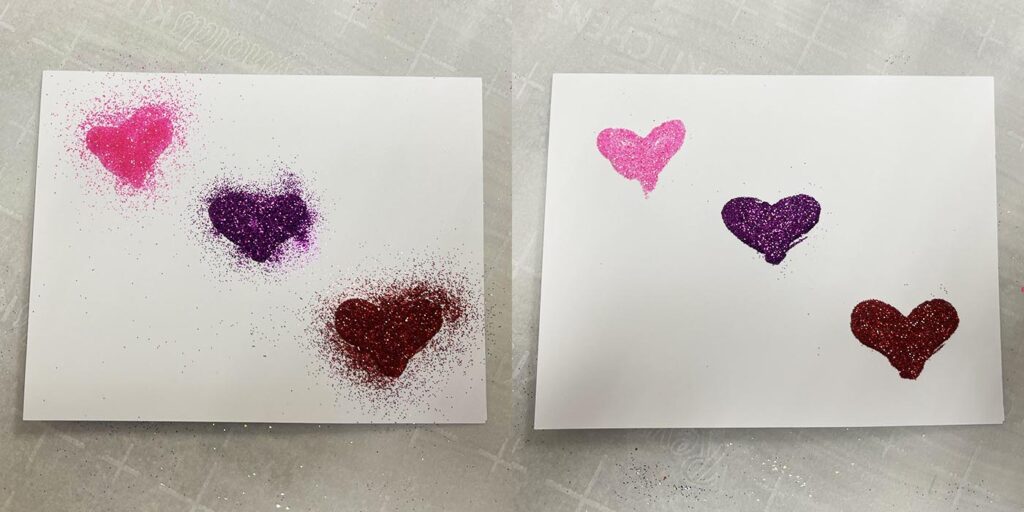
RANDOM HEARTS
1. Create multiple hearts on your card in the same fashion as the heart-shaped balloon. Put your finger on the card in an angle and then again in the opposite direction. Finish by tapping your finger at the bottom where they meet to create the heart.
2. Add glitter to the hearts. Shake off the access glitter into the baking sheet or garbage can.
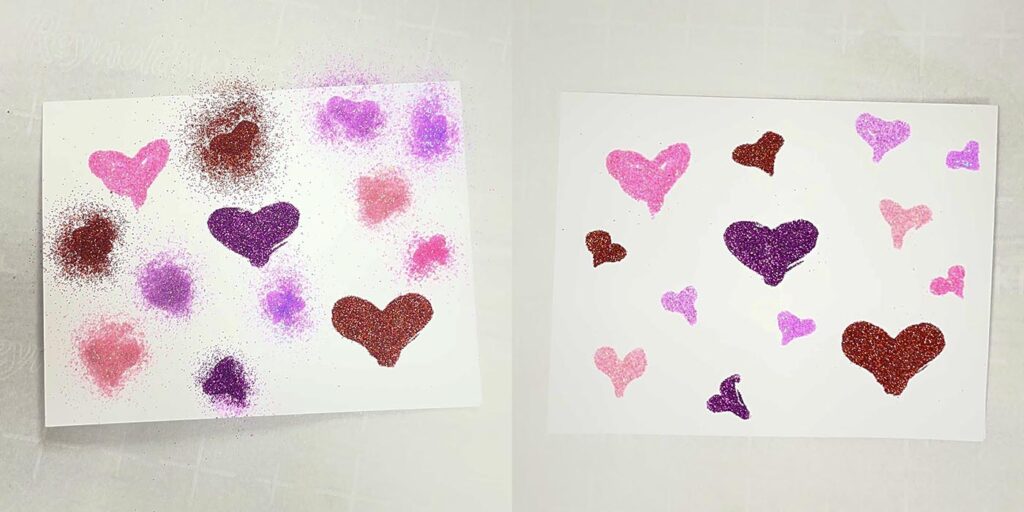
3. You can stop there if you are looking a simple card or continue to add more hearts, either with your finger or by “drawing” them with the glue bottle. Add glitter and shake off the excess. (NOTE: the smaller hearts are harder to create without your finger and tend to have more glue than the fingerprint ones. After I added glitter I let the card sit overnight to dry, so the glue didn’t spread everywhere when I shook off the glitter)
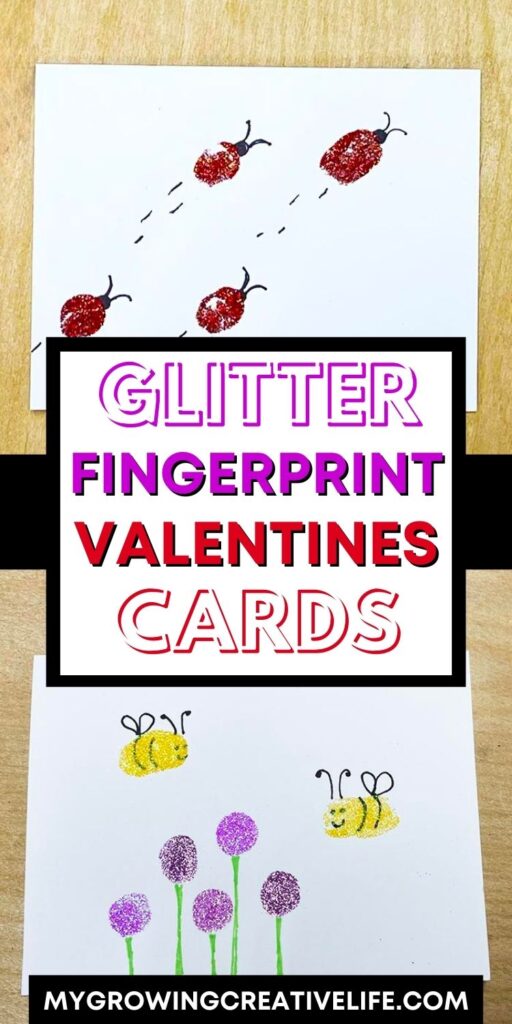
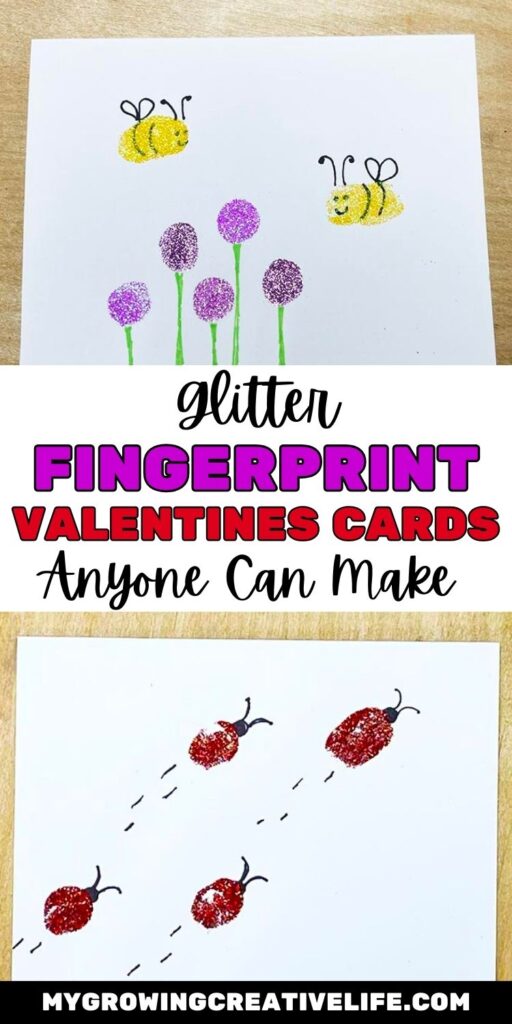
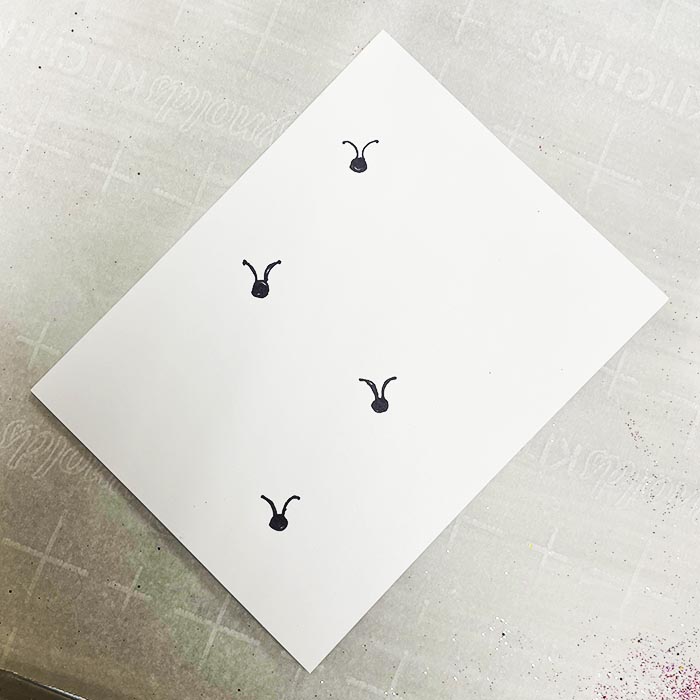
LADYBUGS
1. To create ladybugs, start by drawing a circle with antennas coming out for the head. I wanted several ladybugs crawling across the card diagonally, so I tilted the card (easier for me to create them going vertically).
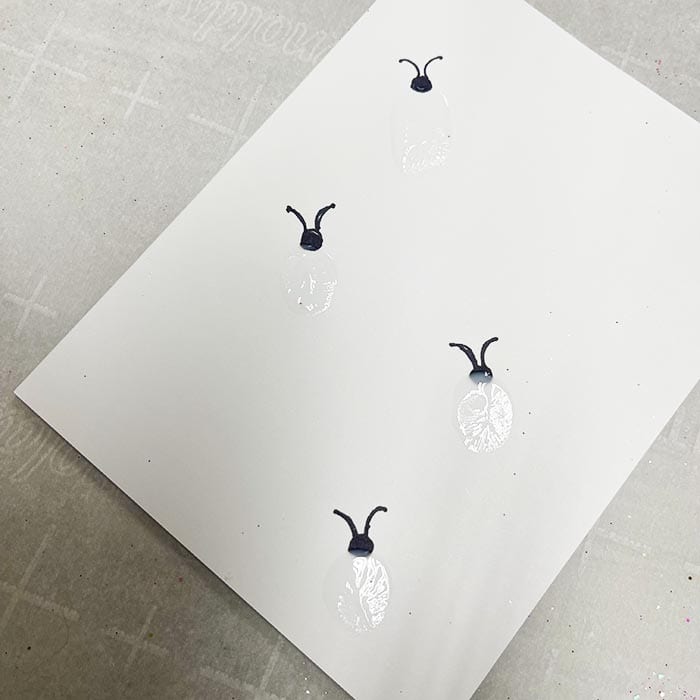
2. Stick your finger in the glue and press it below, but touching, a ladybug head. Repeat for the rest of the ladybugs.
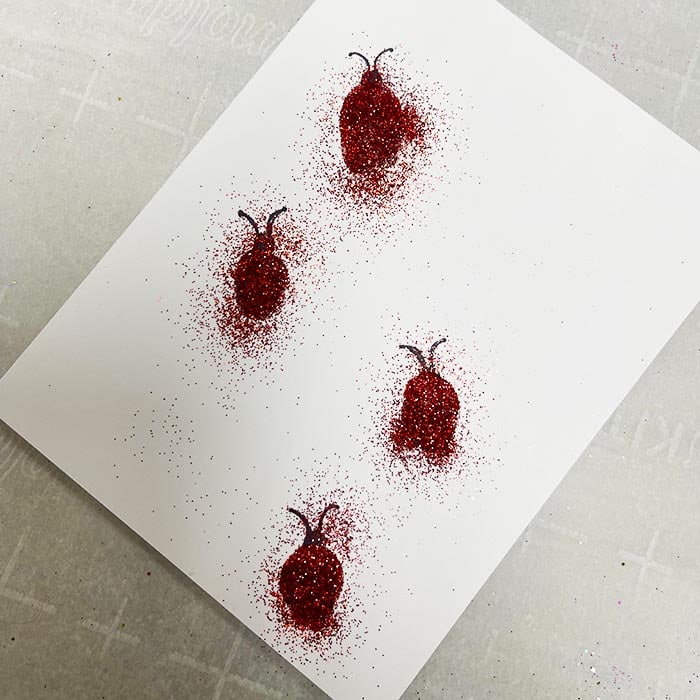
3. Shake red glitter on each fingerprint to cover it and create those cute bugs.
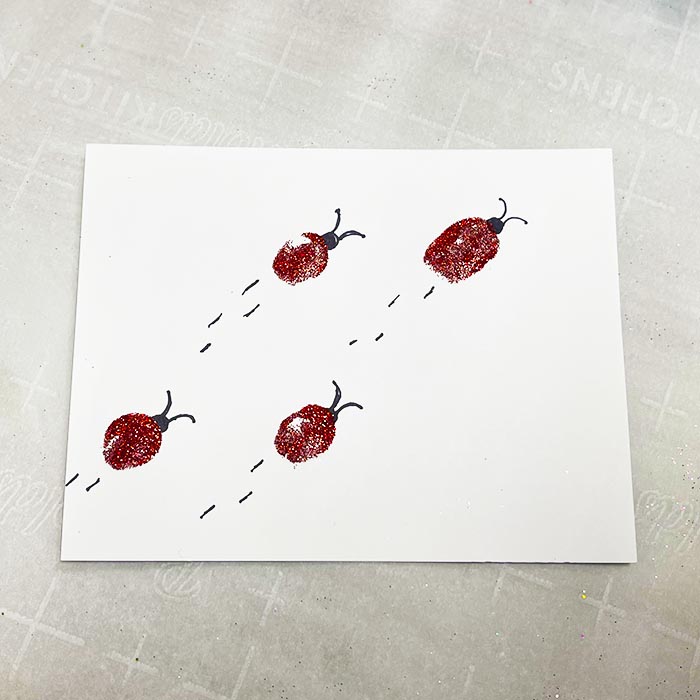
4. Shake off the excess glitter and create “tracks” behind the ladybugs (optional). Add a cute saying like “Lucky to love you” or “Lucky to be your love bug” inside.
BUMBLEBEES
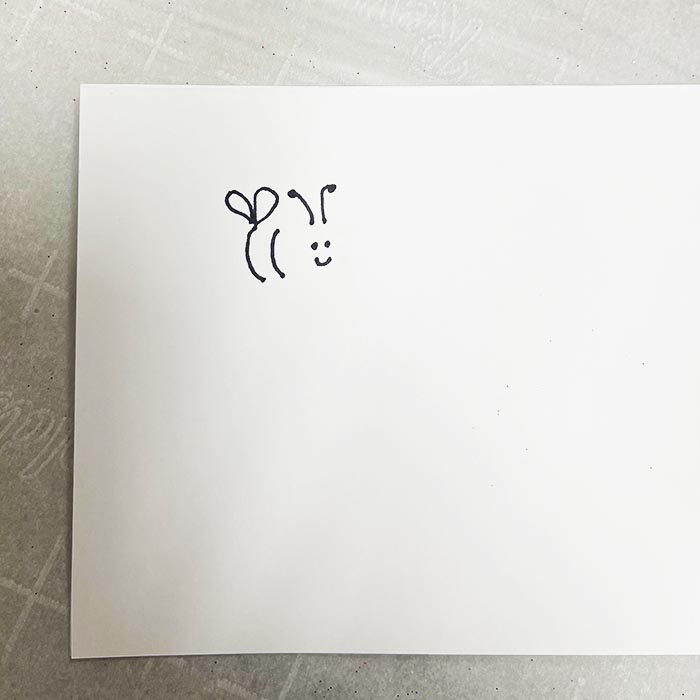
1. To create bumblebees, start by drawing a cute smiley face with antennas above it. Next add 2 curved lines for the body (they certainly don’t need to be perfect…that’s the point). Draw 2 loops above the last curved line for the wings.
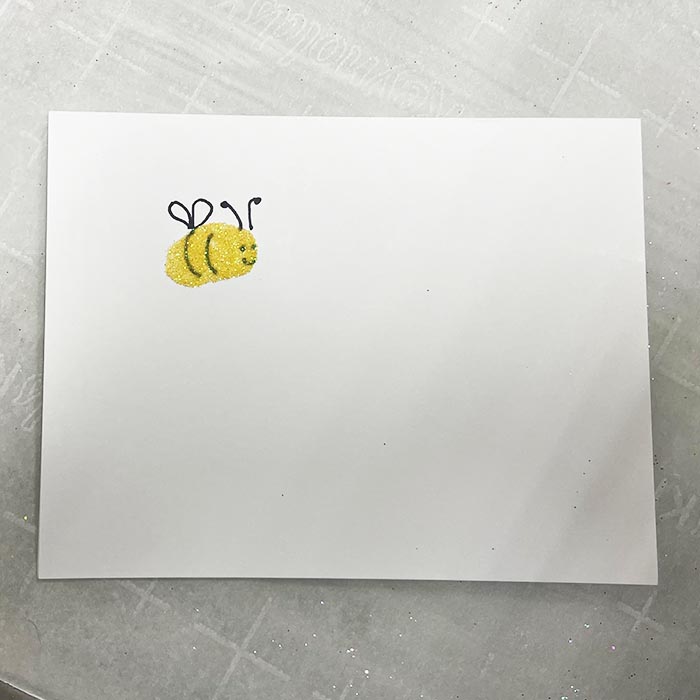
2. Stick your finger in the glue and press it over the face and lines of the bumblebee’s body. Add yellow glitter and shake off the excess. Now you have one cute bumblebee!
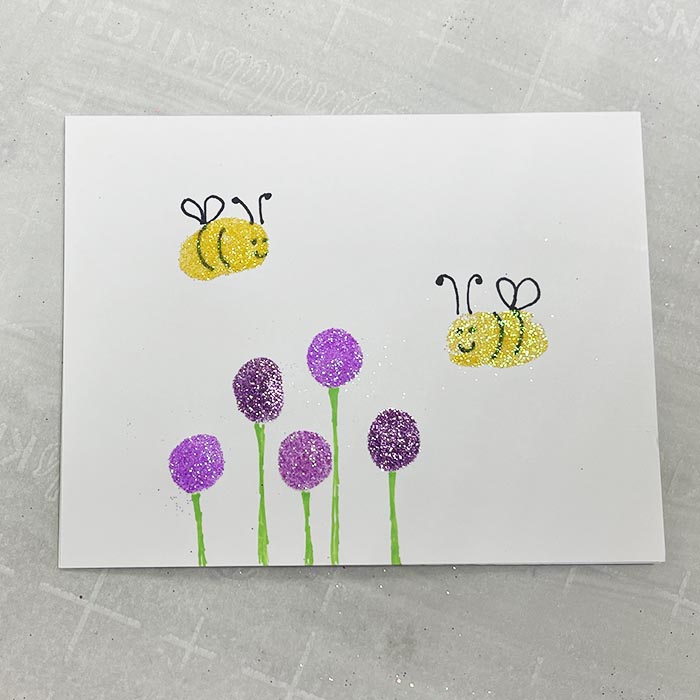
3. Repeat steps 1 and 2 to create a second (or even third) bumblebee. Make sure you flip the body, so its facing the center of the card. Dip your finger in more glue and add several prints towards the bottom of the card. These will become the flowers. Add glitter to the flowers and shake excess off. Use your green pen to create lines (stems) below the flowers to finish. Write a cute note inside the card like “You make my heart buzz” or “You are sweet as can bee”.
ARROW THROUGH THE Heart
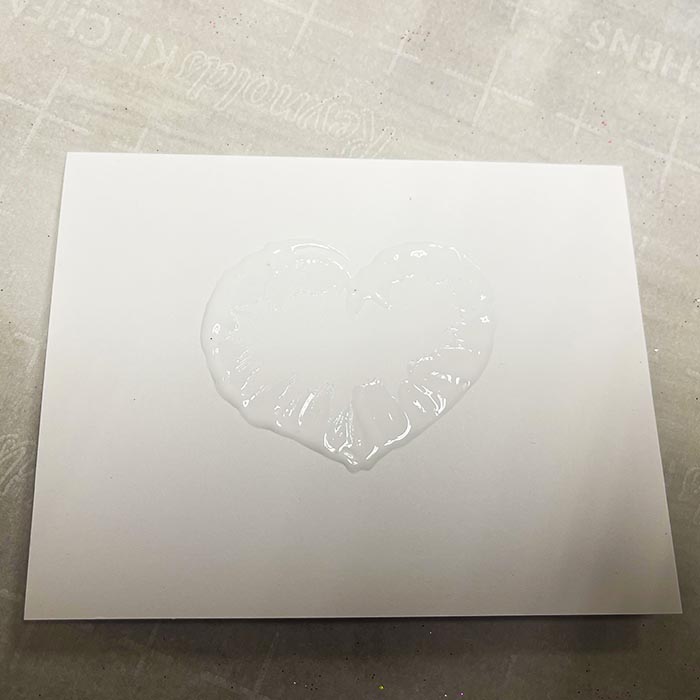
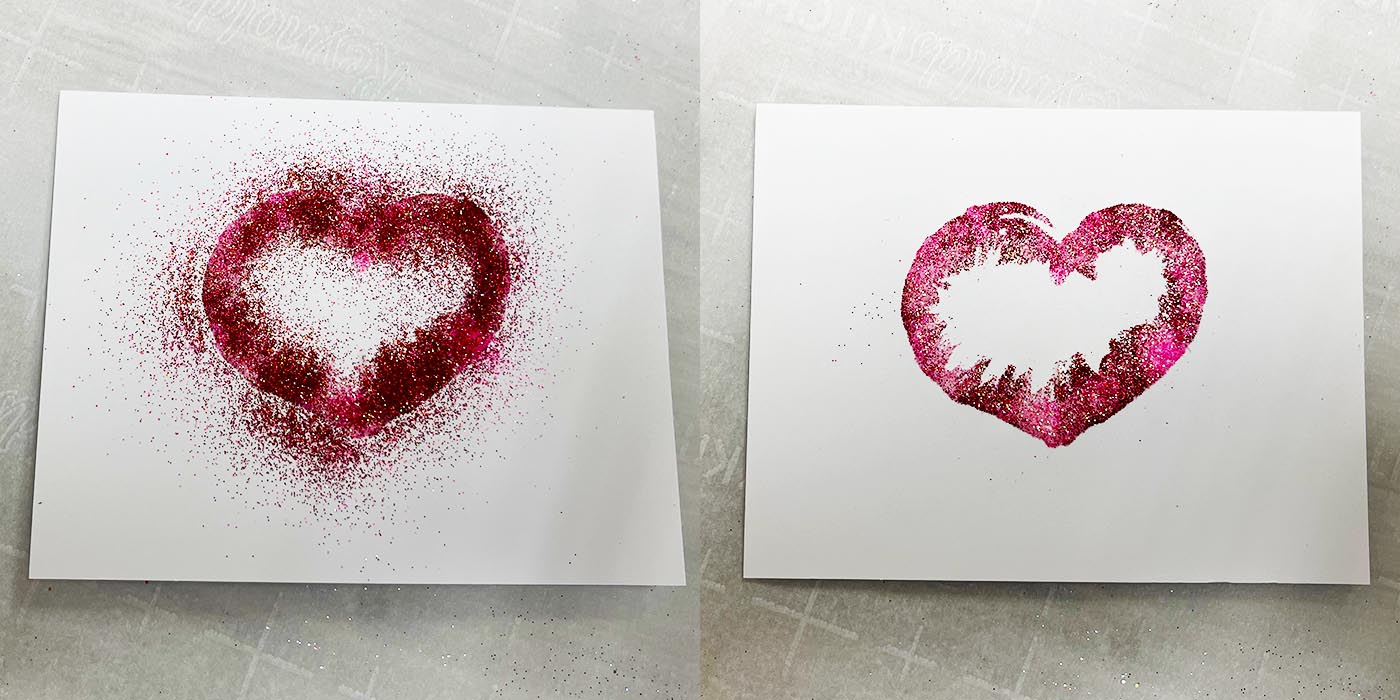
1. Draw a heart shape on the card with the glue bottle. Smear the glue with your finger inward towards the center of the heart. You don’t need to fill the heart, just smudge the clean line you created when you drew it.
2. Add the glitter to the heart. I used several colors and layered them to blend them a bit. Shake off the access glitter into the baking sheet or garbage can.
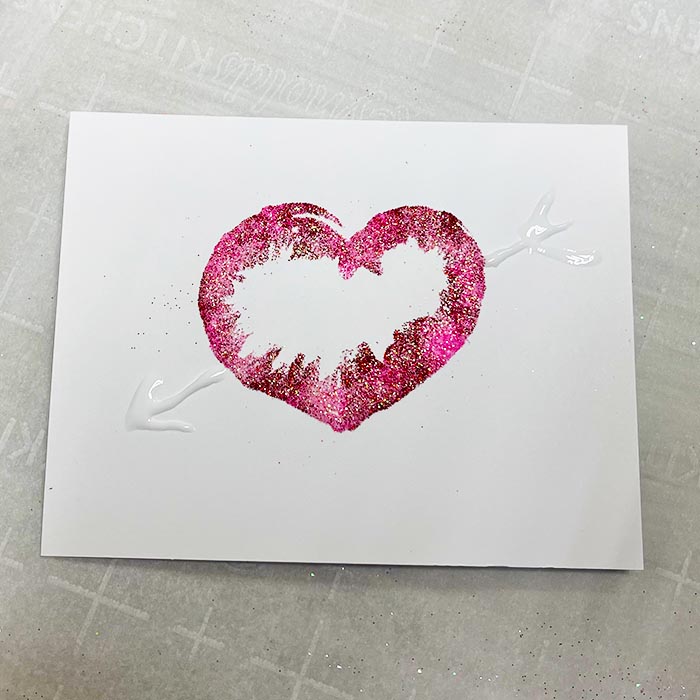
3. Create the arrow sticking out of the heart with the glue bottle and smudge the lines a bit with your finger.
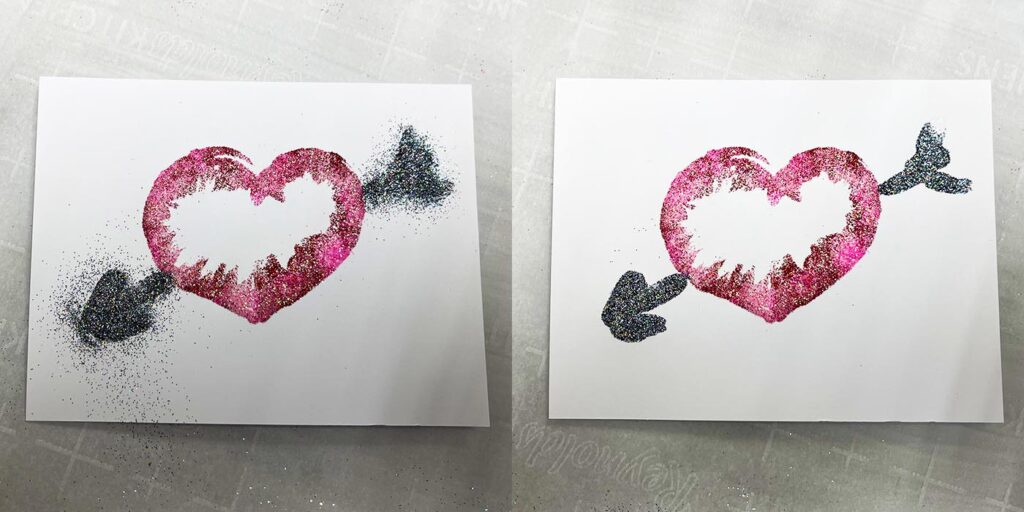
4. Add glitter to the arrow. Shake off the access glitter into the baking sheet or garbage can.
Once you’ve complete each fingerprint Valentines card, let it dry completely before placing inside an envelope.
With just a bit of glue, glitter, and your fingers, you can create super cute Valentines cards that rival any store-bought one.
Happy Glittery Valentines Day! Nikole